Create an Organization
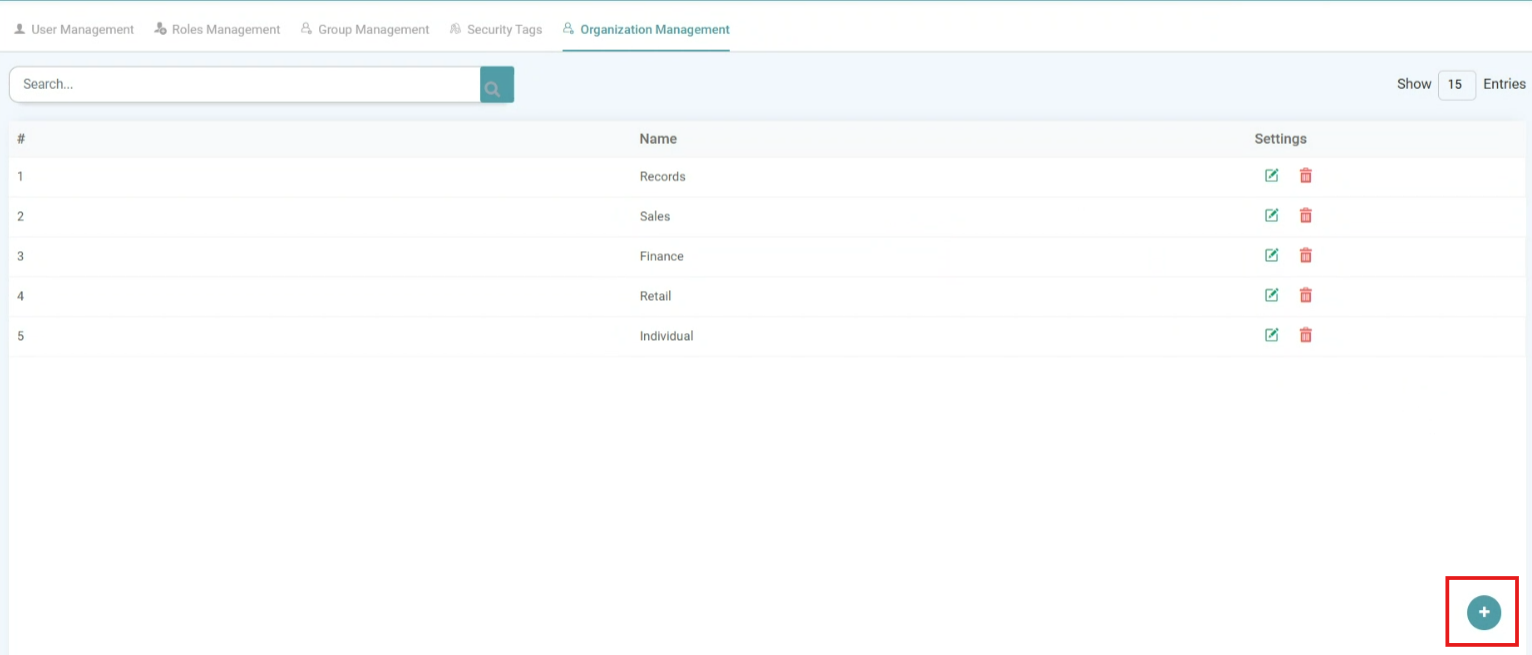
Step 1: In the Main Navigation Bar, click on ‘Admin’ and click on the Organization Management tab.
Step 2: The user working with different organizations at a time can add multiple organizations.
Step 3: Click on the add icon, located in the bottom right of the screen to Create an organization. (Refer to the image below).


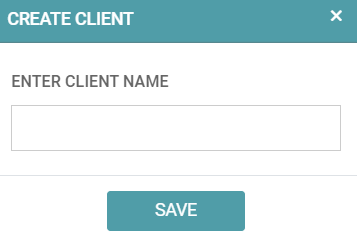
Step 4: Enter the name of the organization in the Add Client pop-up. You can enter the Client Name, Address, Phone Number, External ID and Configuration Parameters. (Refer to the image below).

Step 5: Click on the Add Icon under Configuration Parameters. Now, enter the Key (The column Name) and then Enter the Value you want the column to associate to. Under type, you can either select General or Filter. This essentially means that you can make this column a hidden filter on your reports page and set the value under Filter operations. The dashboard gets filtered according to the client. (Refer to the image below).

Note: For instance, if the Column Name: Region, then the Value may be “North”, “South” and so on.
Step 6: Click save. (Refer to the image below).
Edit
Step 1: In the Main Navigation Bar, click on ‘Admin’ and click on the Organization Management tab.
Step 2: You can edit the organization by clicking on the edit icon. (Refer to the image below).

Delete
Step 1: In the Main Navigation Bar, click on ‘Admin’ and click on the Organization Management tab.
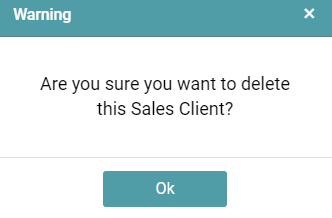
Step 2: If you intend to delete the organization, then you can do so by clicking on the delete icon. (Refer to the image below).

Step 3: Click Ok and the Organization/ Client created will be deleted. (Refer to the image below).