Creating Roles
Step 1: On the main navigation, click on admin. In Roles Management we can create multiple roles. This is done so that we can give access to data sources and tags. (Refer to the image below).
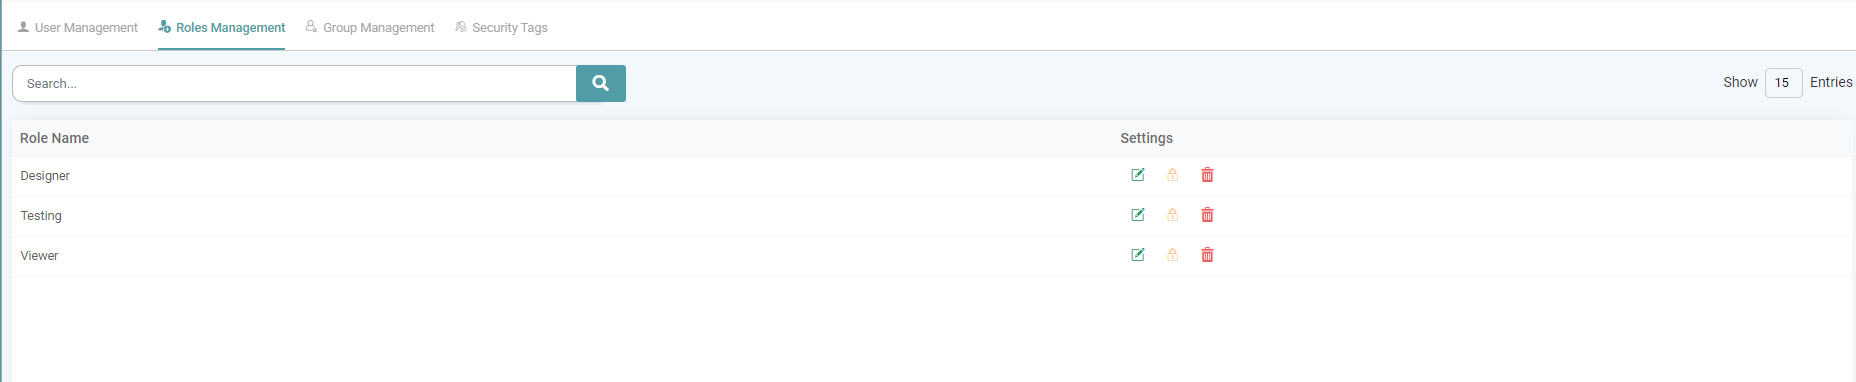


Step 2: Create a role: Click on the plus icon in the bottom right of the screen to create a new role.
Step 3: Now, you can enter the role name, assign the menu level access, grant roles access and grant reports access to that role.
Step 4: Click on the save button once the desired changes have been made. (Refer to the image below).

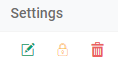
Role Setting
The Role Management Tab encompasses three key settings. Here you can Edit the Role, Provide Security Tags and Delete Roles. (Refer to the image below).
Edit
Step 1: On the Main Navigation Bar, click Admin. Select the Role Management tab
Step 2: Under settings, click on the Edit icon to edit the Role. (Refer to the image below).

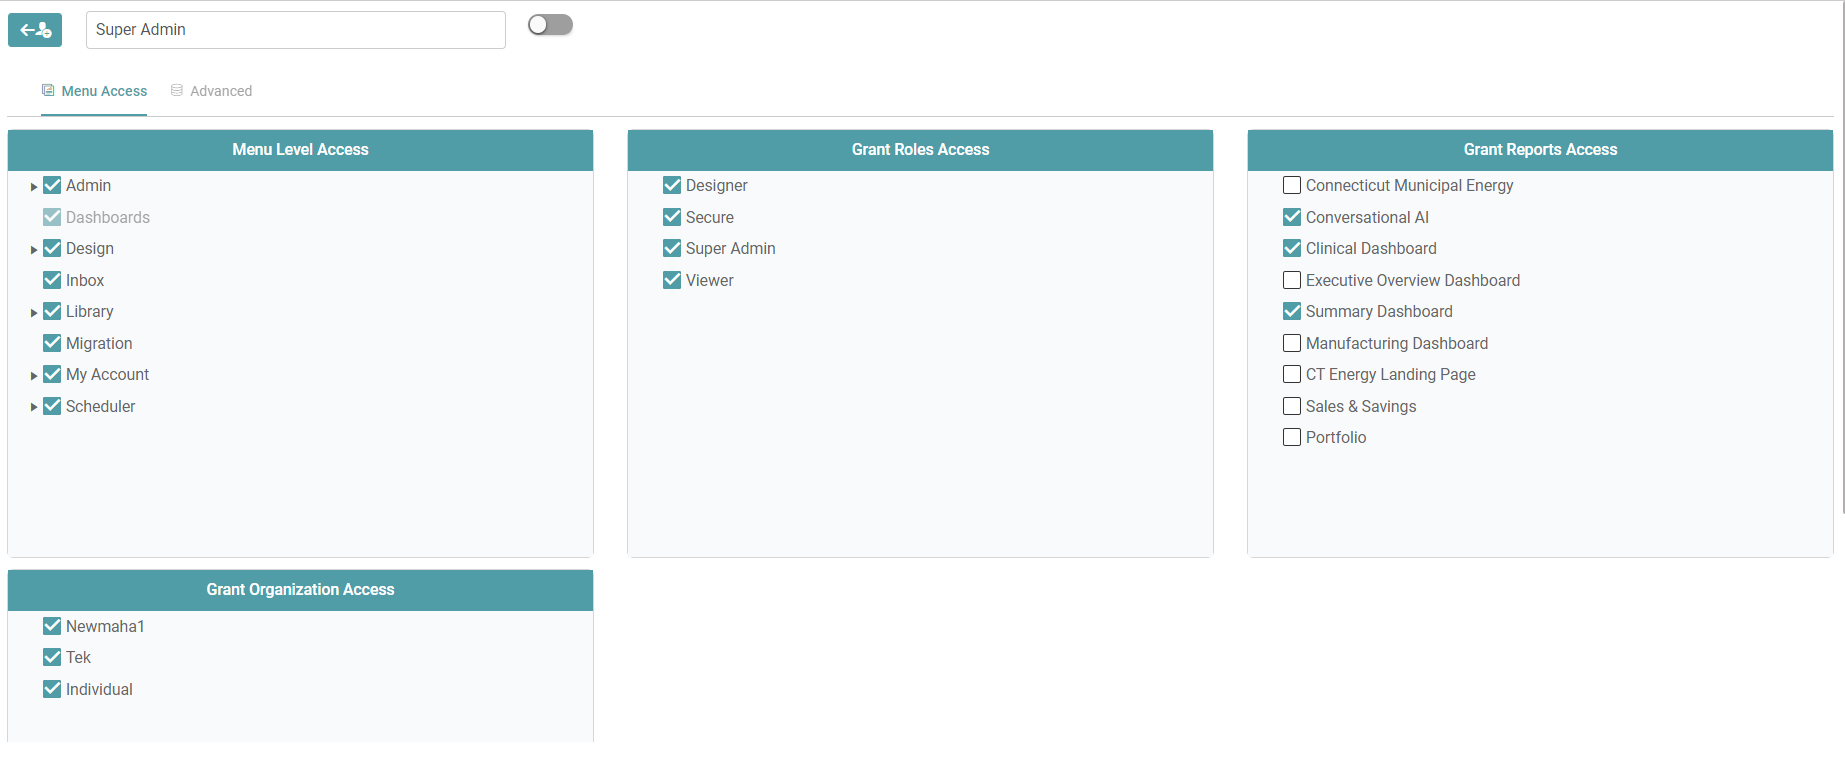
Menu Access
Step 1: On the Main Navigation Bar, click Admin. Select the Role Management tab
Step 2: Under settings, click on the Edit icon to edit the Role.
Step 3: Navigate to the “Menu Access” tab. Here, you can assign Menu Level Access to the user with the designated role by selecting the required menu items. Additionally, you can Grant Access to other Roles for the current role you are editing, and provide Reports Access for pre-existing reports.
Step 4: You can also grant Organizational Access in the scenario of multiple organizations. Click on the save button once you’ve configured the role according to the requirement. (Refer to the image below).
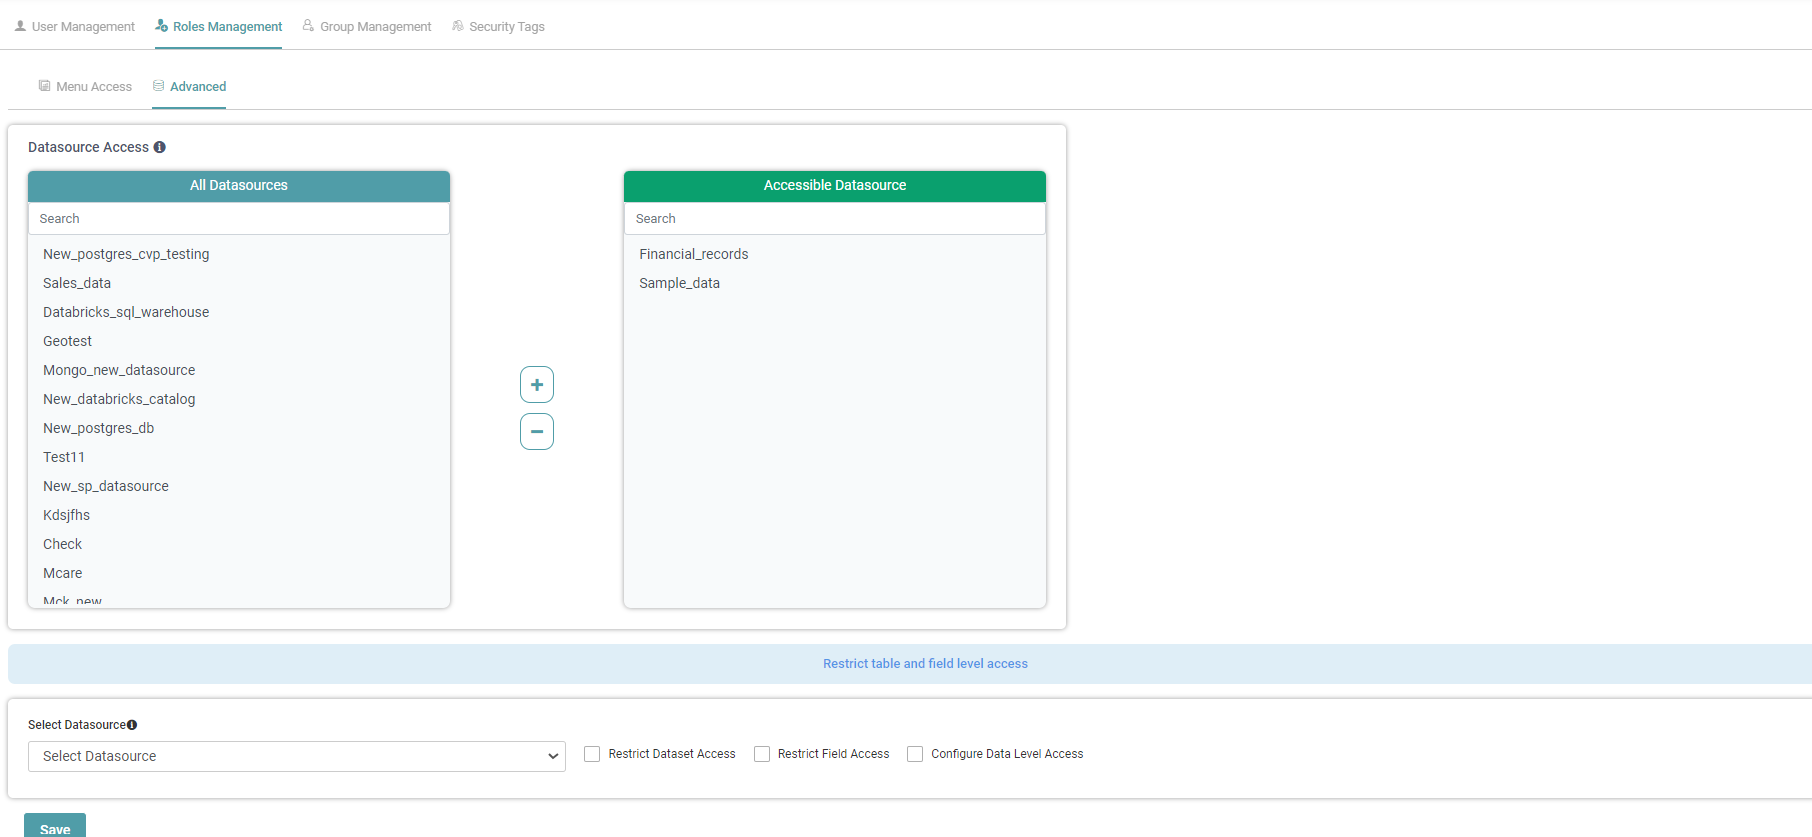
Advanced
Step 1: On the Main Navigation Bar, click Admin. Select the Role Management tab
Step 2: Under settings, click on the Edit icon to edit the Role.
Step 3: Navigate to the “Advanced” tab.
Step 4: Here, you can Select or De-select the Data Sources that you want shared with the user who is assigned the Role.
Step 5: Now, you can also Restrict Dataset Access, Restrict Field Access and Configure Data Level Access to the Role.
Step 6: Click on the save button once you’ve configured the role. (Refer to the image below).
Security
Step 1: On the Main Navigation Bar, click Admin. Select the Role Management tab
Step 2: Under settings, click on the Security icon to add security tags to the Role.
Step 3: You can assign multiple security tags to a single Role. In the Security Tag pop-up, select the desired security tags by checking their corresponding boxes. (Refer to the image below).

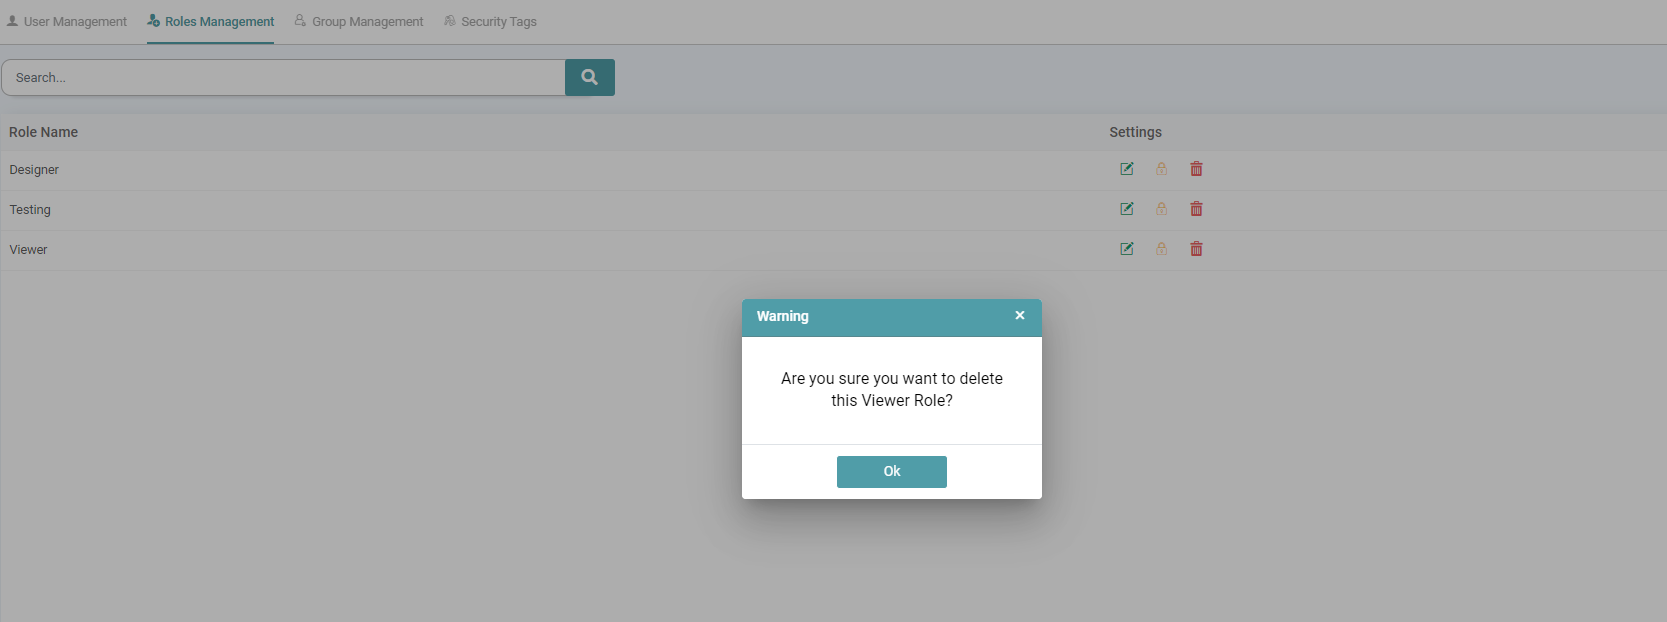
Delete
Step 1: On the Main Navigation Bar, click Admin. Select the Role Management tab
Step 2: Under settings, click on the Delete icon to Delete the Role(s).
Step 3: A Warning pop-up appears. Click on the Ok button to delete the role. (Refer to the image below).
Search Role
Step 1: The roles that have been created can be looked-up in the search tab.
Step 2: In the search tab, type the role name.
Step 3: The Roles will be displayed in the list based on the name entered in the search tab.
Step 4: You can also search by navigating to the previous pages or click the next page to see the full list. (Refer to the image below).
