Introduction
In this section, the admin can create users and assign roles as required by the organization. The preferred settings for the ‘Admin’ can also be selected. The admin will find that the registered user id has already been listed as a user in the User management section.
Create Users/ Admin Users
Step 1: On the Main Navigation Bar, click on “Admin”. Navigate to the User Management Tab.
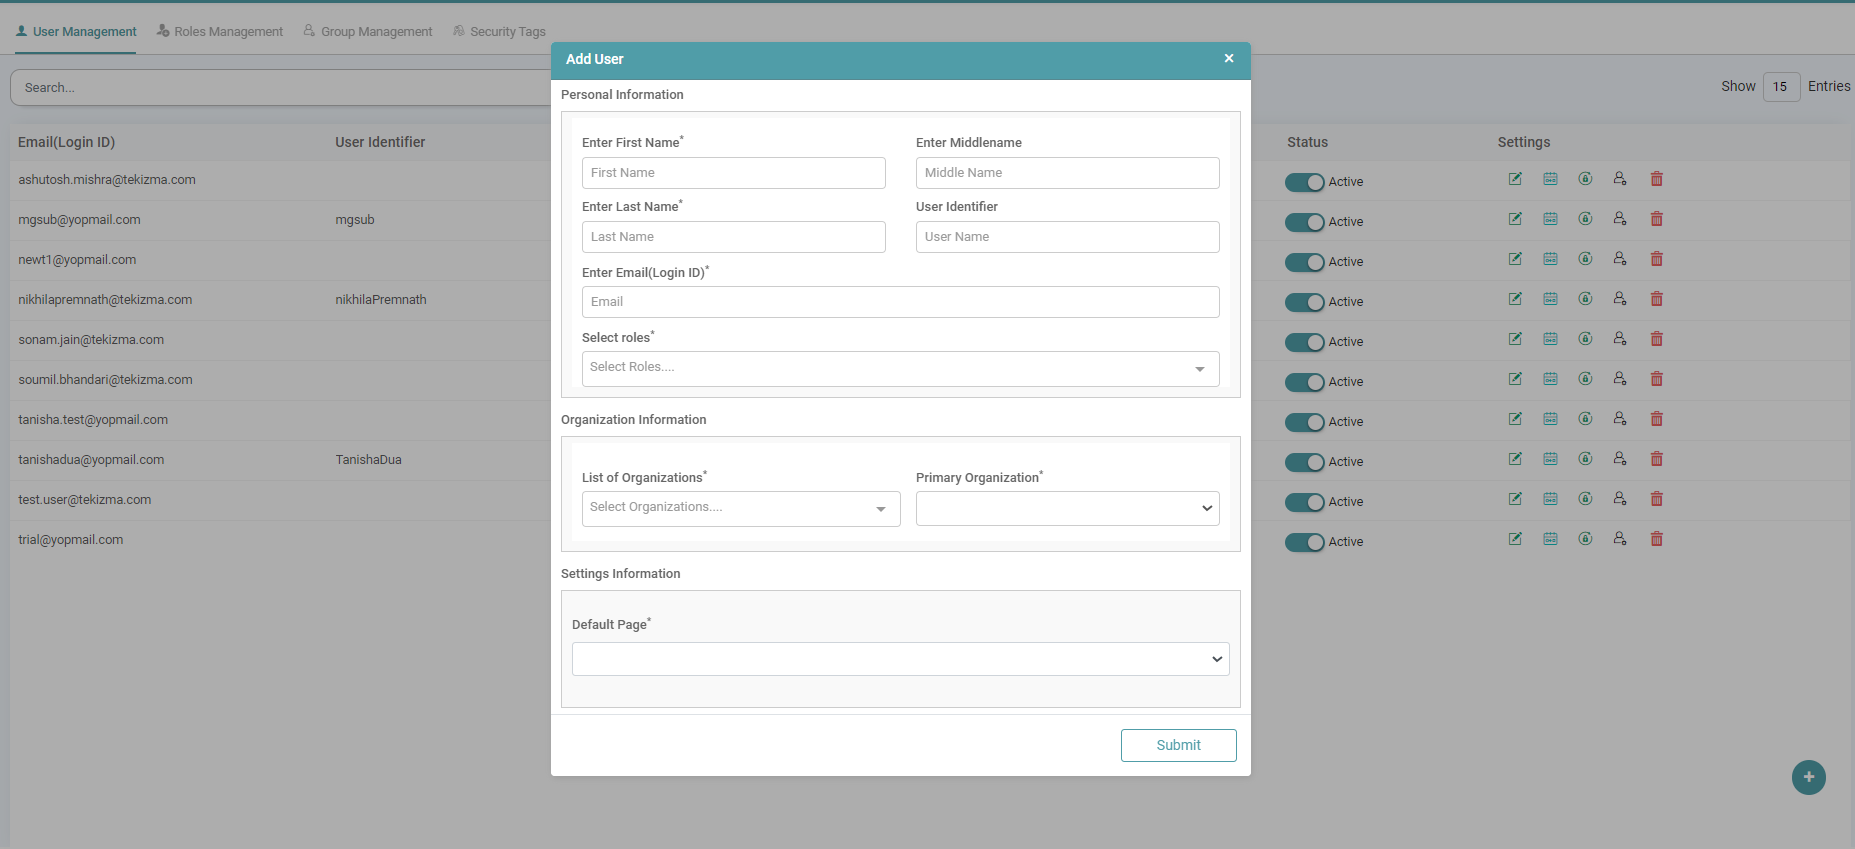
Step 2: Click the plus icon located in the bottom right of the screen to Add Admin User.
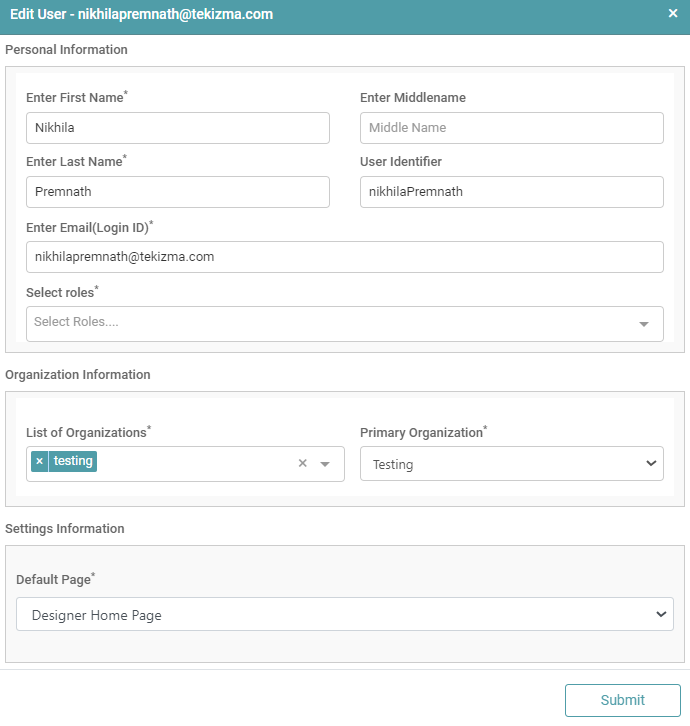
Step 3: Enter all the details:
- First Name
- Middle Name
- Last Name
- User Identifier
- Email (Login ID)
- Select Roles
- List of Organizations
- Primary Organization
Step 4: Enter the details in the pop-up that appears. Select “Super Admin” in the role dropdown. (Refer to the image below).


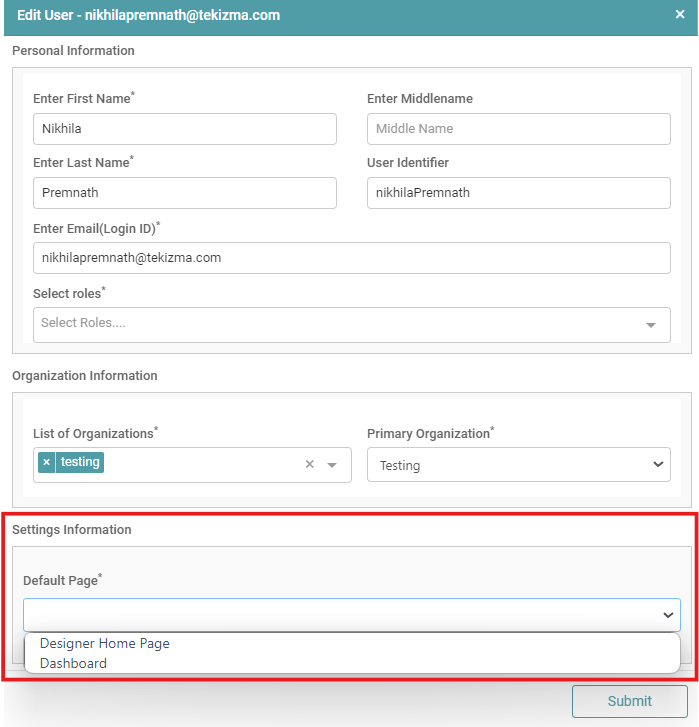
Step 5: You can configure the user’s settings by selecting the desired default page from the dropdown menu. This ensures that the user will be directed to the specified page upon logging in. (Refer to the image below).
Step 6: Click submit. Now you will see that the user has been created successfully. (Refer to the image below).

Admin User Settings
The User Management Tab encompasses five key settings:
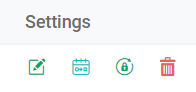
Edit
Step 1: On the Main Navigation Bar, click Admin. Select user management and under settings click on the edit icon to edit the user preferences.
Step 2: Click the submit button once the necessary changes have been made. (Refer to the image below)
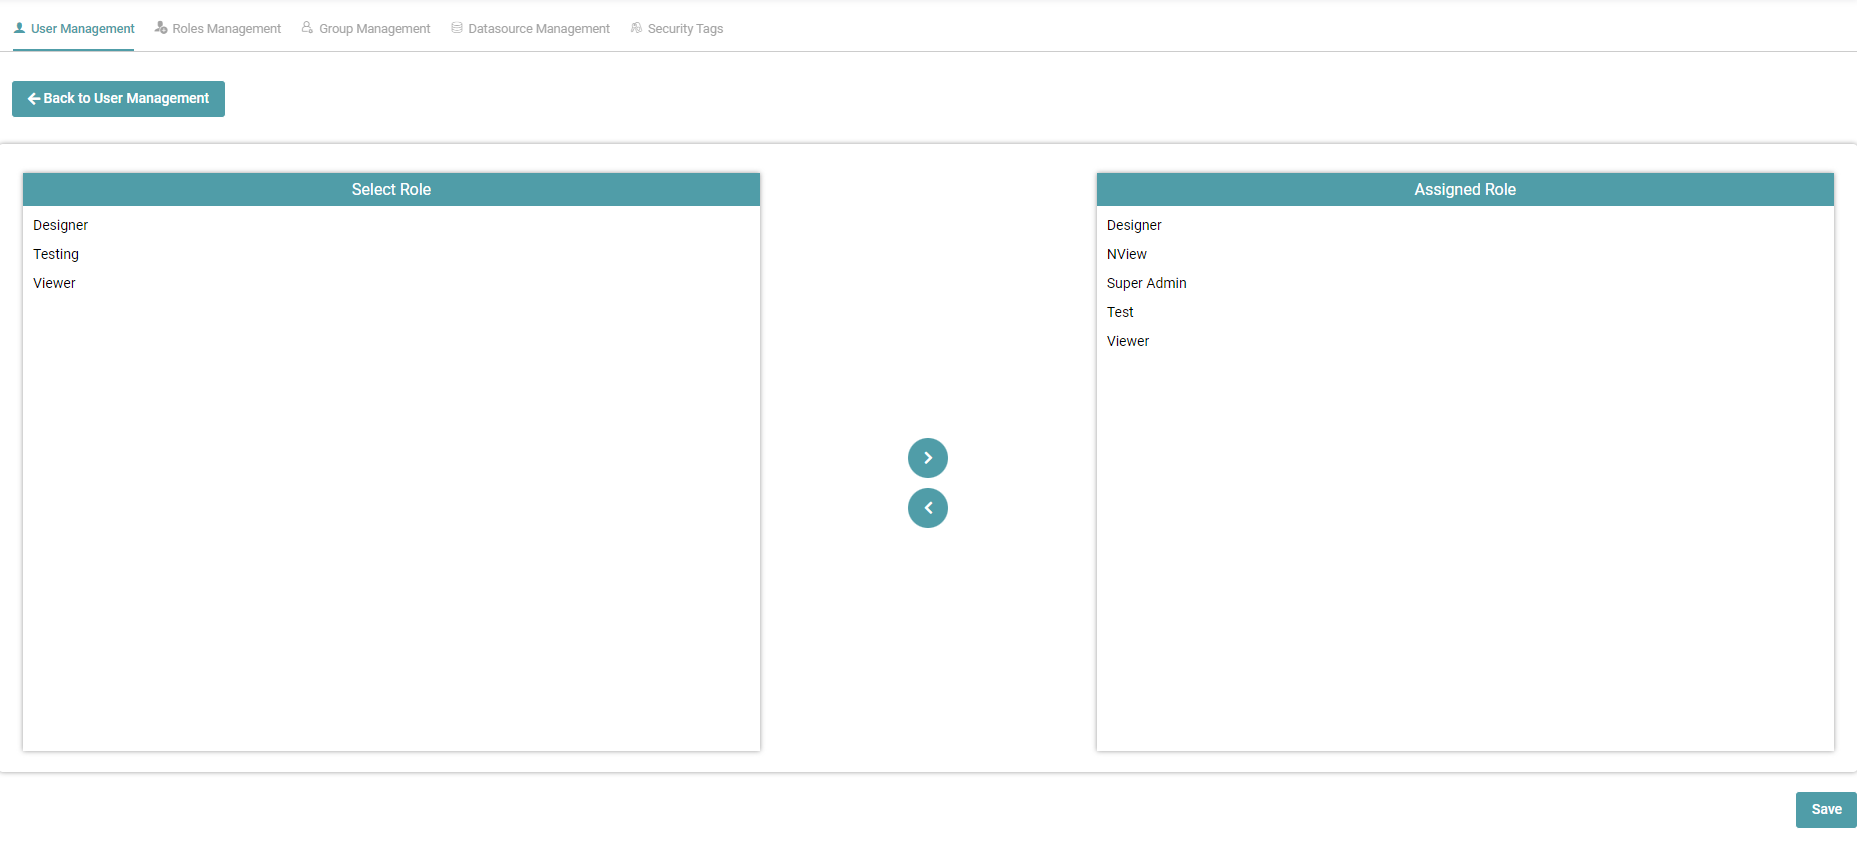
Assign Role
Step 1: On the Main Navigation Bar, click Admin. Select the user management tab and under settings click on the Assign Role icon to assign the role.
Step 2: As the admin, the assigned role is pre-defined as Super admin.
Step 3: Once you have selected the role to be assigned, click on the save button. (Refer to the image below).
Reset Password
Step 1: On the Main Navigation Bar, click admin. Select the user management tab and under settings, click the Reset Password icon to reset the password. (Refer to the image below).
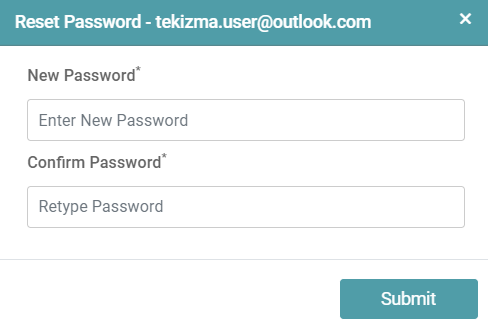
Step 2: Enter the new password and confirm password.
Step 3: Click on the submit button.
Delete
Step 1: On the Main Navigation Bar, click admin. Select the user management tab and under settings click the delete icon to delete a user.
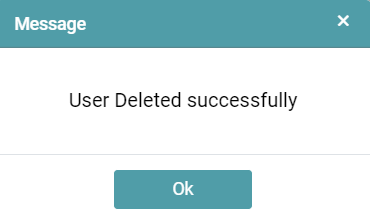
Step 2: Click Ok to confirm Delete. (Refer to the image below).
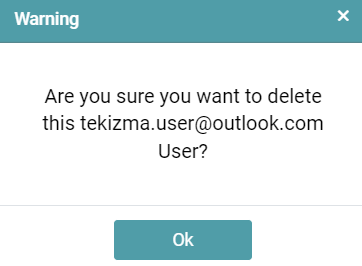
Step 3: Once you’ve clicked the ok button, a popup appears on the screen. Click Ok. (Refer to the image below).
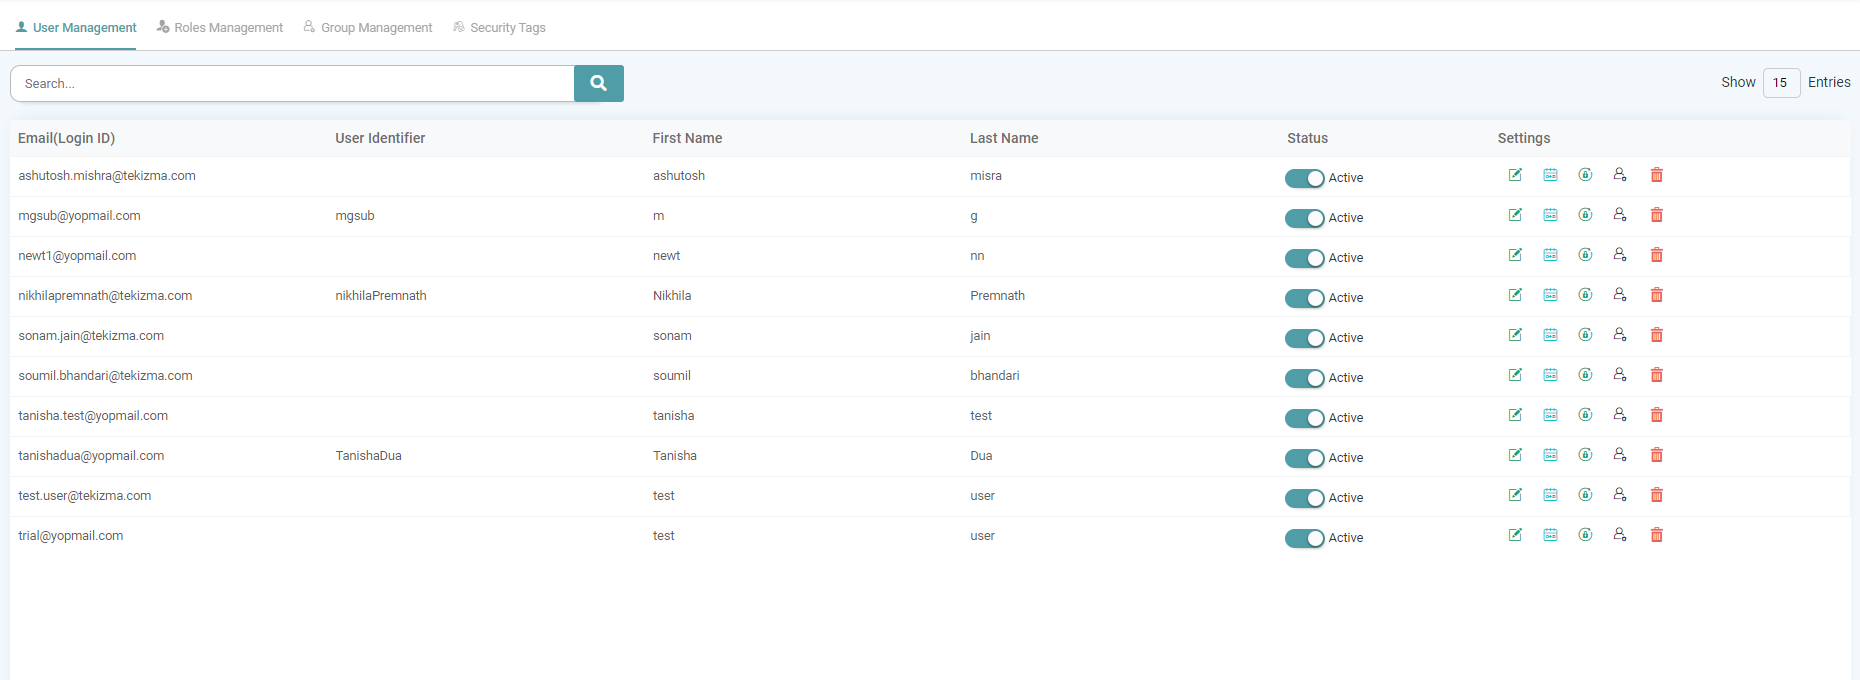
Search User
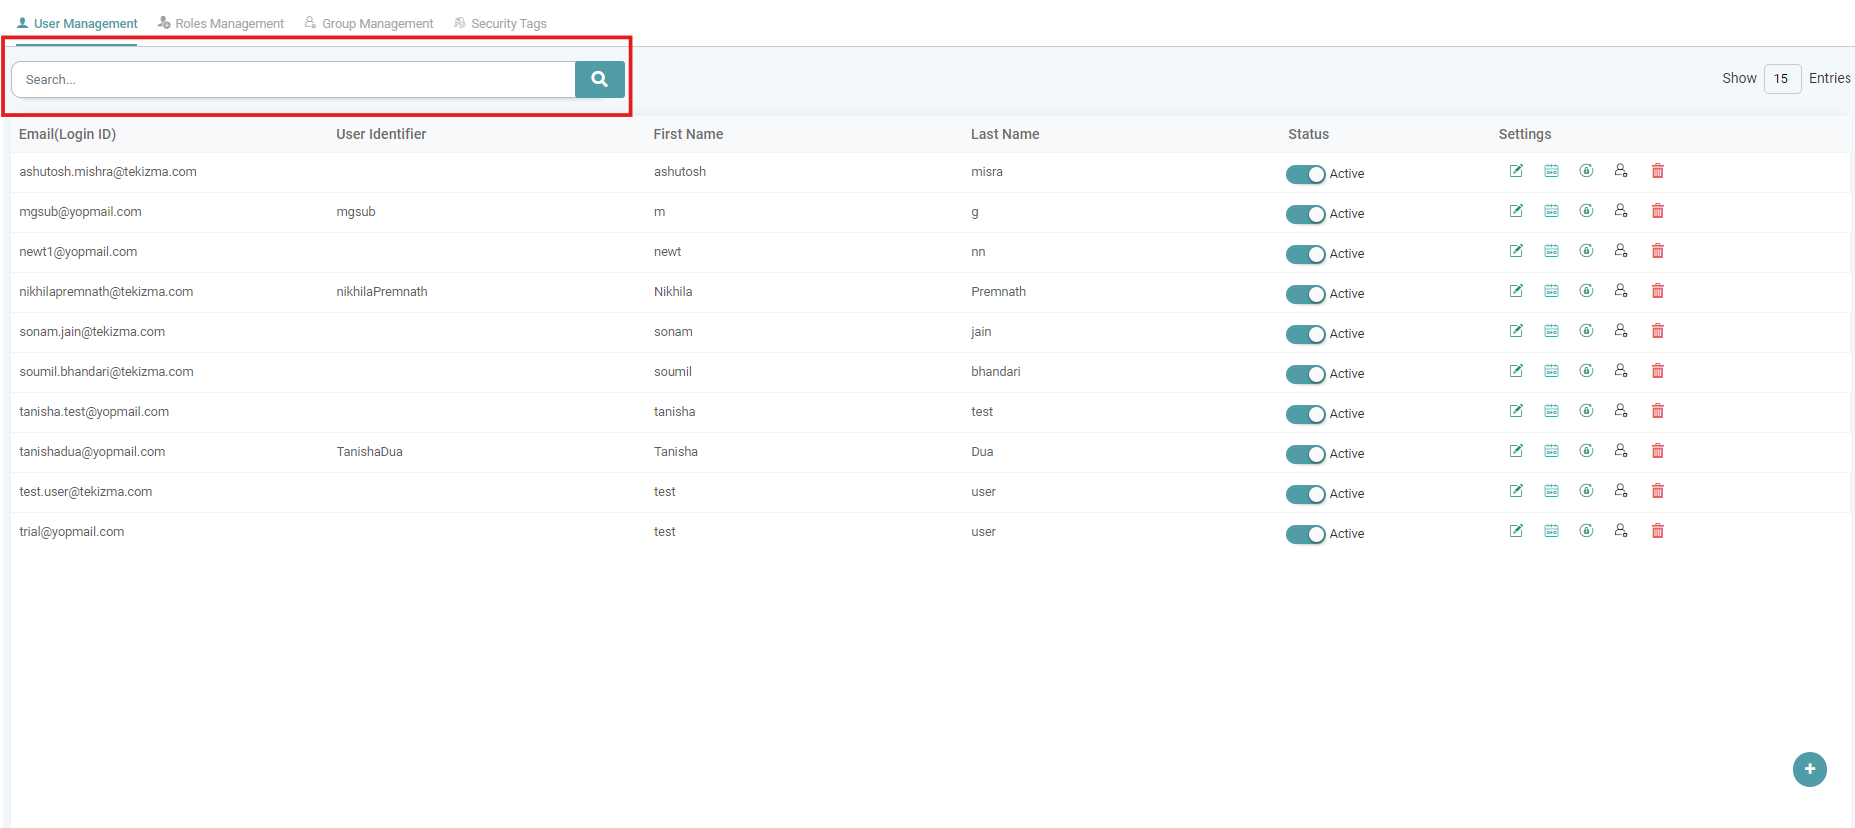
Step 1: On the Main Navigation Bar, click admin and select the user management tab.
Step 2: The users that have been created can be looked-up in the search tab.
Step 3: In the search tab, type the user identifier or email id.
Step 4: The Users whose user identifier or email id has been entered will be shown in the list.
Step 5: You can also search by navigating to the previous pages or click the next page to see the full list. (Refer to the image below).
Make a user Active/ Inactive
Step 1: On the Main Navigation Bar, click admin and select the user management tab. The default setting of the user’s status is Active.
Step 2: On clicking the toggle switch, the user will be made Inactive. (Refer to the image below).
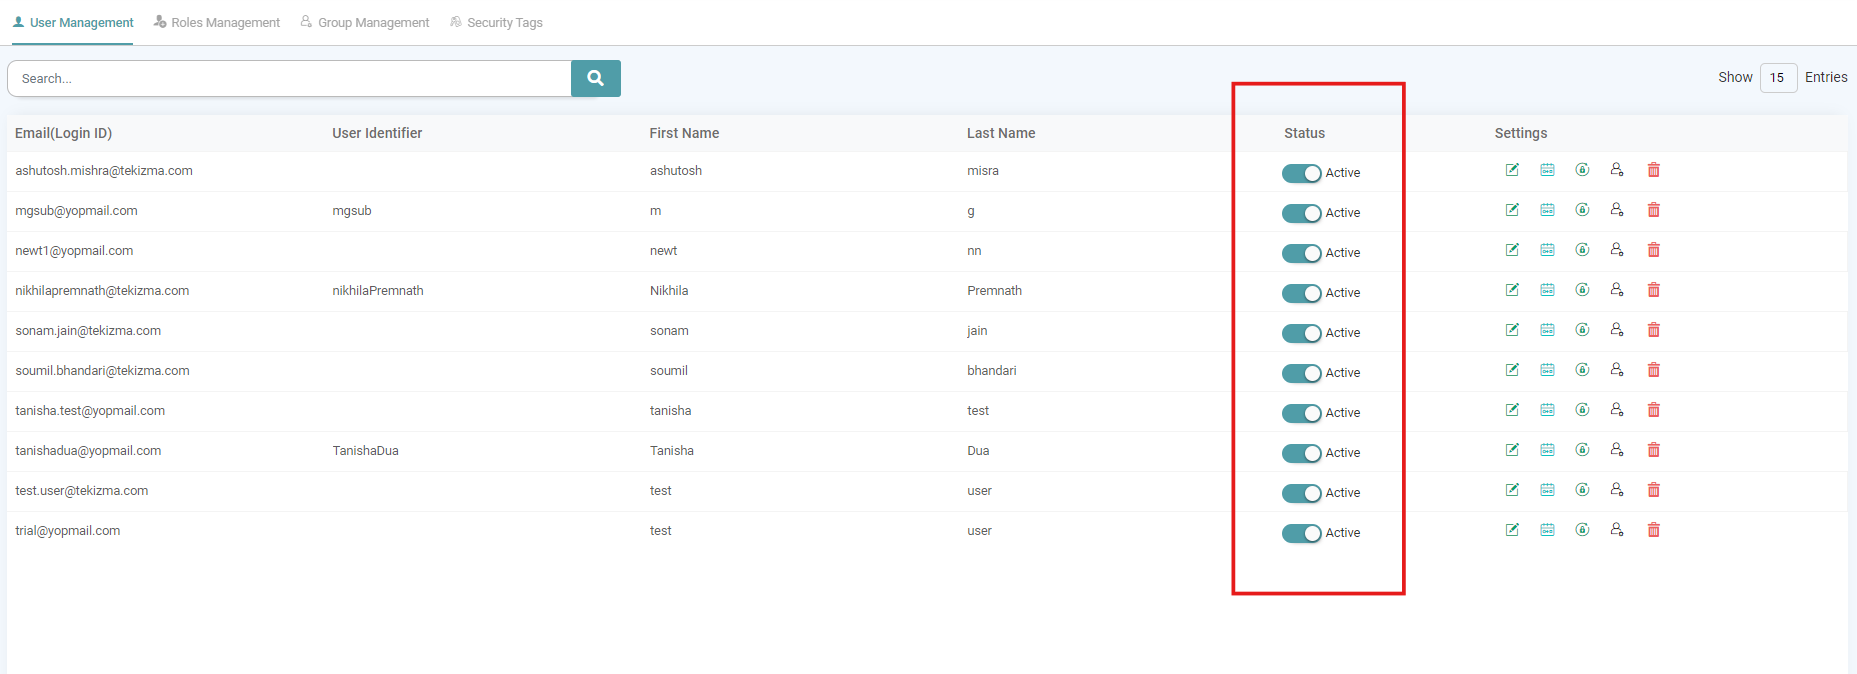
Step 3: The inactive user cannot login to the application and there will be an error message.
Step 4: Clicking on the status toggle switch again, the user will be active.
Step 5: Now that user can login.
Track Users by Username/ E-Mail
Step 1: On the Main Navigation Bar, click “Admin”.
Step 2: In this section, the admin can create users and assign roles as required by the organization. You can select the preferred settings for the ‘Admin’.
Step 3: Navigate to the User Management tab. The admin can track the user by their Username and E-Mail (Login ID). (Refer to the image below).