Creating a Numbered Card
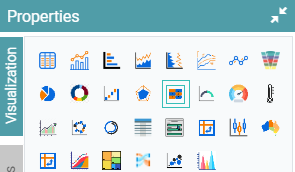
Step 1: On the top right corner of the page, click on visualization under properties. Click on the Numbered Card icon under properties. (Refer to the image below).
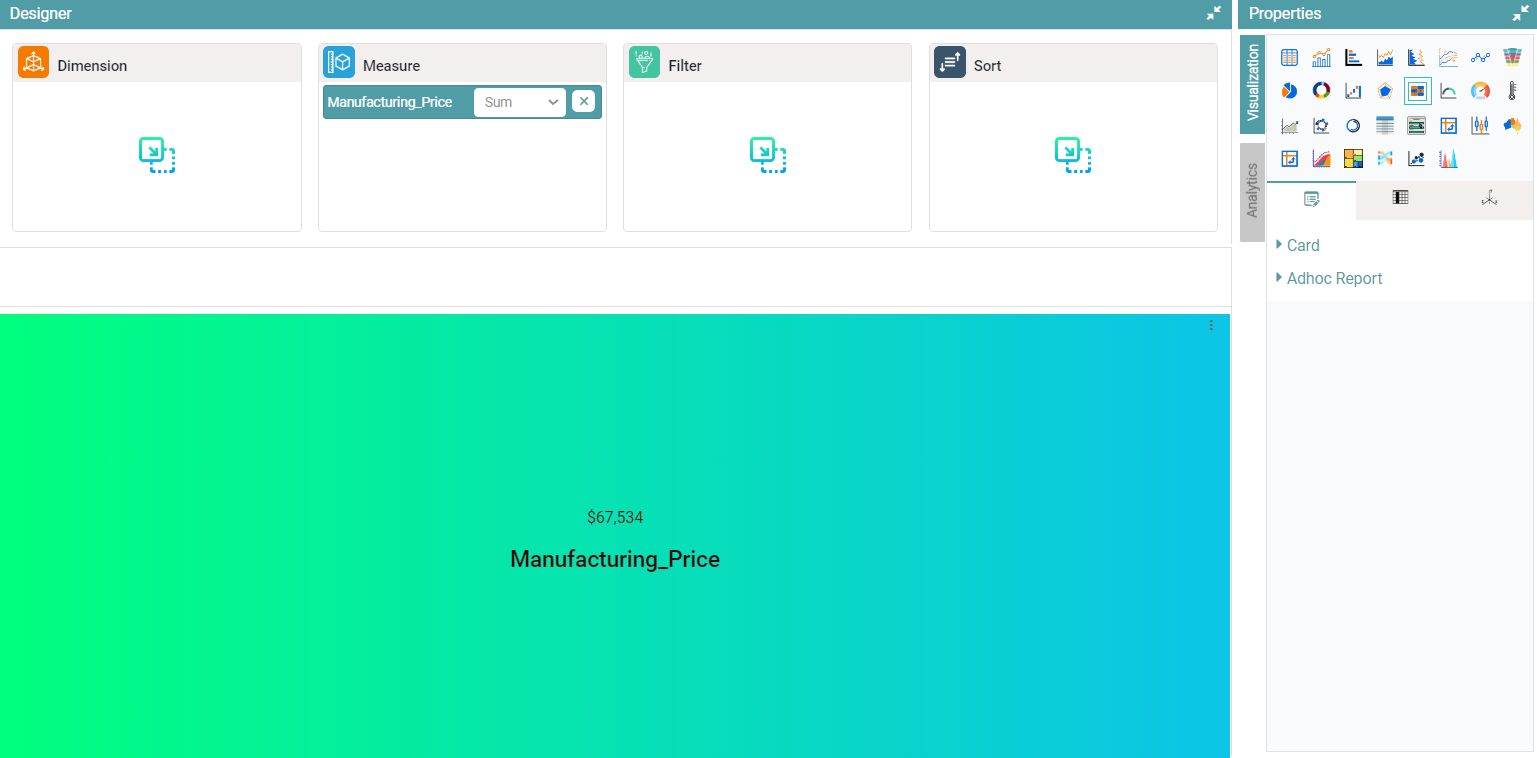
Step 2: Drag and drop the required columns in dimension and measure. The data represented will be in the form of a Numbered Card. (Refer to the image below).


Properties
Enable Html in Custom Text
Step 1: On the top right corner of the page, click on visualization under properties. Click on the Numbered Card icon under properties.
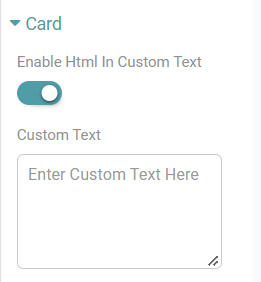
Step 2: Drag and drop the required columns in measure. You can enable the HTML toggle and add the html code. The data in the number card will be in accordance to the html code. (Refer to the image below).
Customization
Step 1: On the top right corner of the page, click on visualization under properties. Click on the Numbered Card icon under properties.
Step 2: Drag and drop the required columns in measure. You can personalize the numbered card.
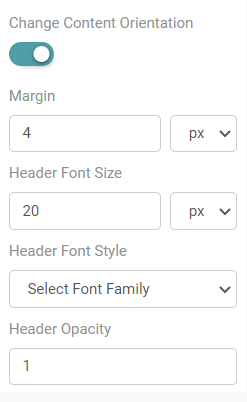
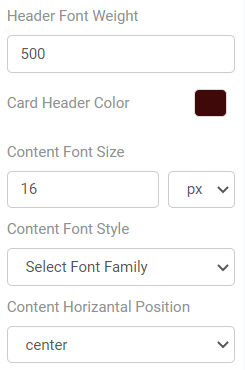
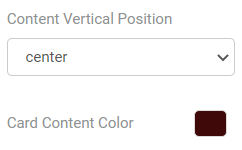
Step 3: You can change the content orientation, margin, header font size, header font style, header opacity, header font weight, card header color, content font size, content font style, content horizontal position, content vertical position and card content color. (Refer to the images below).
Step 4: The background can be set from the dropdown. If you select the background as transparent then the card will display a transparent background. (Refer to the image below).
Step 5: You can also add an image to the numbered card by enabling the “Image” toggle. You can give the Image Horizontal Position, Image Vertical Position, Image Width, Image Height, Vertical Move and Horizontal Move. (Refer to the image below).

Columns
Columns are similar to that of the Bar Chart.