Create a new workflow – Datasource
Step 1: Click on the ‘Design Tab’ on the ‘Main Navigation Bar’.
Step 2: Click the add new icon.
Step 3: Click on the Workflow icon to create a new Workflow.
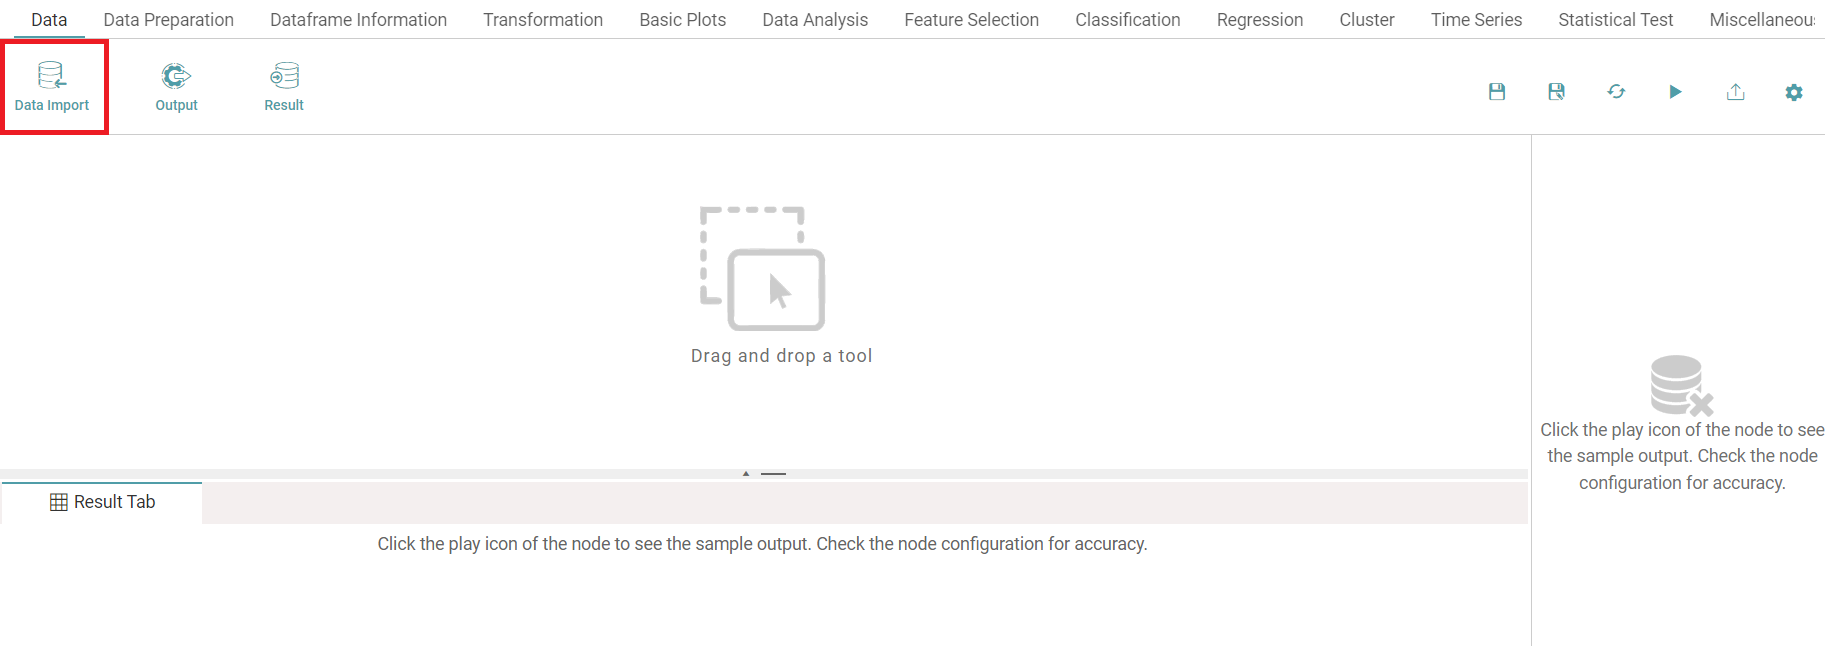
Step 4: Select the data import node. Drag and drop the node onto the main screen. (Refer to the image below).


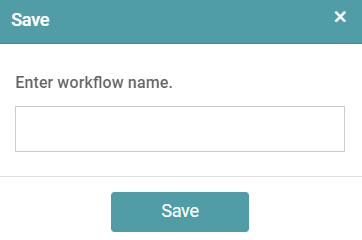
Step 5: A Pop up appears. Enter the desired name and save the workflow. (Refer to the image below).
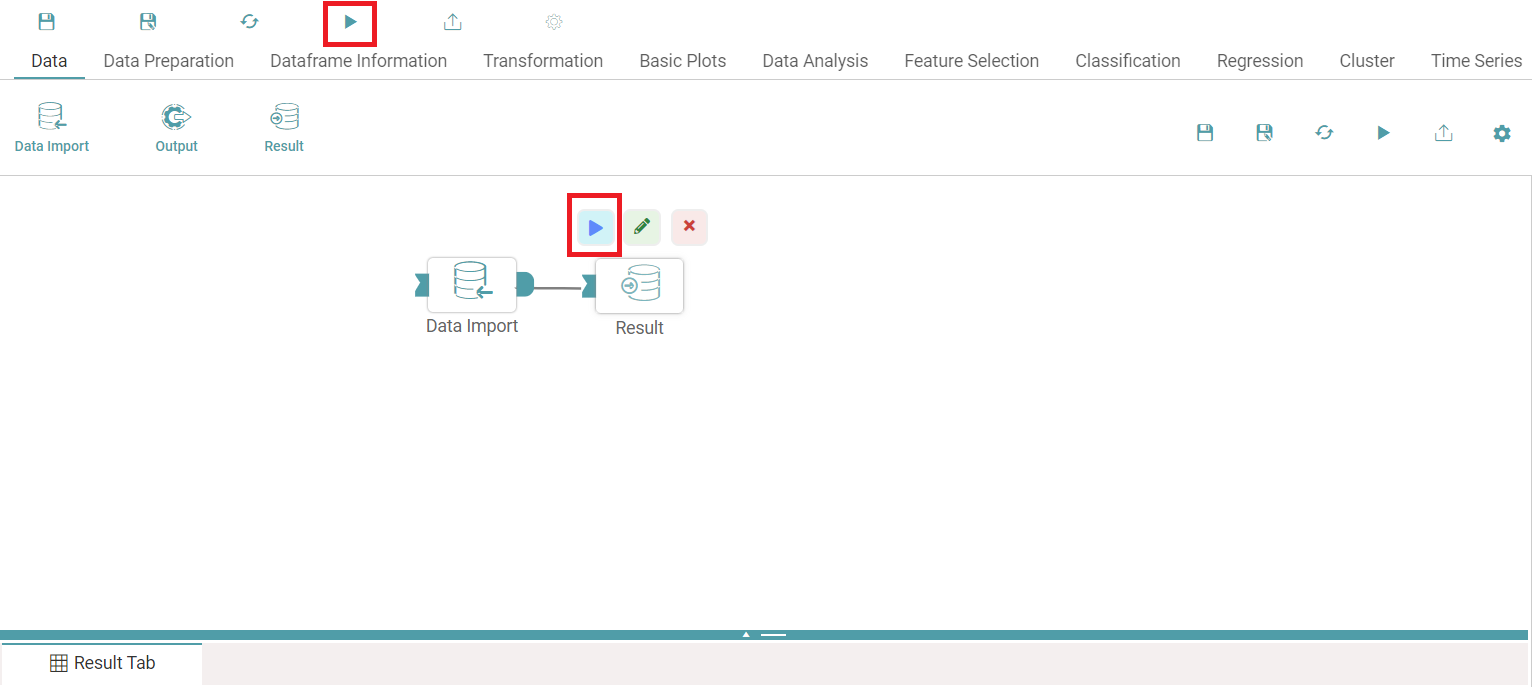
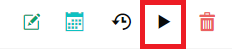
Step 6: Click on the data import icon. Three popups appear above the icon.
Step 7: You can click on the run icon to see the result once the configurations have been done. Click on the pencil mark icon to change the data import icon name.
Step 8: Click on the cross-mark icon to delete the data import icon. (Refer to the image below).

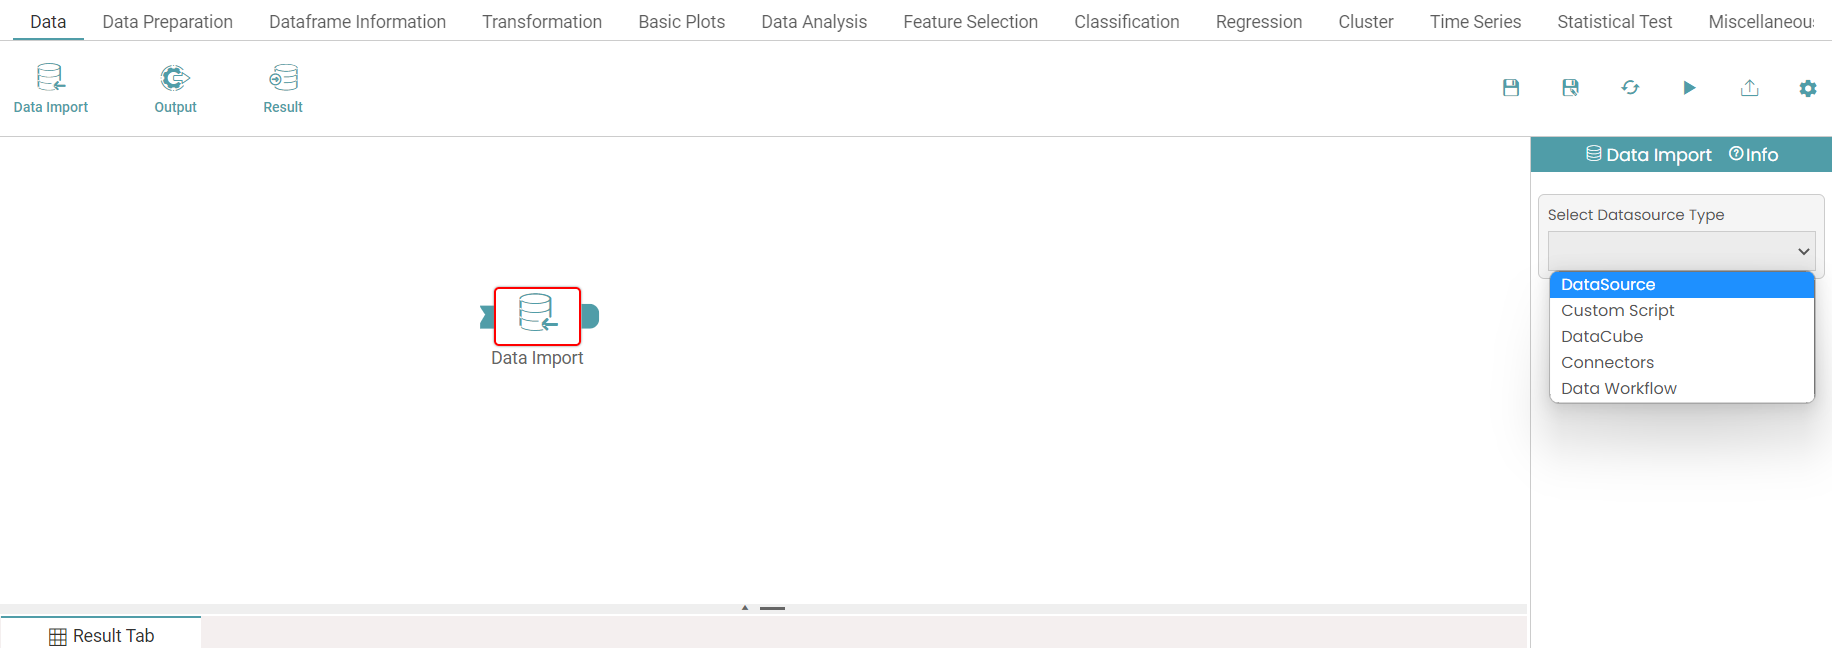
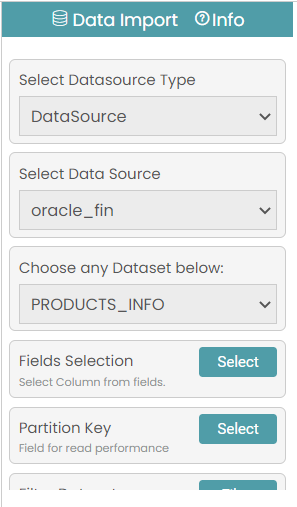
Step 9: Under ‘Data Import’, select the Data Source type dropdown and click on Datasource. (Refer to the image below).
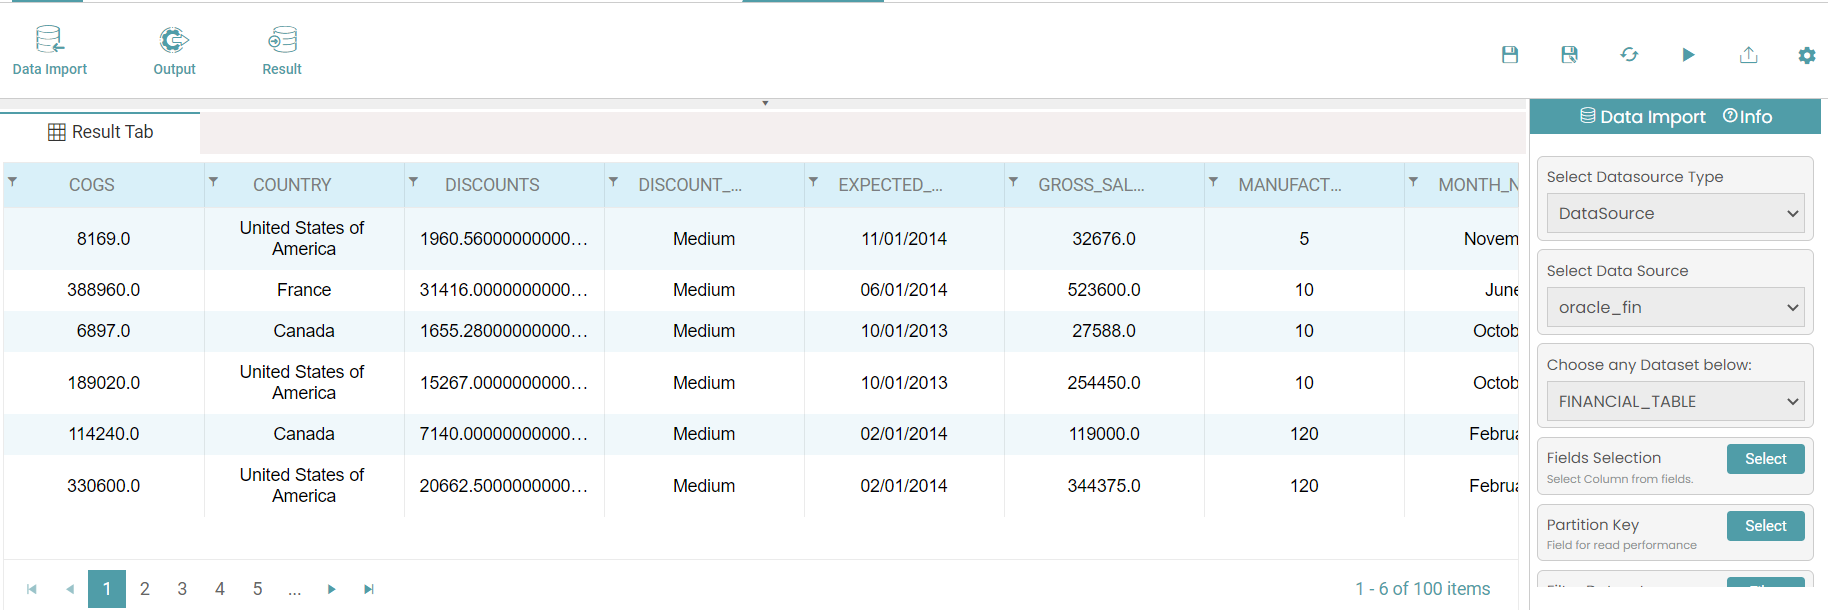
Step 10: Click on the ‘Select Data Source’ dropdown and choose the required data set.
Step 11: Click on the run button to see the import of data.
Step 12: Click on the “Show Results” on the bottom line to view the result.
Step 13: Data imported from data source will appear in a table format. (Refer to the image below).
Step 14: You can make use of the additional filter options to limit the amount of data during the import.
Create a new workflow – Custom Script
Step 1: Click on the ‘Design Tab’ on the ‘Main Navigation Bar’.
Step 2: Click the add new icon.
Step 3: Click on the Workflow icon to create a new Workflow.
Step 4: Select the data import node. Drag and drop the node onto the main screen. (Refer to the image below).

Step 5: A Pop up appears. Enter the desired name and save the workflow. (Refer to the image below).

Step 6: Click on the data import icon. Three popups appear above the icon.
Step 7: You can click on the run icon to see the result once the configurations have been done. Click on the pencil mark icon to change the data import icon name.
Step 8: Click on the cross-mark icon to delete the data import icon. (Refer to the image below).

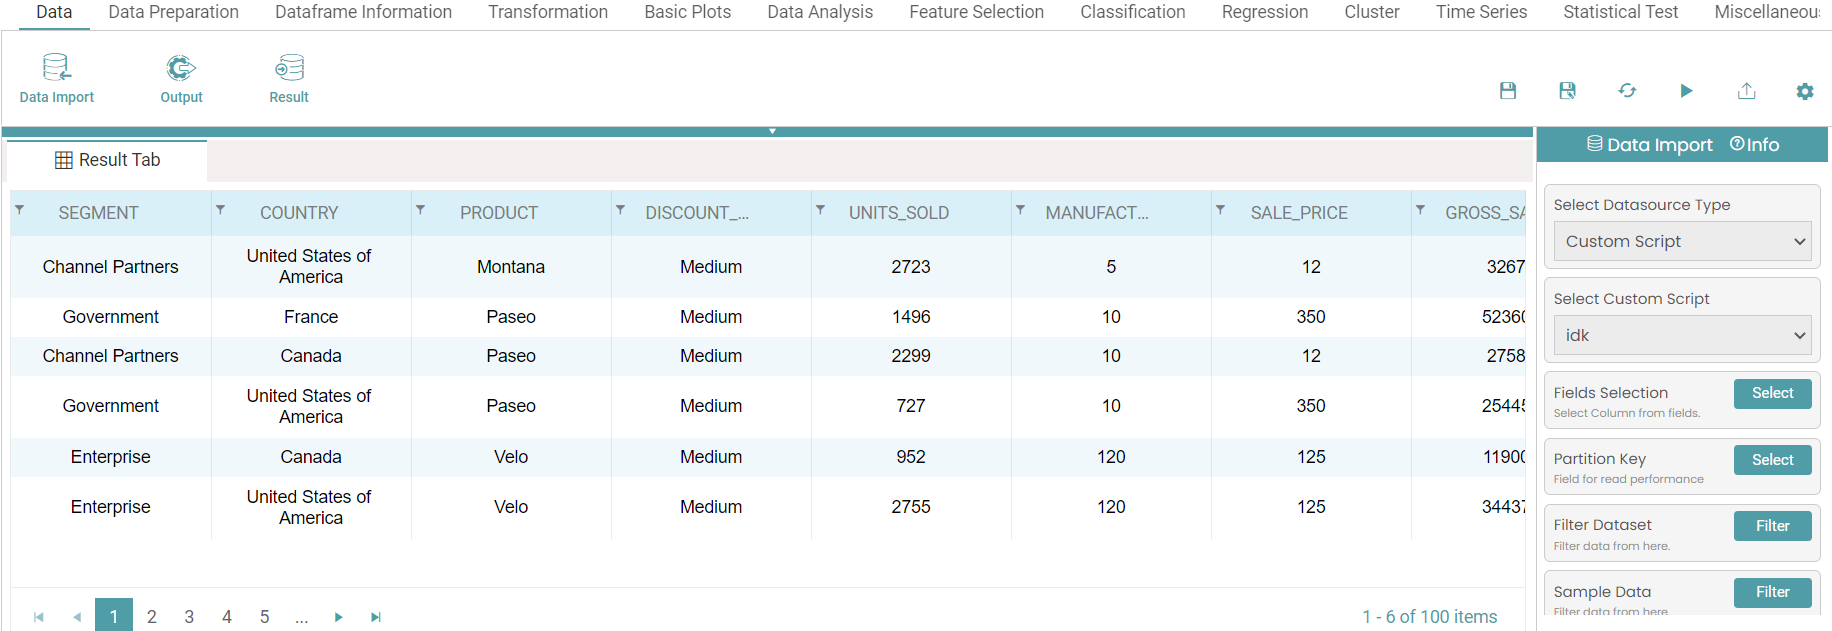
Step 9: Under ‘Data Import’, select the Data Source type dropdown and click on Custom Script. (Refer to the image below).

Step 10: Select the Custom Script from the dropdown and make the required changes. Step 12: Click on the run button to see the import of data.
Step 11: Click on the “Show Results” on the bottom line to view the result.
Step 12: Data imported from the custom script will appear in a table format. (Refer to the image below).
Custom Script Creation
Step 1: Click on the add icon on the bottom right of the screen.
Step 2: Click the add new icon and click on Data cube.
Step 3: Select the required data source and click on Custom script.
Step 4: In the dropdown, the user can add custom scripts.
Create a new workflow – Data Cube
Step 1: Click on the ‘Design Tab’ on the ‘Main Navigation Bar’.
Step 2: Click the add new icon.
Step 3: Click on the Workflow icon to create a new Workflow.
Step 4: Select the data import node. Drag and drop the node onto the main screen. (Refer to the image below).

Step 5: A Pop up appears. Enter the desired name and save the workflow. (Refer to the image below).

Step 6: Click on the data import icon. Three popups appear above the icon.
Step 7: You can click on the run icon to see the result once the configurations have been done. Click on the pencil mark icon to change the data import icon name.
Step 8: Click on the cross-mark icon to delete the data import icon. (Refer to the image below).

Step 9: Under ‘Data Import’, select the Data Source type dropdown and click on Data cube. (Refer to the image below).
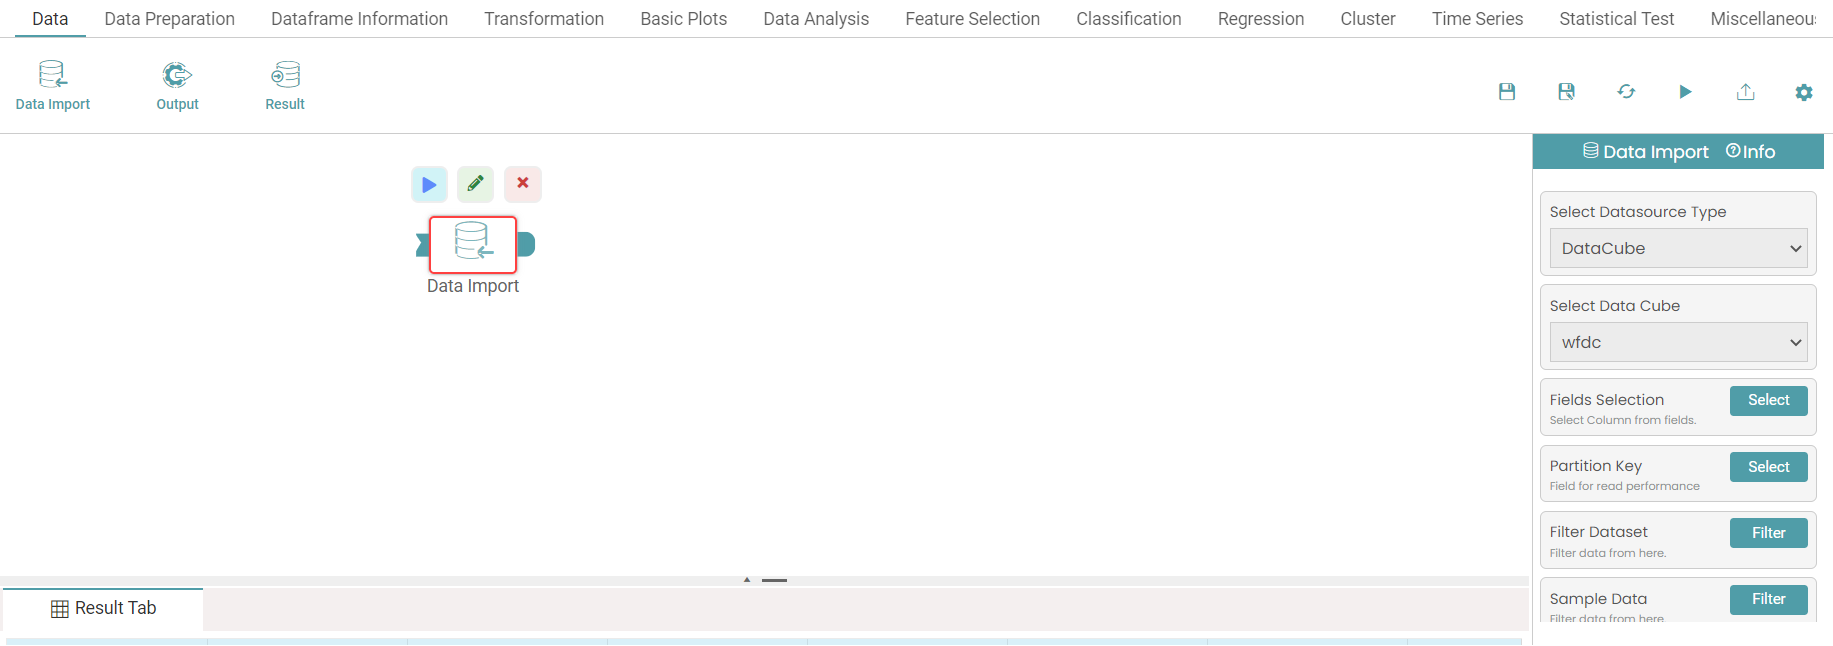
Step 10: Select the data cube from the dropdown and make the required changes.
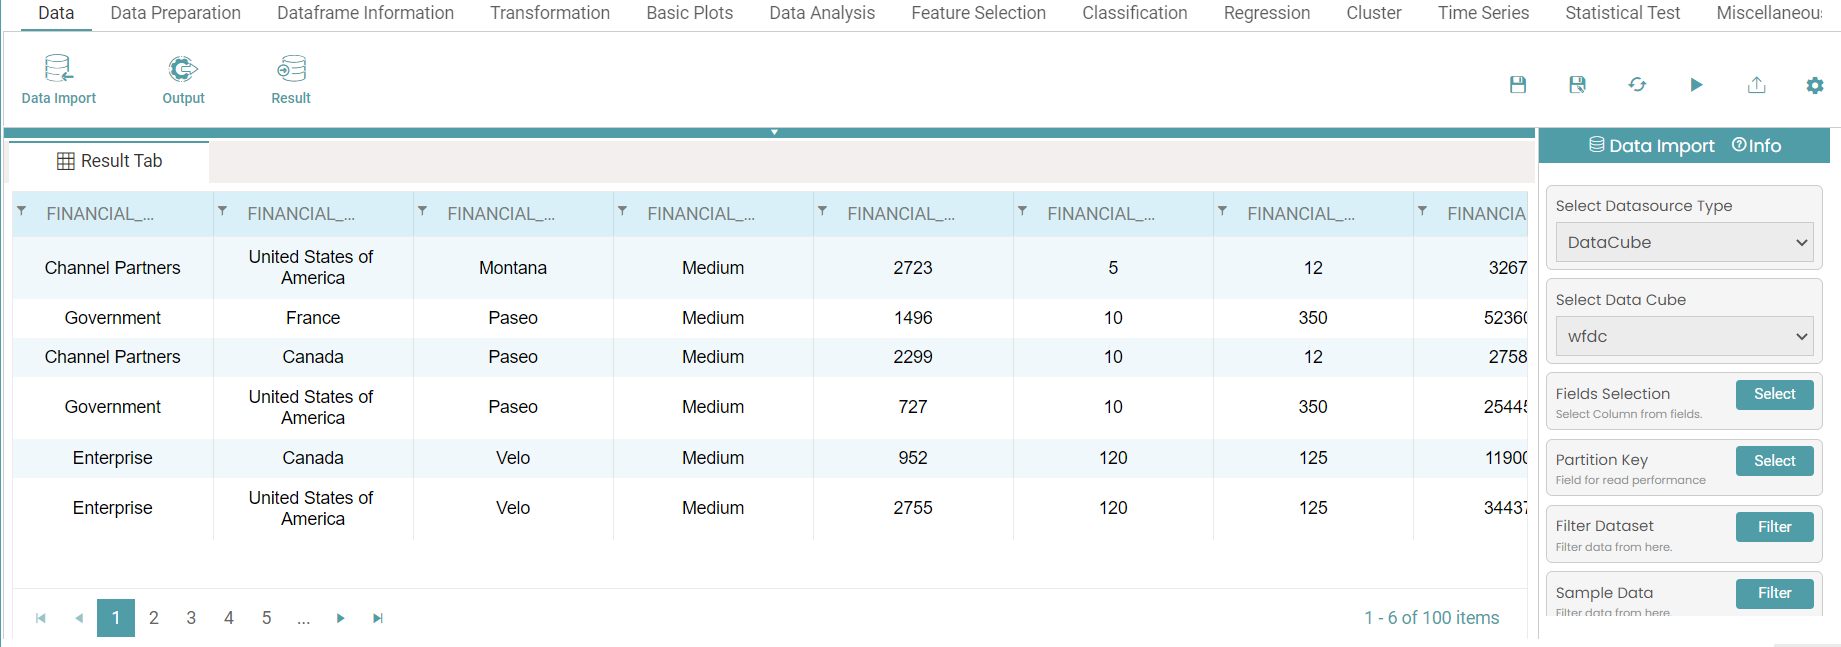
Step 11: Click on the run button to see the import of data.
Step 12: Click on the “Show Results” on the bottom line to view the result.
Step 13: Data imported from the data cube will appear in a table format. (Refer to the image below).
Note: Follow the steps under Data Cube Creation to create a data cube. This has been elaborated under Design.
Create a new workflow – Connectors
Step 1: Click on the ‘Design Tab’ on the ‘Main Navigation Bar’.
Step 2: Click the add new icon.
Step 3: Click on the Workflow icon to create a new Workflow.
Step 4: Select the data import node. Drag and drop the node onto the main screen. (Refer to the image below).
Step 5: A Pop up appears. Enter the desired name and save the workflow. (Refer to the image below).

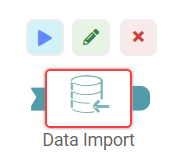
Step 6: Click on the data import node. Three popups appear above it.
Step 7: You can click on the run icon to see the result once the configurations have been done. Click on the pencil mark icon to change the data import icon name.
Step 8: Click on the cross-mark icon to delete the data import icon. (Refer to the image below).

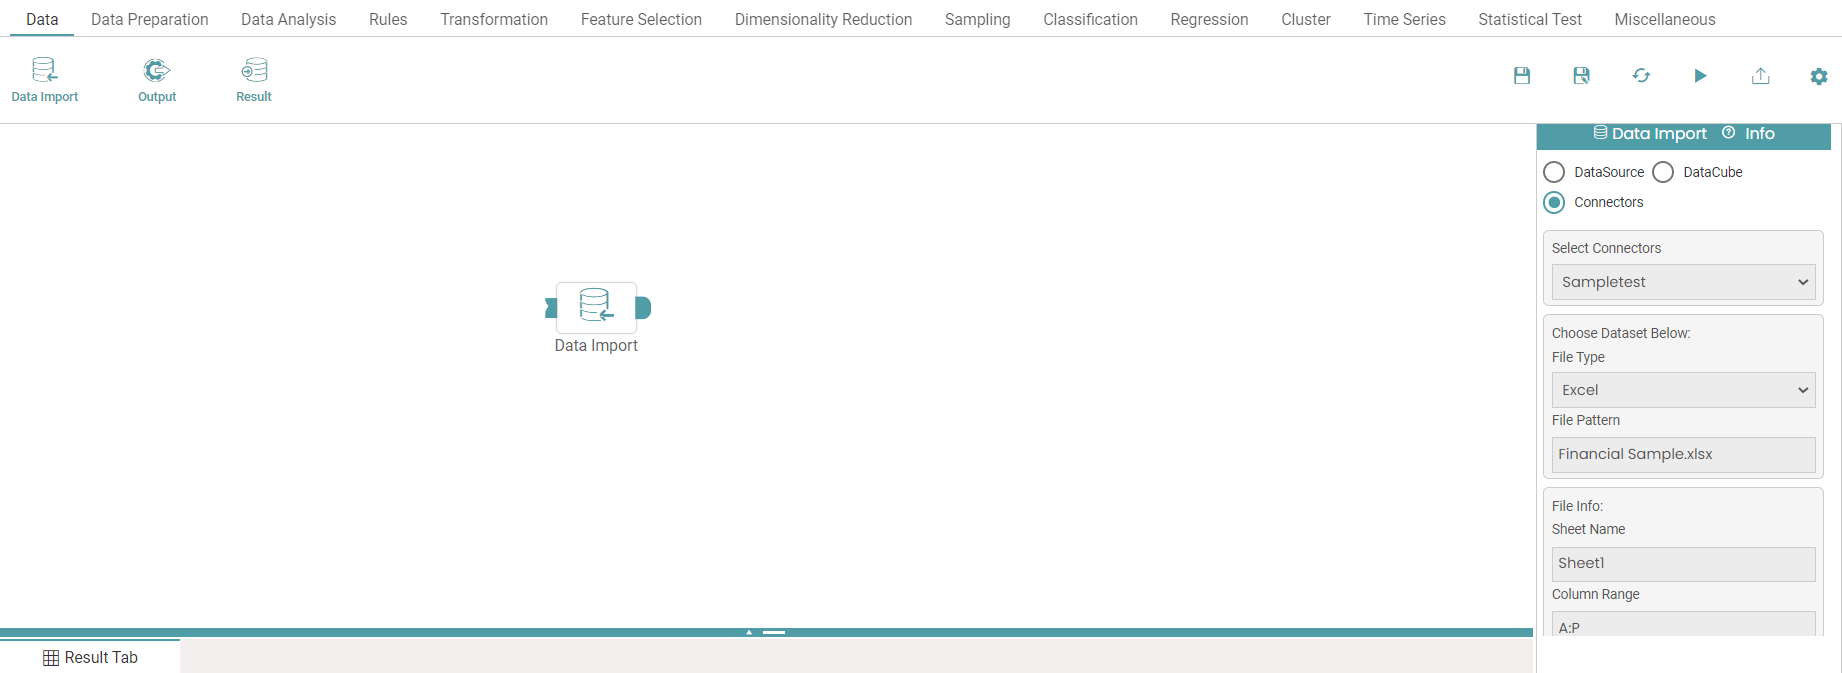
Step 9: Under ‘Data Import’, select the Connectors radio button.
Step 10: Now, select the connector, choose dataset, enter the file information. (Refer to the image below).
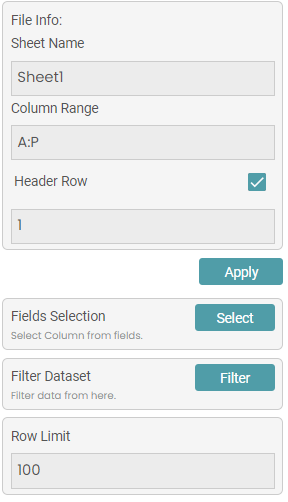
Step 11: You can also select the fields, filter the dataset and set the row limit. (Refer to the image below).
Step 12: Click on the run icon to run the workflow.
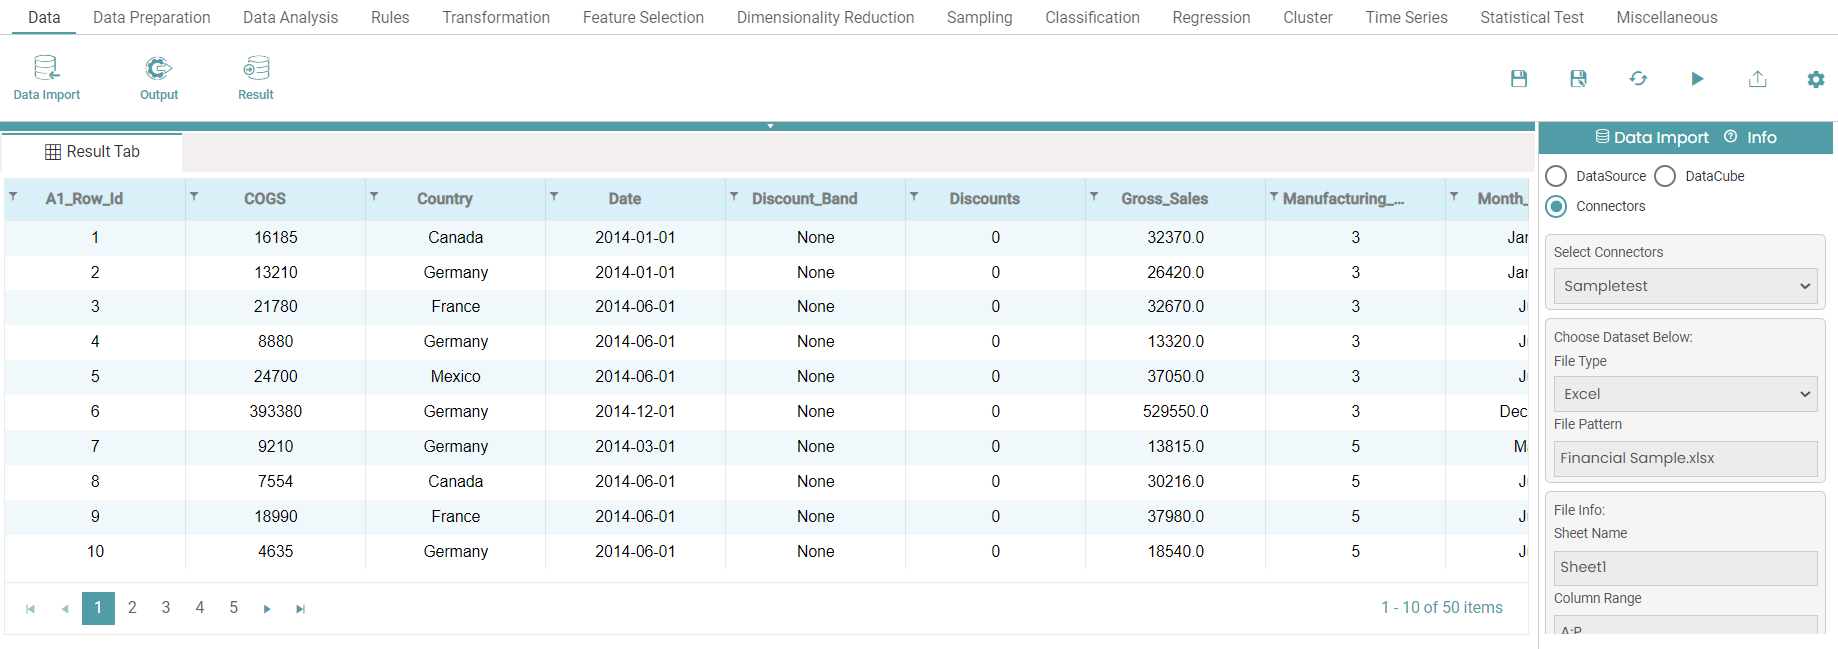
Step 13: Click on the “Show Results” on the bottom line to view the result.
Step 14: The data is displayed according to the information given. (Refer to the image below).
Create a new workflow – Data Workflow
Step 1: Click on the ‘Design Tab’ on the ‘Main Navigation Bar’.
Step 2: Click the add new icon.
Step 3: Click on the Workflow icon to create a new Workflow.
Step 4: Select the data import node. Drag and drop the node onto the main screen. (Refer to the image below).

Step 5: A Pop up appears. Enter the desired name and save the workflow. (Refer to the image below).

Step 6: Click on the data import icon. Three popups appear above the icon.
Step 7: You can click on the run icon to see the result once the configurations have been done. Click on the pencil mark icon to change the data import icon name.
Step 8: Click on the cross-mark icon to delete the data import icon. (Refer to the image below).
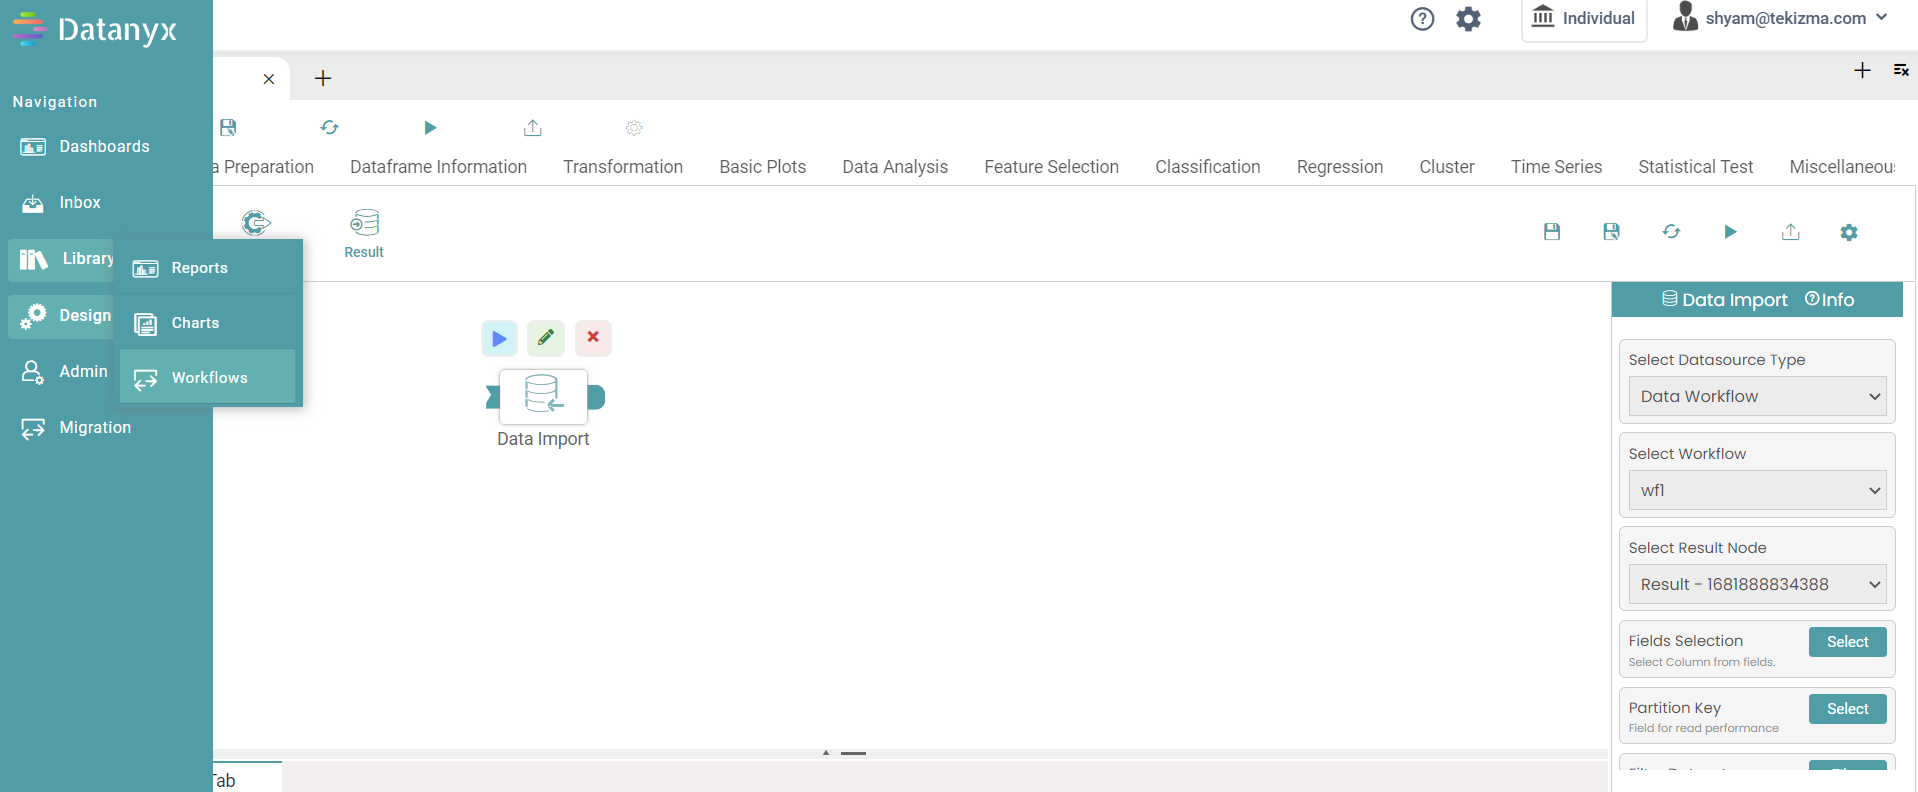
Step 9: Under ‘Data Import’, select the Data Source type dropdown and click on Data Workflow. (Refer to the image below).
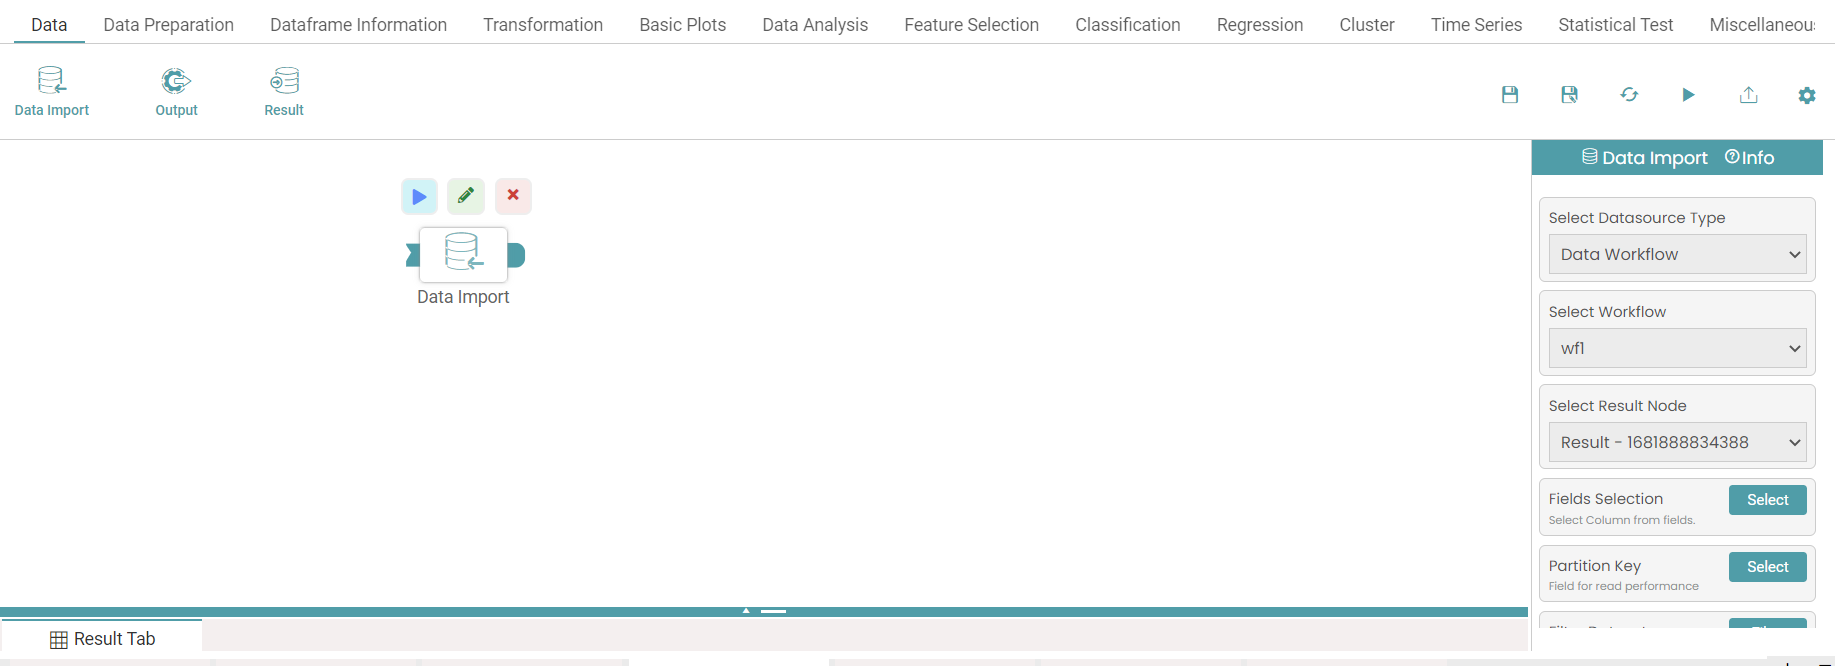
Step 10: Select the data workflow from the dropdown, select the workflow, select the result node and make the required changes.
Step 11: Click on the run button to see the import of data.
Step 12: Click on the “Show Results” on the bottom line to view the result.
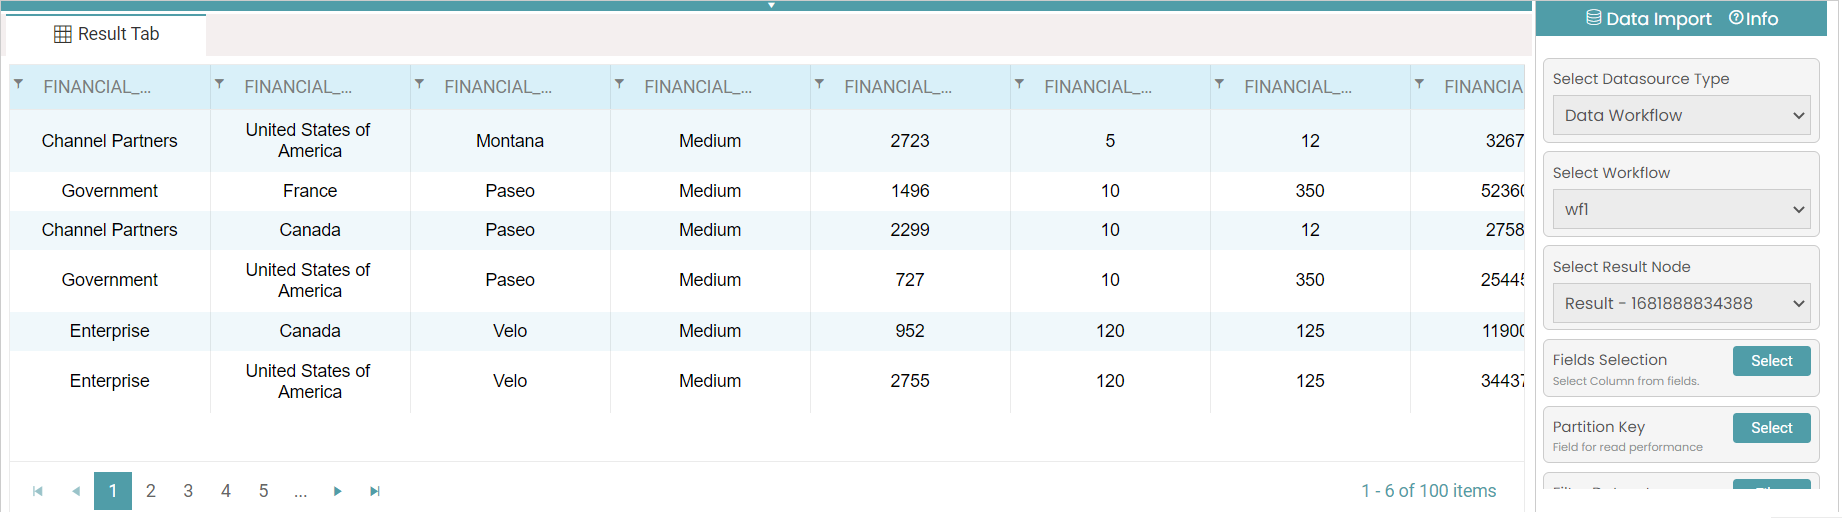
Step 13: Data imported from the data workflow will appear in a table format. (Refer to the image below).
Note: The result node is the result that has been derived from another workflow.
Connecting Nodes
Step 1: Click on the nodes which need to be connected.
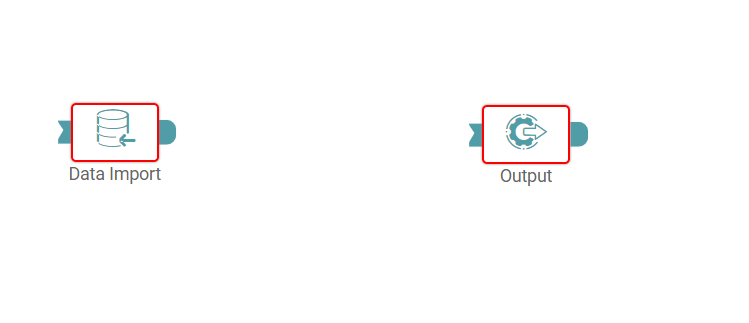
Step 2: Drag and drop the nodes on the main screen. (Refer to the image below).
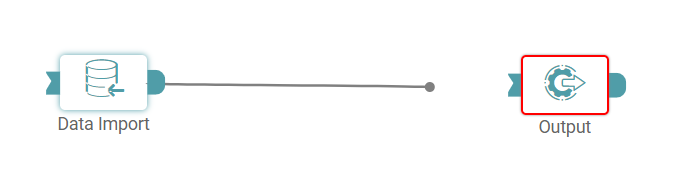
Step 3: Click on the tip of the first node and drag it to the second node (Refer to the images below).
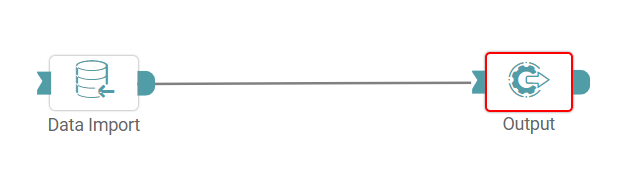
Step 4: To run the workflow, click on the run button.
Configuring Nodes
Step 1: Click on the nodes which need to be configured.
Step 2: Drag and drop the nodes on the main screen.
Step 3: On the right side of the screen, there are various options wherein the configuration can be done according to the requirement of the user. (Refer to the image below).
Edit/ Delete Nodes
Step 1: Click on the data import icon. Three popups appear above the icon.
Step 2: Click on the pencil mark icon to change the data import node name.
Step 3: Click on the cross-mark icon to delete the data import node. (Refer to the image below).

Run Modes
Design Mode
Step 1: Click on the required nodes and create the workflow. Once the workflow has been created, it can be run by clicking on either of the following run buttons. (Refer to the image below).
Step 2: The workflow creation on the UI is called Design Mode.
Step 3: The result is shown in the result tab in the form of a table.
Single Node
Step 1: This mainly pertains to the nodes which can run individually.
Step 2: For instance, drag and drop the SQL Executor Node or Bulk-Data Transformation Node onto the screen.
Step 3: You can run the workflow and view the result by clicking on the run button once the desired configurations have been made.
Run on Cluster
Step 1: Once the new workflow has been created and saved, click on Libraries on the main navigation bar and click on workflow. (Refer to the image below).
Step 2: You will be directed to the workflow screen under libraries. Click on the run button under actions to run the workflow on cluster. (Refer to the image below).
Step 3: Once the run button has been clicked, the processing will start on data bricks.
View Result
Filter
Step 1: Create a new workflow.
Step 2: Select the data import node. Drag and drop the node onto the main screen.
Step 3: Select the data source and the data set.
Step 4: Data imported from data source will appear in a table format.
Step 5: Click on the run button. Click on the “Show Results” on the bottom line to view the result.
Step 6: You can click on the filter icon available in the columns.
Step 7: Now, a multiselect dropdown is seen. (Refer to the image below).
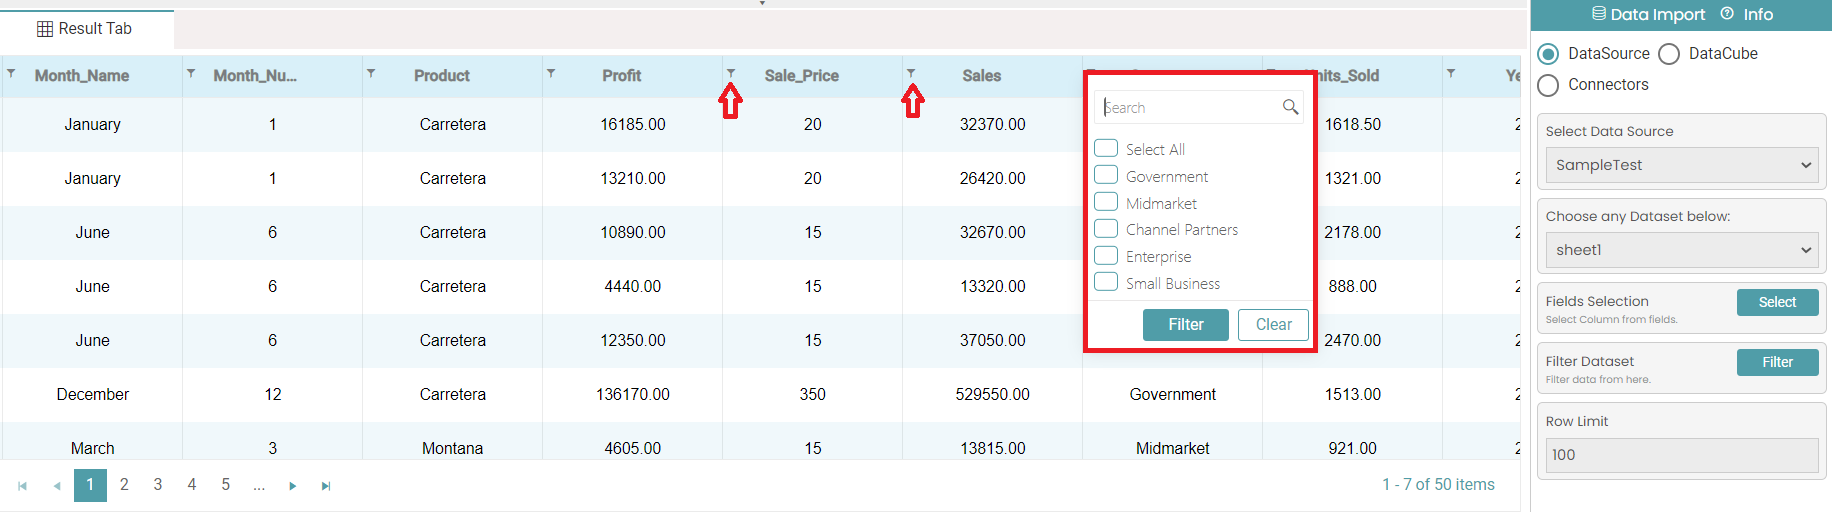
Step 8: You can add filter by clicking on the checkboxes available or can use the search bar.
Step 9: You can select multiple filters for each of the columns individually. You can also clear the filters by clicking on the clear button.
Note: This is not restricted to the data import node and applies to other nodes as well.
Size
Step 1: Create a new workflow.
Step 2: Select the data import node. Drag and drop the node onto the main screen.
Step 3: Select the data source and the data set.
Step 4: Click on the run button. Click on the “Show Results” on the bottom line to view the result.
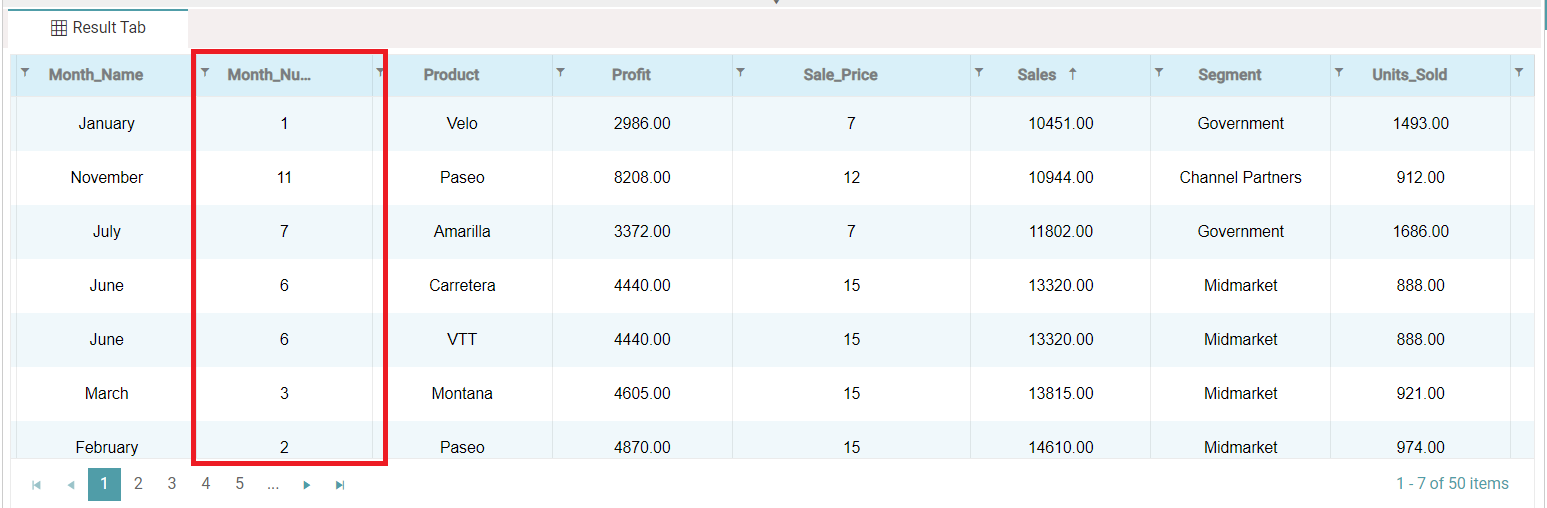
Step 5: You can adjust the column size by dragging the vertical line to accommodate the header. (Refer to the images below).

Note: This is not restricted to the data import node and applies to other nodes as well.
Delete Workflow
Step 1: Click on Libraries on the main navigation bar and click on workflow.
Step 2: Click on the delete icon to delete the workflow. (Refer to the image below).

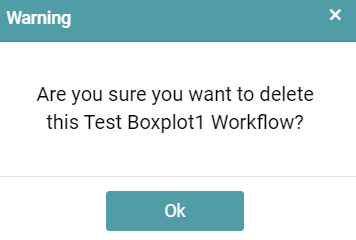
Step 3: A warning pop-up appears.
Step 4: Click on “OK” to confirm the file deletion. (Refer to the image below).
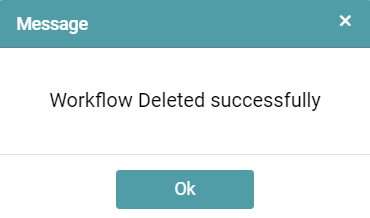
Step 5: You will see another pop-up that indicates that the workflow has been deleted successfully. Click on the ‘Ok’ button. (Refer to the image below).
Schedule Workflow
Step 1: This button aids you in scheduling the workflow based upon the schedule fixed.
Step 2: A ‘Schedule’ pop-up appears once you click on the schedule icon. (Refer to the images below).

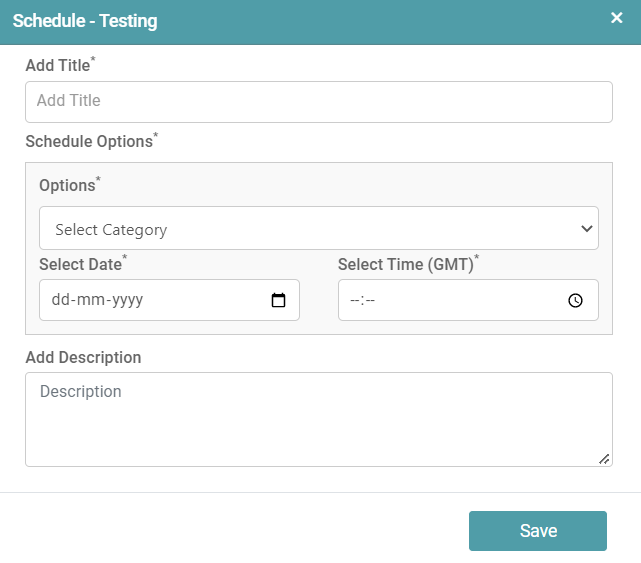
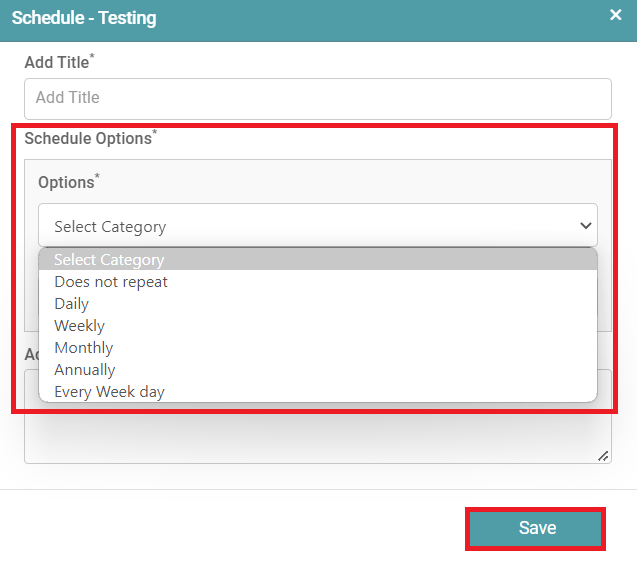
Step 3: Now, you are able to add title and schedule options. You need to select a category of display i.e., how the schedule is categorized. (Refer to the image below).
Step 4: Finally, a description for the workflow can be added by the user.
Step 5: Click on the save button.
Share Workflow
Step 1: The share button helps in sharing the workflows that have been created with different users based on their roles. (Refer to the image below).

Step 2: Here, one needs to select the user with whom the workflows ought to be shared. Further, the role of the user needs to be selected.
Step 3: The user can then click on the share button such that the workflows can be shared with the users that have been selected. (Refer to the image below).

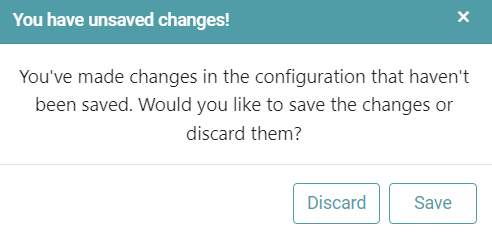
Note: After configuring a node, ensure you click “Save” to retain the changes. If you need to undo the configuration, click “Discard.” Failing to choose either “Save” or “Discard” will trigger a warning pop-up. (Refer to the image below).