Filter Node – Introduction
This node is used for filtering out the data that we need from our data frame. To use filter node first a data needs to be imported.
Step 1: Once the data has been imported, click on data preparation.
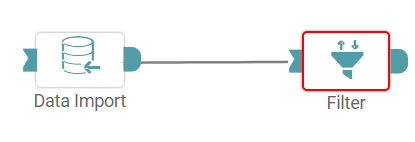
Step 2: Drag and drop the filter node onto the main screen. Connect the two nodes. (Refer to the image below).


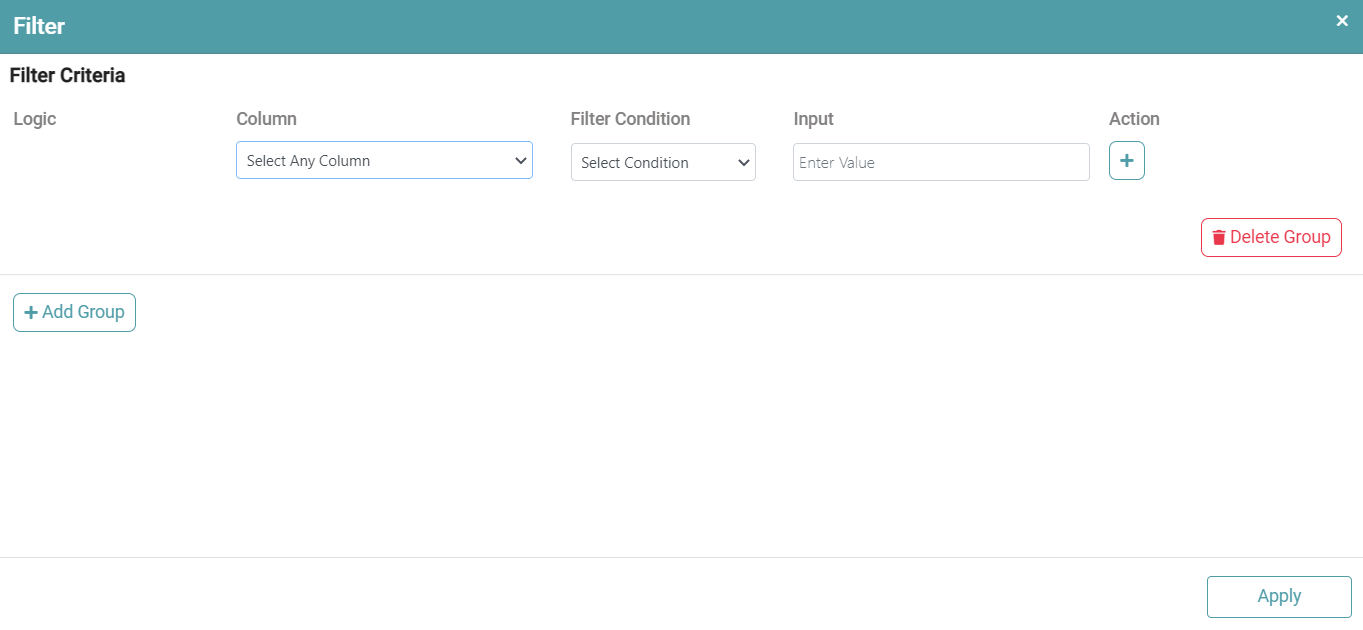
Step 3: Once a successful connection is made between ‘data import and filter’, click on the filter button available on the right panel. Filter pop-up appears. (Refer to the image below).
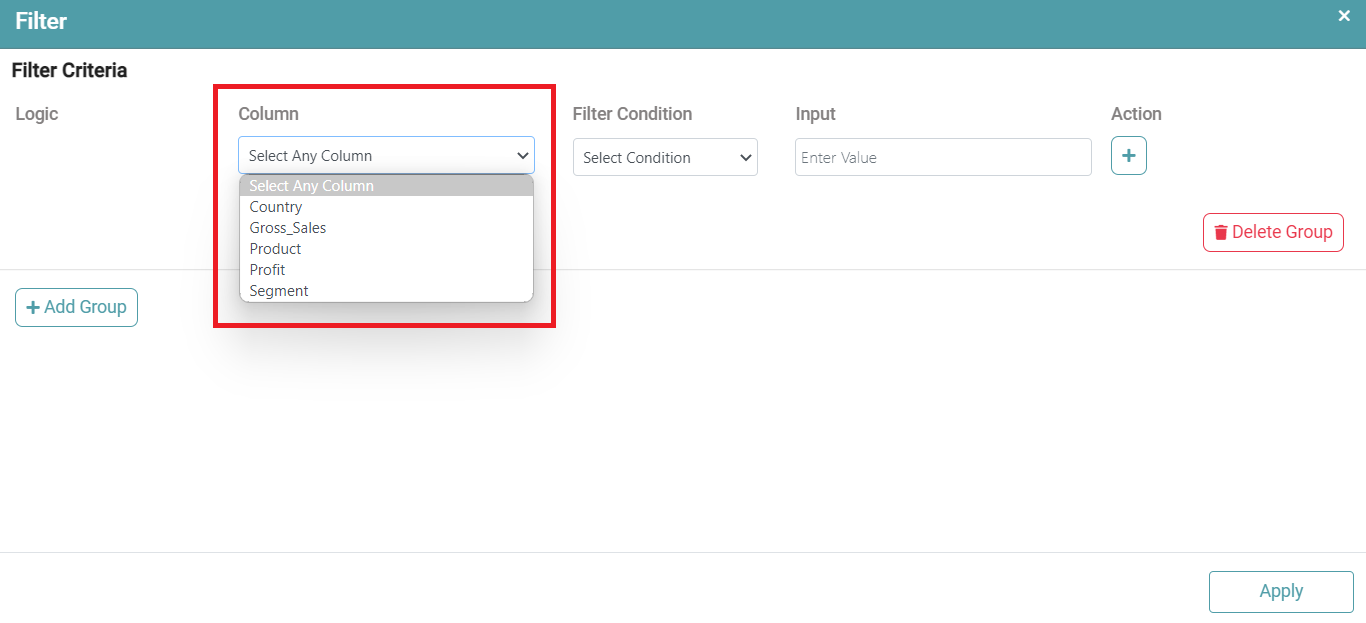
Step 4: Click on the dropdown under column. The dropdown shows the columns that are present in the table. Select the column that needs to be filtered. (Refer to the image below).
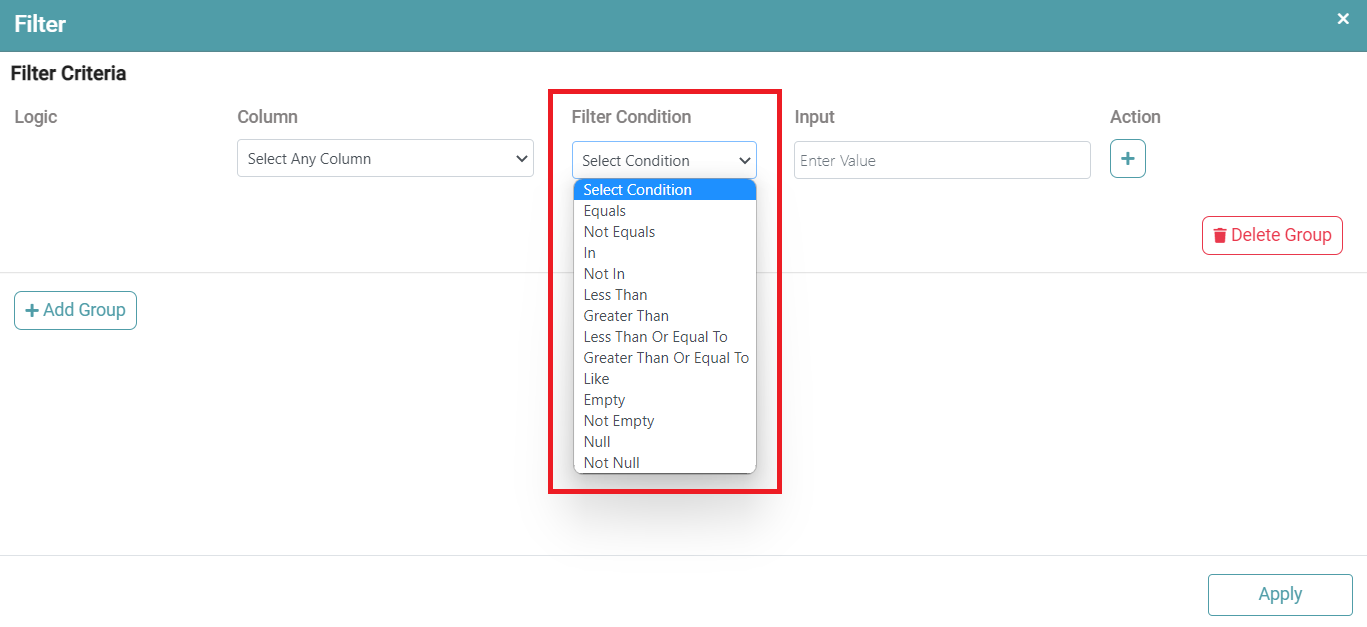
Step 5: Click on filter condition. A dropdown appears with filter options. Click on the operator to filter the columns. (Refer to the image below).
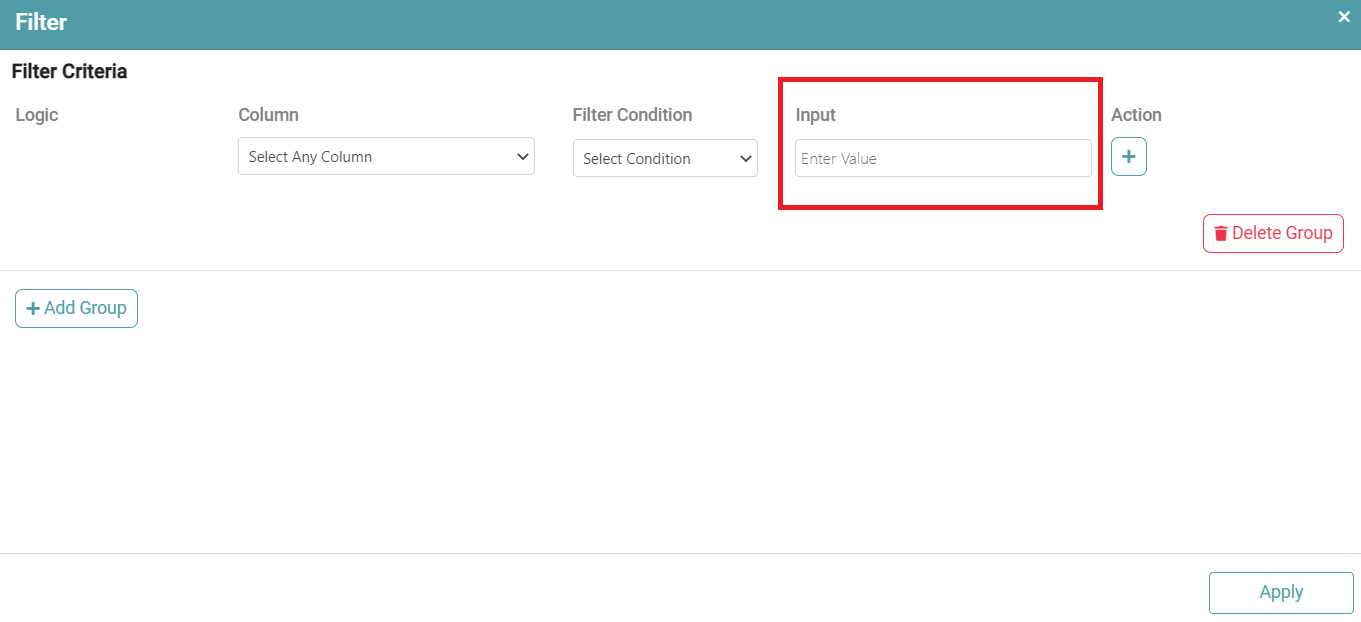
Step 6: The Filter value needs to be entered manually under ‘Input’. Click on ‘Apply’. (Refer to the image below).
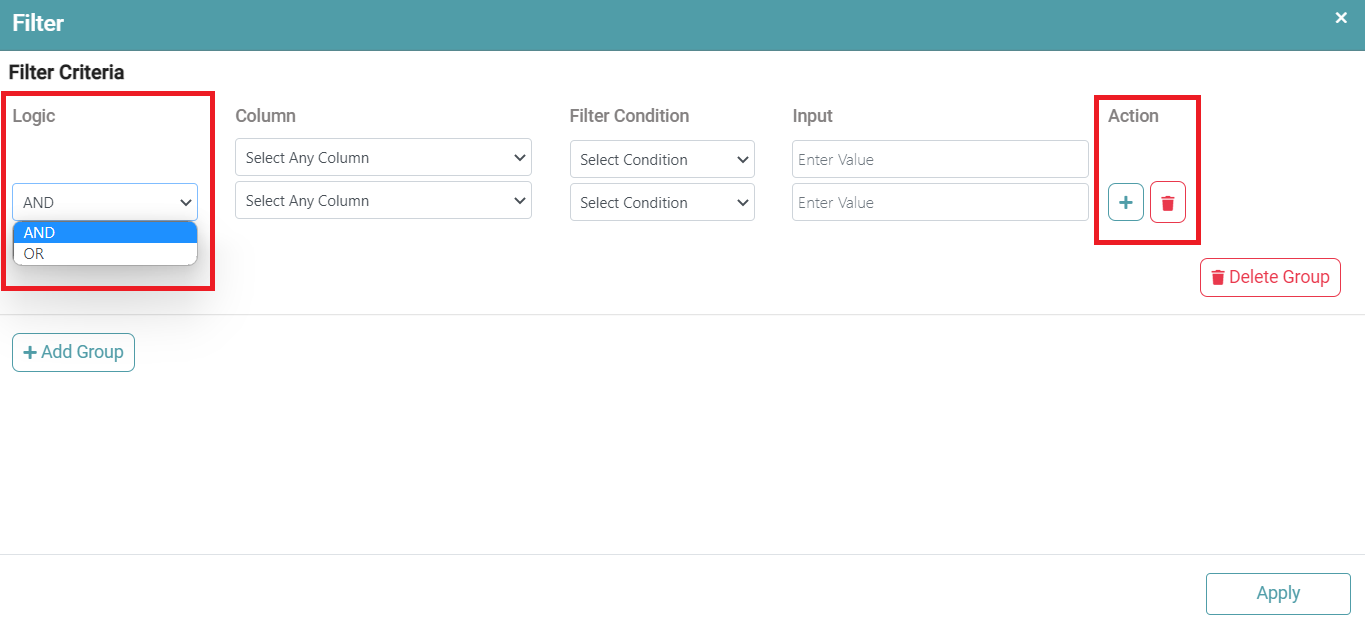
Step 7: You can click on the plus button under ‘Action’. Select logic.
Step 8: Follow the same procedure as above. You are also able to delete the same. (Refer to the image below).
Step 9: Once the filter is configured, click on the run button to run the workflow.
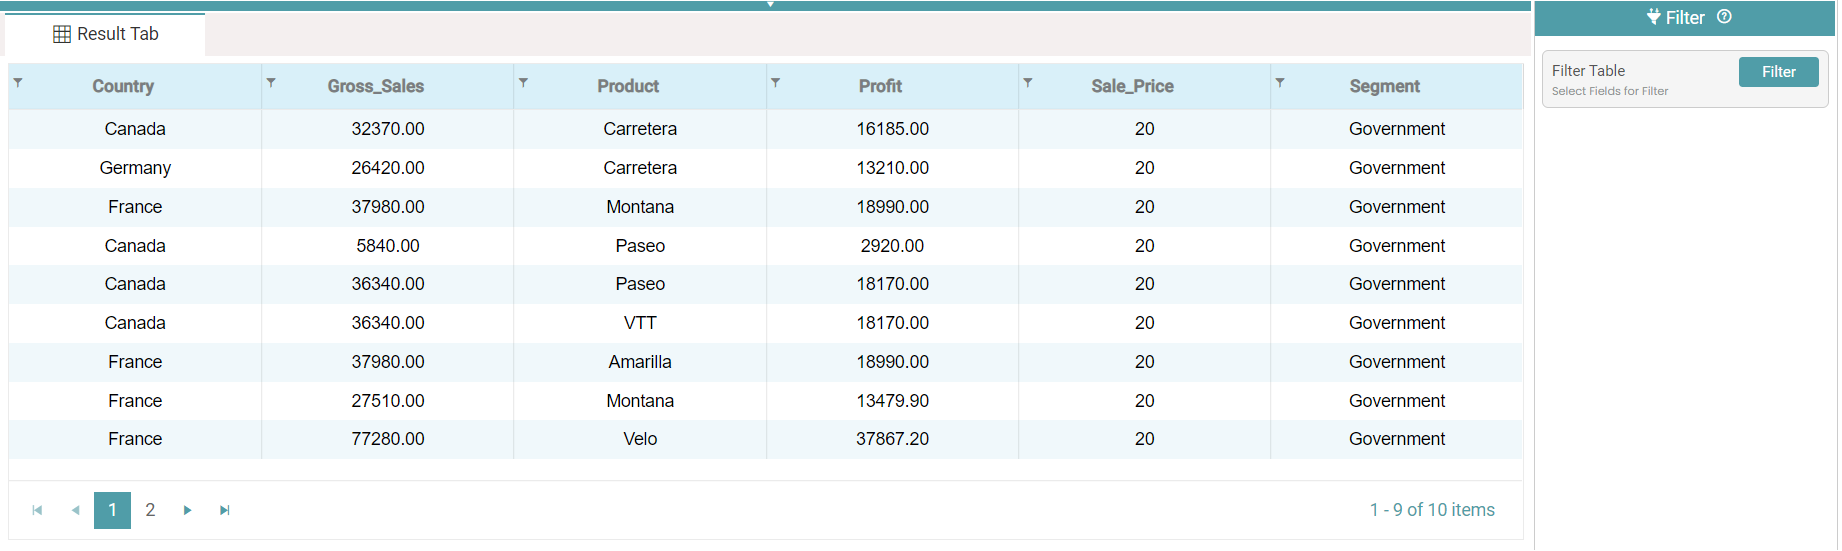
Step 10: Click on the “Show Results” on the bottom line to view the result.
Step 11: The filtered data is reflected in the form of a table. (Refer to the images below).

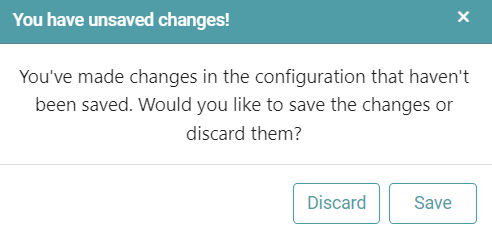
Note: After configuring a node, ensure you click “Save” to retain the changes. If you need to undo the configuration, click “Discard.” Failing to choose either “Save” or “Discard” will trigger a warning pop-up. (Refer to the image below).