Unpivot Node – Introduction
The UNPIVOT node transforms columns into rows, making data more compact and easier to analyze.
Step 1: Once data is imported, click on transformation.
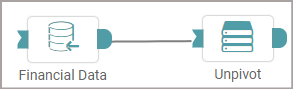
Step 2: Drag and drop the unpivot node onto the main screen. Connect the two nodes. (Refer to the image below).
Step 3: Click on the select button from ‘Unpivot’. A pop-up appears where the user can select the columns required. Click on ‘Apply’ (Refer to the image below).

Note: You can either select all the columns or specific columns.
Step 4: Once the columns and the output [ Field Header & Field Value] has been entered, click on the run button to run the workflow. (Refer to the image below).


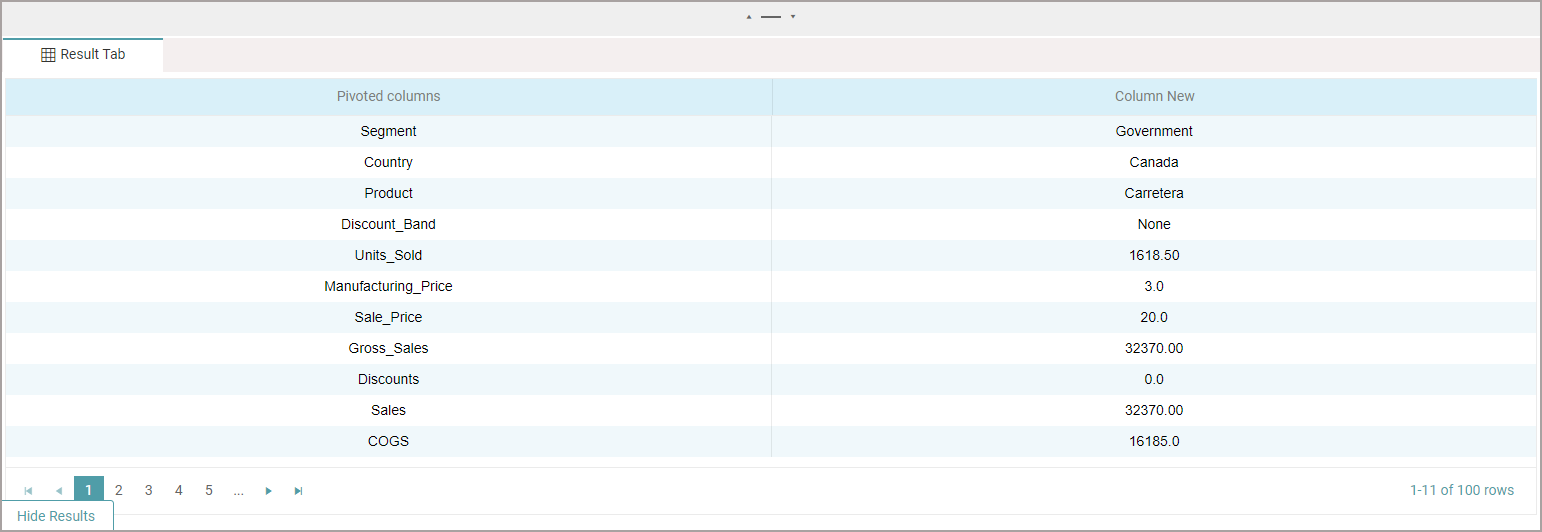
Step 5: Click on the “Show Results” on the bottom line to view the result.
Step 6: The data is reflected based on the operations selected. (Refer to the image below).
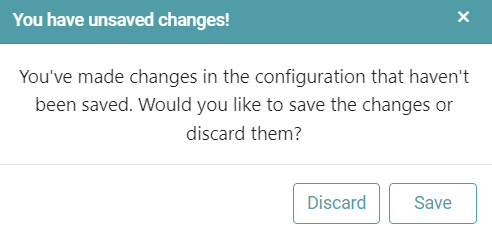
Note: After configuring a node, ensure you click “Save” to retain the changes. If you need to undo the configuration, click “Discard.” Failing to choose either “Save” or “Discard” will trigger a warning pop-up. (Refer to the image below).