Overview
The Inbox serves as a centralized location for receiving and managing scheduled and downloaded reports. When reports are scheduled, shared via Secure Inbox, or downloaded as PDF, they appear in the user’s Inbox for easy access and management.
Accessing Inbox
Step 1: On the Main Navigation Bar, click the Inbox Icon. (Refer to the image below).
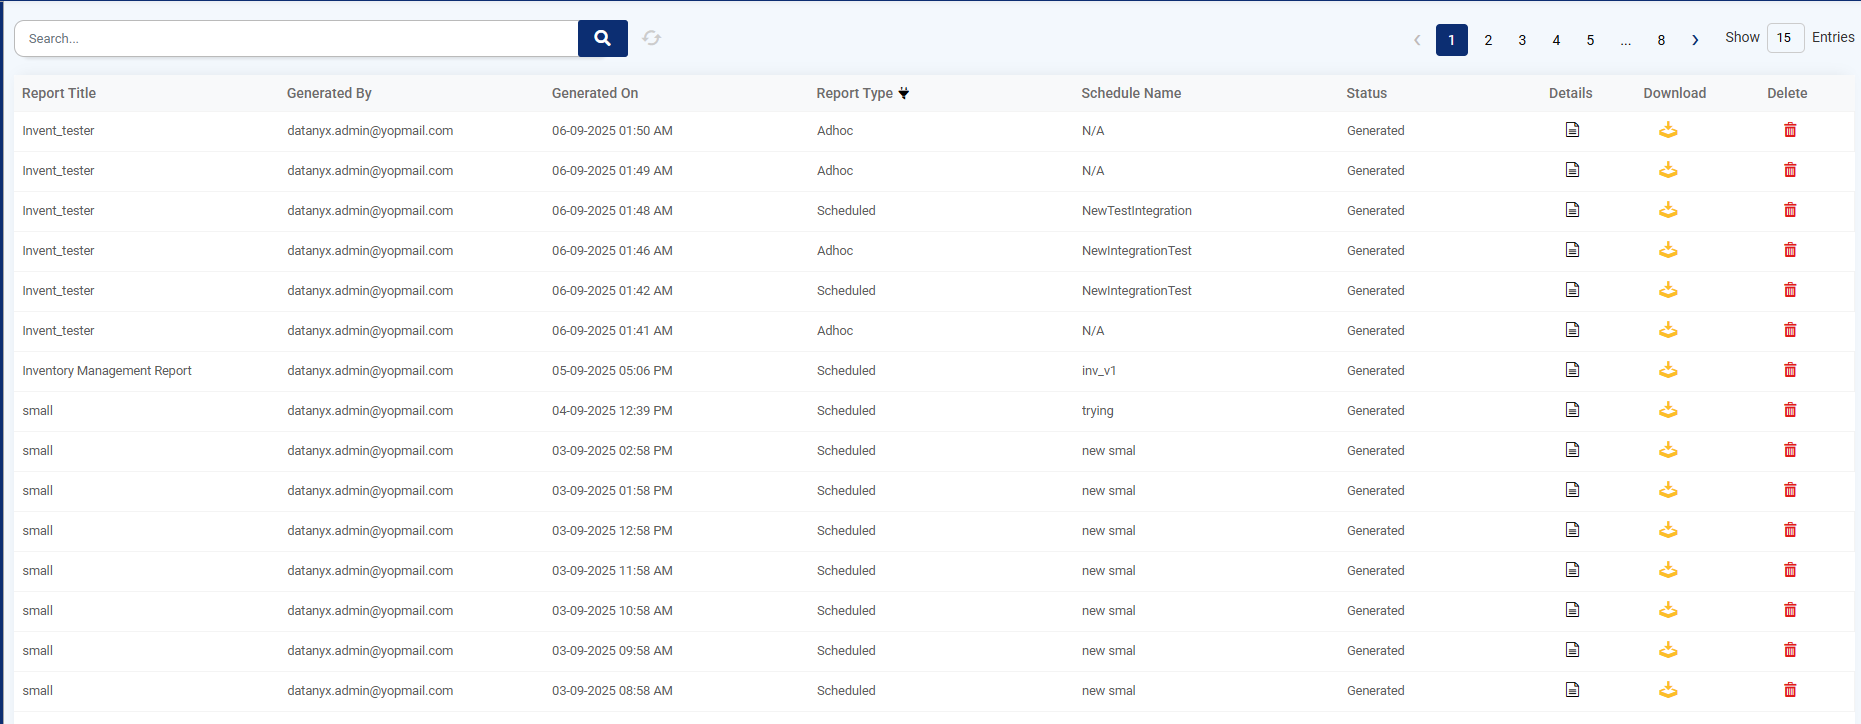
Step 2: When a Report or Chart is scheduled or is sent to another user using Secure Inbox option, then that Report or Chart Will be reflected in the receiver users Inbox.
Step 3: When a user downloads a dashboard as PDF, then it will create an entry in Inbox. The user can download the dashboard there. (Refer to the image below).
Inbox Columns
| Column | Description |
|---|---|
| Report Title | Title of the report |
| Generated By | User who generated the report |
| Generated On | Date and time of report generation |
| Report Type | Type of report downloaded |
| Schedule Name | Name assigned to scheduled reports |
| Status | Current status of the report |
| Details | View filters applied and columns selected in the report |
| Download | Button to download the report |
| Delete | Button to remove the report from Inbox |
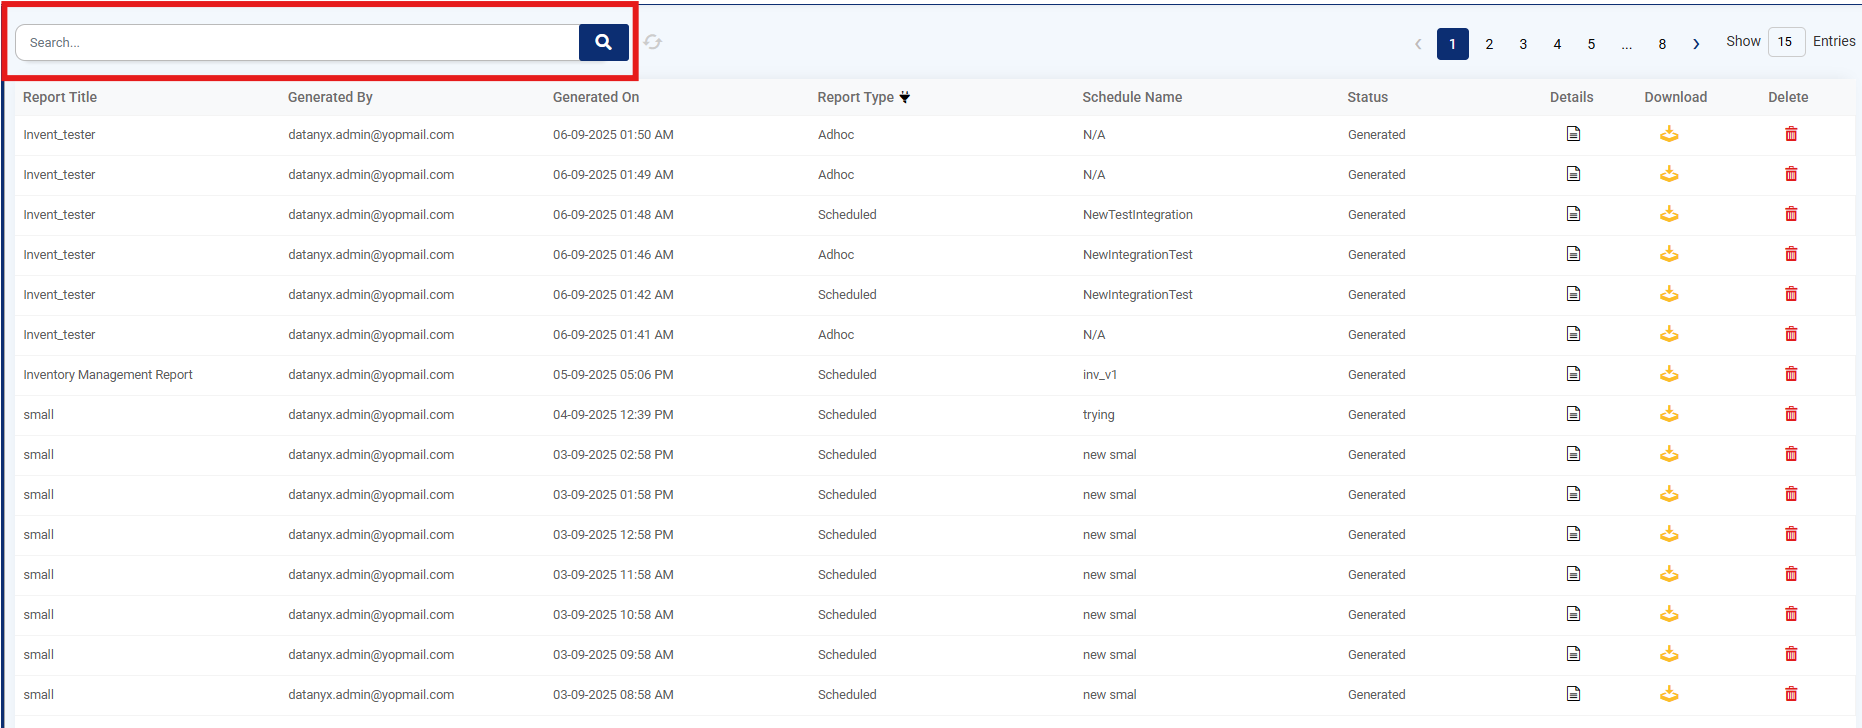
Search
Step 1: On the Main Navigation Bar, click the Inbox Icon.
Step 2: When a Report or Chart is scheduled or is sent to another user using Secure Inbox option, then that Report or Chart Will be reflected in the receiver users Inbox.
Step 3: When a user downloads a dashboard as PDF, then it will create an entry in Inbox.
Step 4: You can find the downloaded report by entering its name in the search bar. (Refer to the image below).
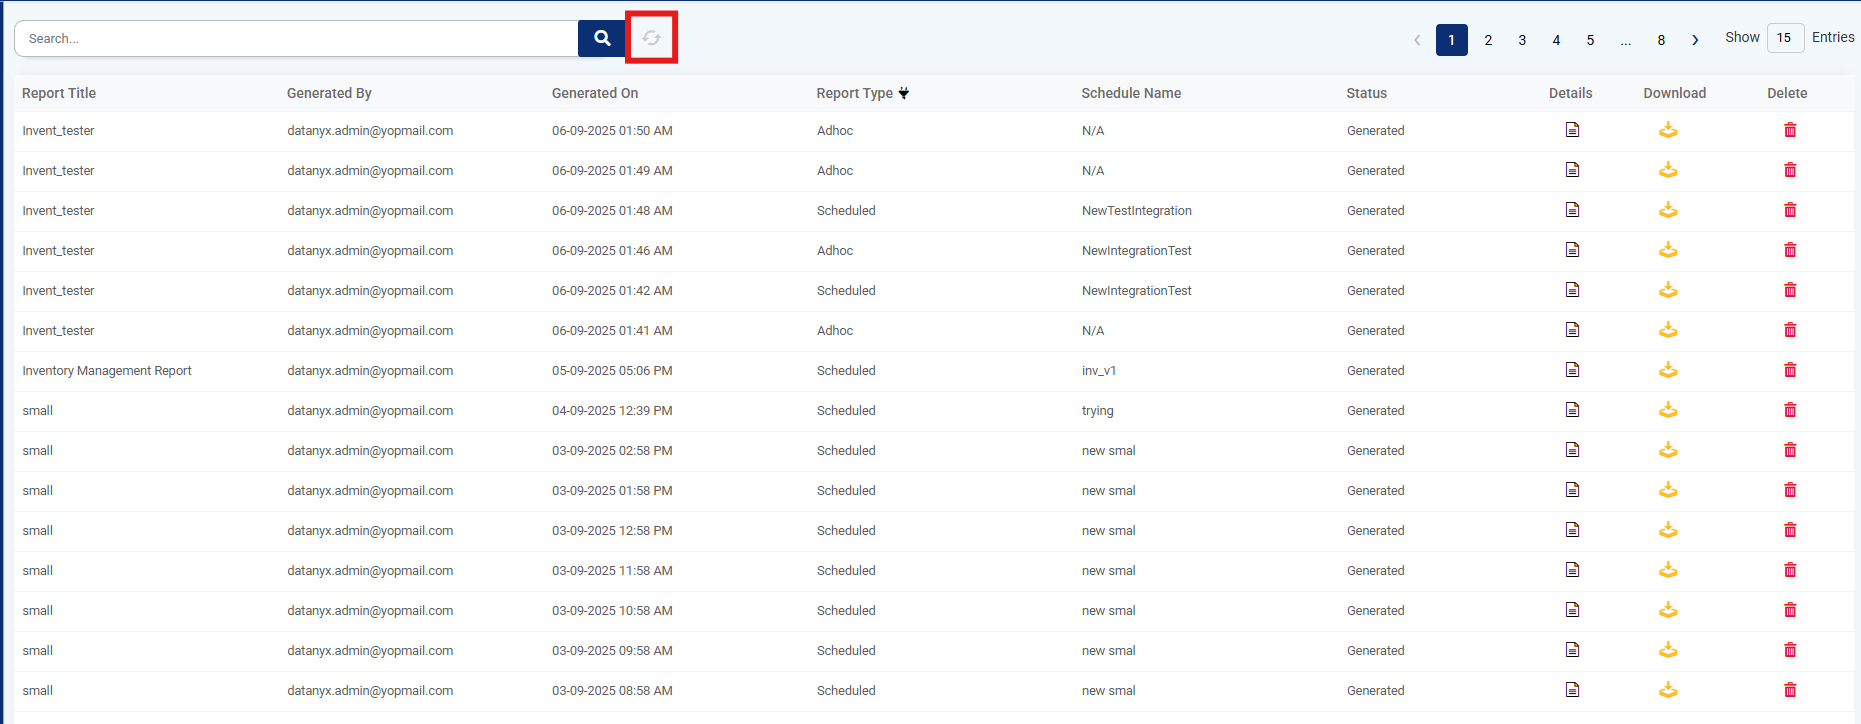
Refresh
Step 1: On the Main Navigation Bar, click the Inbox Icon.
Step 2: When a Report or Chart is scheduled or is sent to another user using Secure Inbox option, then that Report or Chart Will be reflected in the receiver users Inbox.
Step 3: When a user downloads a dashboard as PDF, then it will create an entry in Inbox.
Step 4: Since it may take a little time for the report to appear in the inbox downloaded list, click the refresh button to view the latest updates.(Refer to the image below).
Filter
Step 1: On the Main Navigation Bar, click the Inbox Icon.
Step 2: When a Report or Chart is scheduled or is sent to another user using Secure Inbox option, then that Report or Chart Will be reflected in the receiver users Inbox.
Step 3: When a user downloads a dashboard as PDF, then it will create an entry in Inbox.
Step 4: Click on the filter icon near “Report Type” column to filter the report. (Refer to the image below).
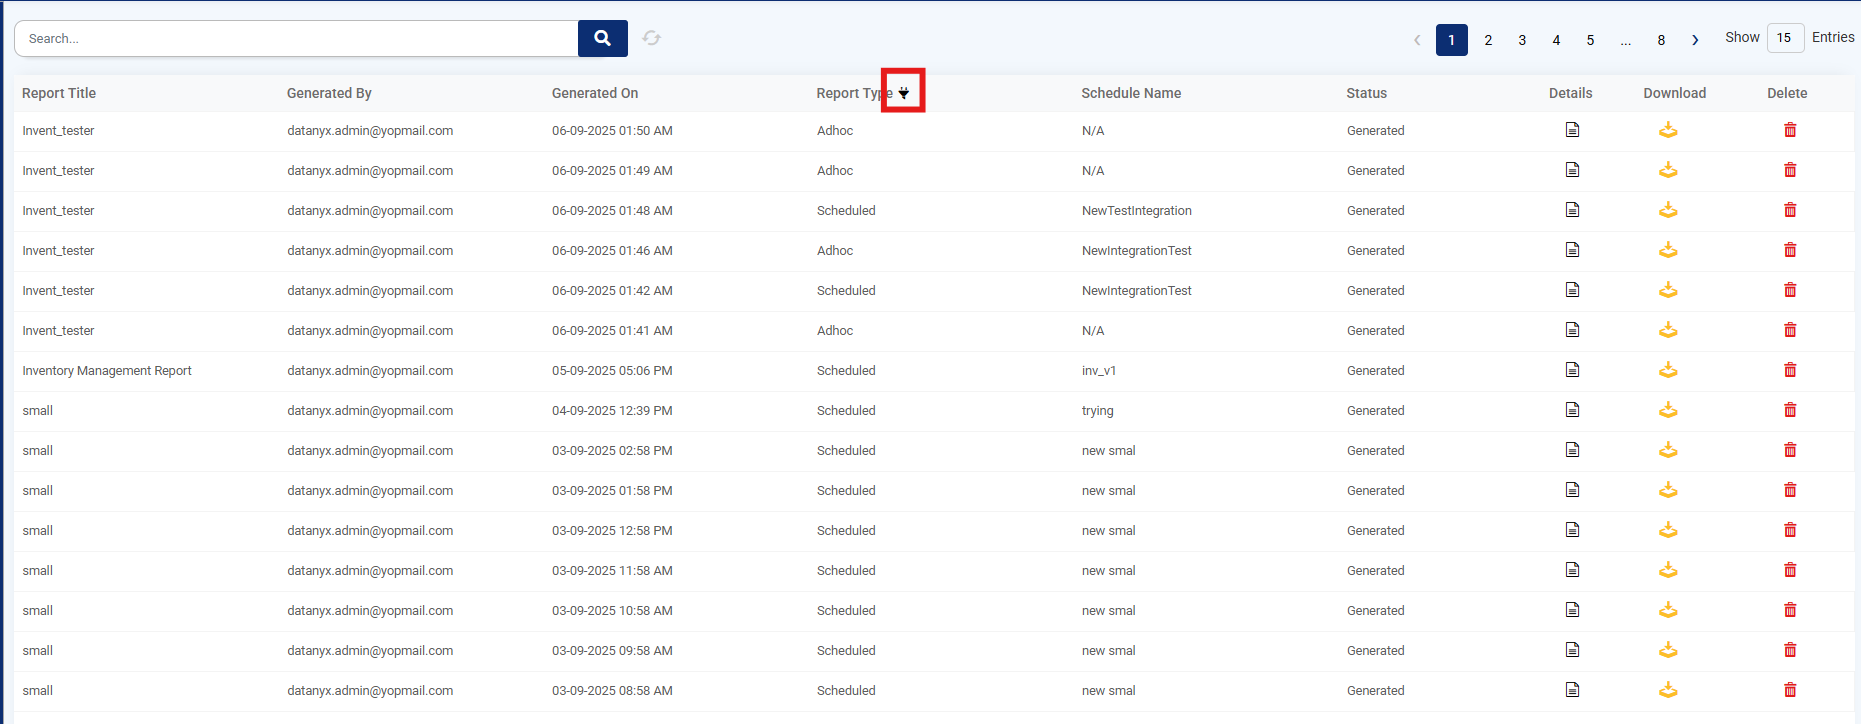
Note: You can also sort the list by clicking on the headers. The first click will sort in ascending order, the second click will sort in descending order, and a third click will return it to the default order.
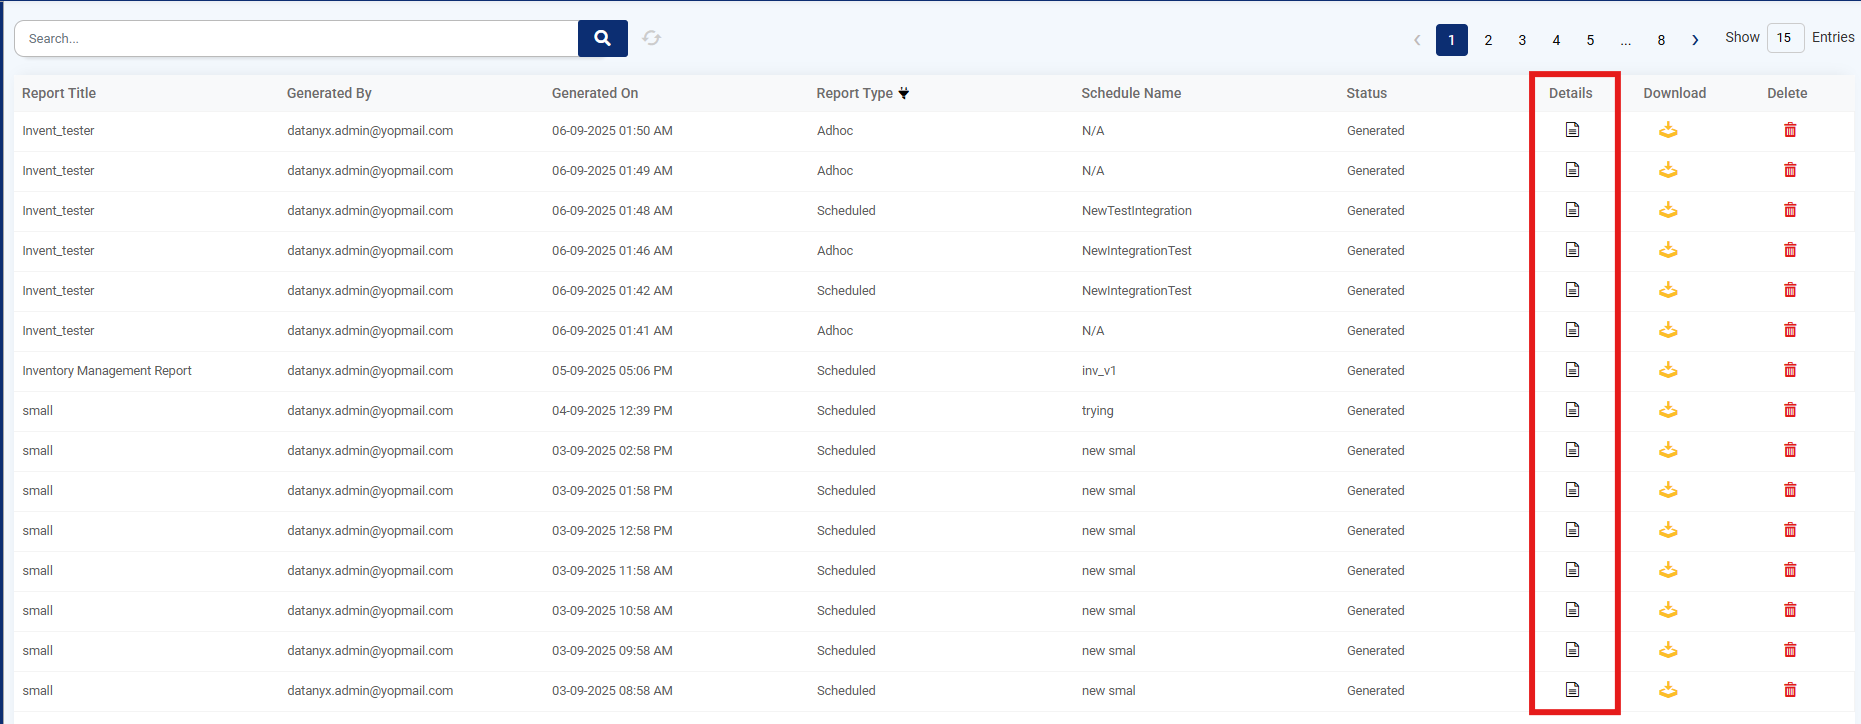
Details
Step 1: On the Main Navigation Bar, click the Inbox Icon.
Step 2: When a Report or Chart is scheduled or is sent to another user using Secure Inbox option, then that Report or Chart Will be reflected in the receiver users Inbox.
Step 3: Upon clicking the Details button for a report, a pop-up is displayed that lists the filters applied and the columns selected in that report. The Column Preferences button can be used to add or remove columns from the report. (Refer to the images below).
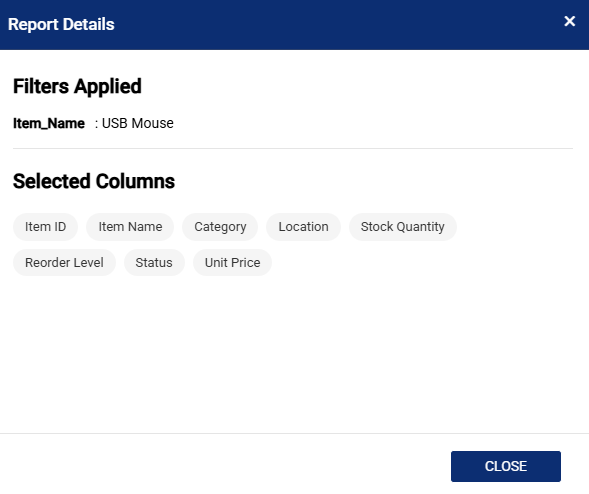
Note: The Column Preferences button can be configured while designing the report through HTML. Alternatively, column preferences can be accessed by clicking the three dots in the top-right corner of the dashboard or report, selecting Preferences, and then choosing Column Preferences.
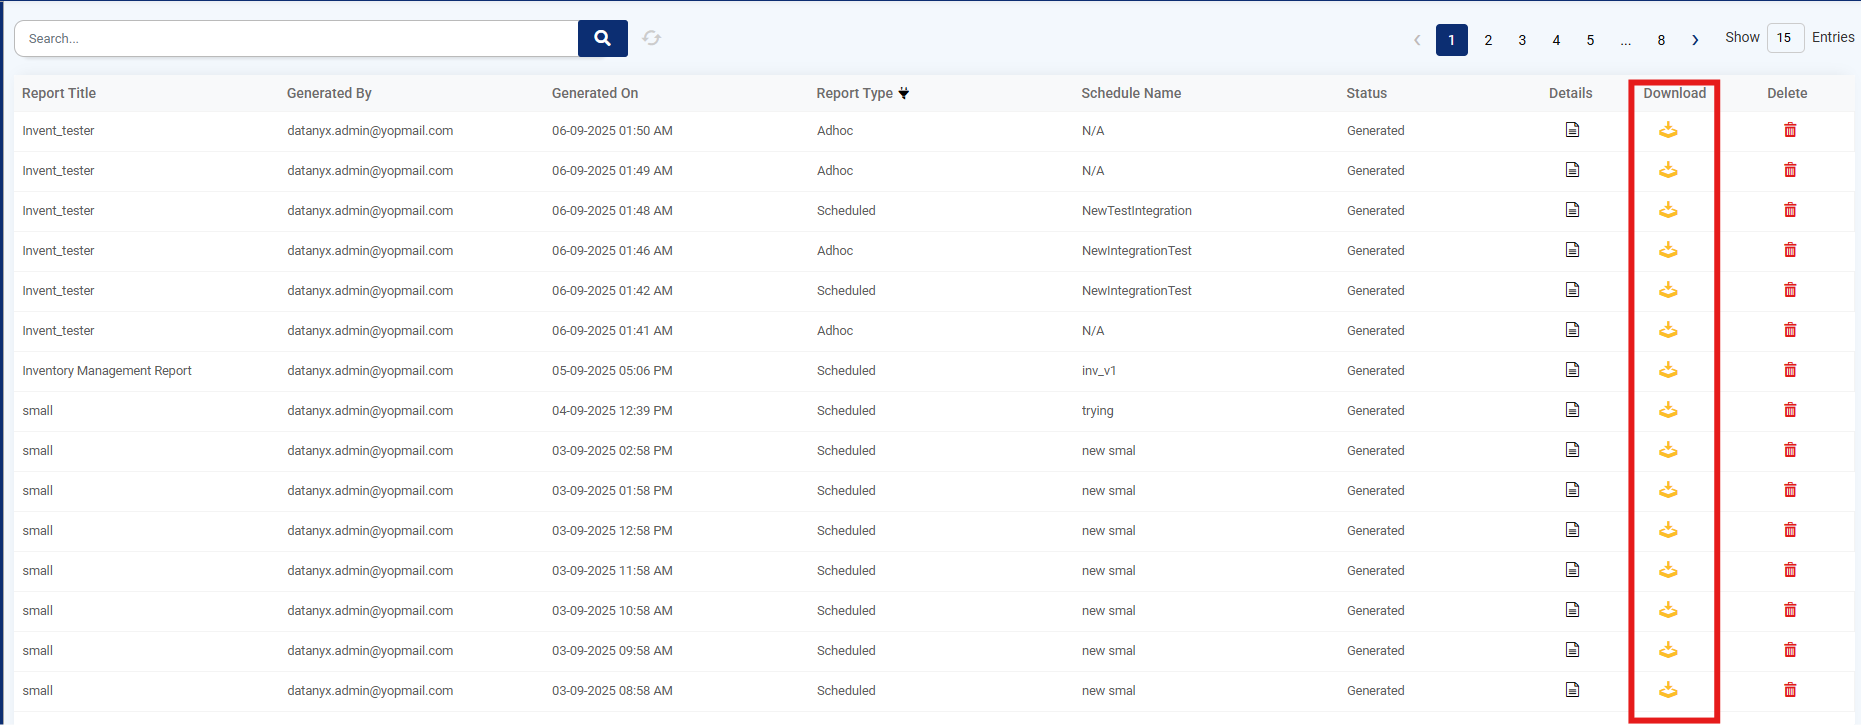
Download
Step 1: On the Main Navigation Bar, click the Inbox Icon.
Step 2: When a Report or Chart is scheduled or is sent to another user using Secure Inbox option, then that Report or Chart Will be reflected in the receiver users Inbox.
Step 3: When a user downloads or schedules the dashboard, then it will create an entry in Inbox if the generate to inbox option has been selected. The user can download the dashboard there by clicking on the download button under actions. (Refer to the image below).
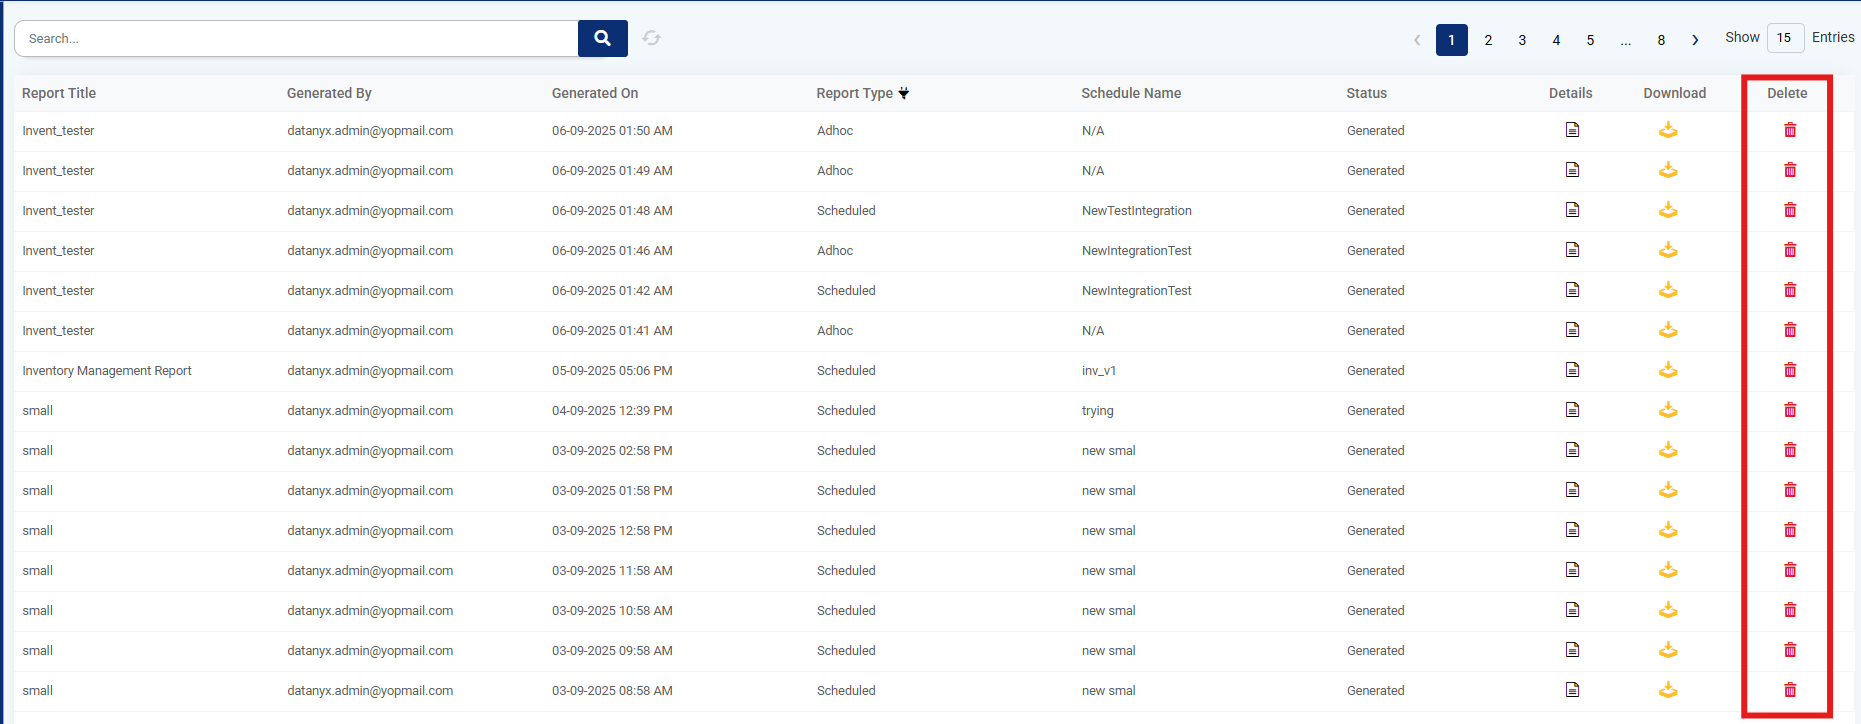
Delete
Step 1: On the Main Navigation Bar, click the Inbox Icon.
Step 2: When a Report or Chart is scheduled or is sent to another user using Secure Inbox option, then that Report or Chart Will be reflected in the receiver users Inbox.
Step 3: When a user downloads a dashboard as PDF, then it will create an entry in Inbox.
Step 4: Now, you can click on the Delete button under actions to delete a specific report/ chart from the Inbox. (Refer to the image below).