Overview
The users are able to access the created list of workflows. You are able to Edit, Schedule, Run and Delete workflow.
Step 1: On the main navigation bar, click on Library.
Step 2: The library has three sections to choose from. They are –
- Reports
- Charts
- Workflow
Step 3: The various tags included under the workflows tab are:
- My Workflows
- Shared Workflows
- Audit
My Workflows
The various tags included under ‘My Workflow’ are:
- Name
- Project Name
- Created Date
- Updated Date
- Actions
(Refer to the image below).
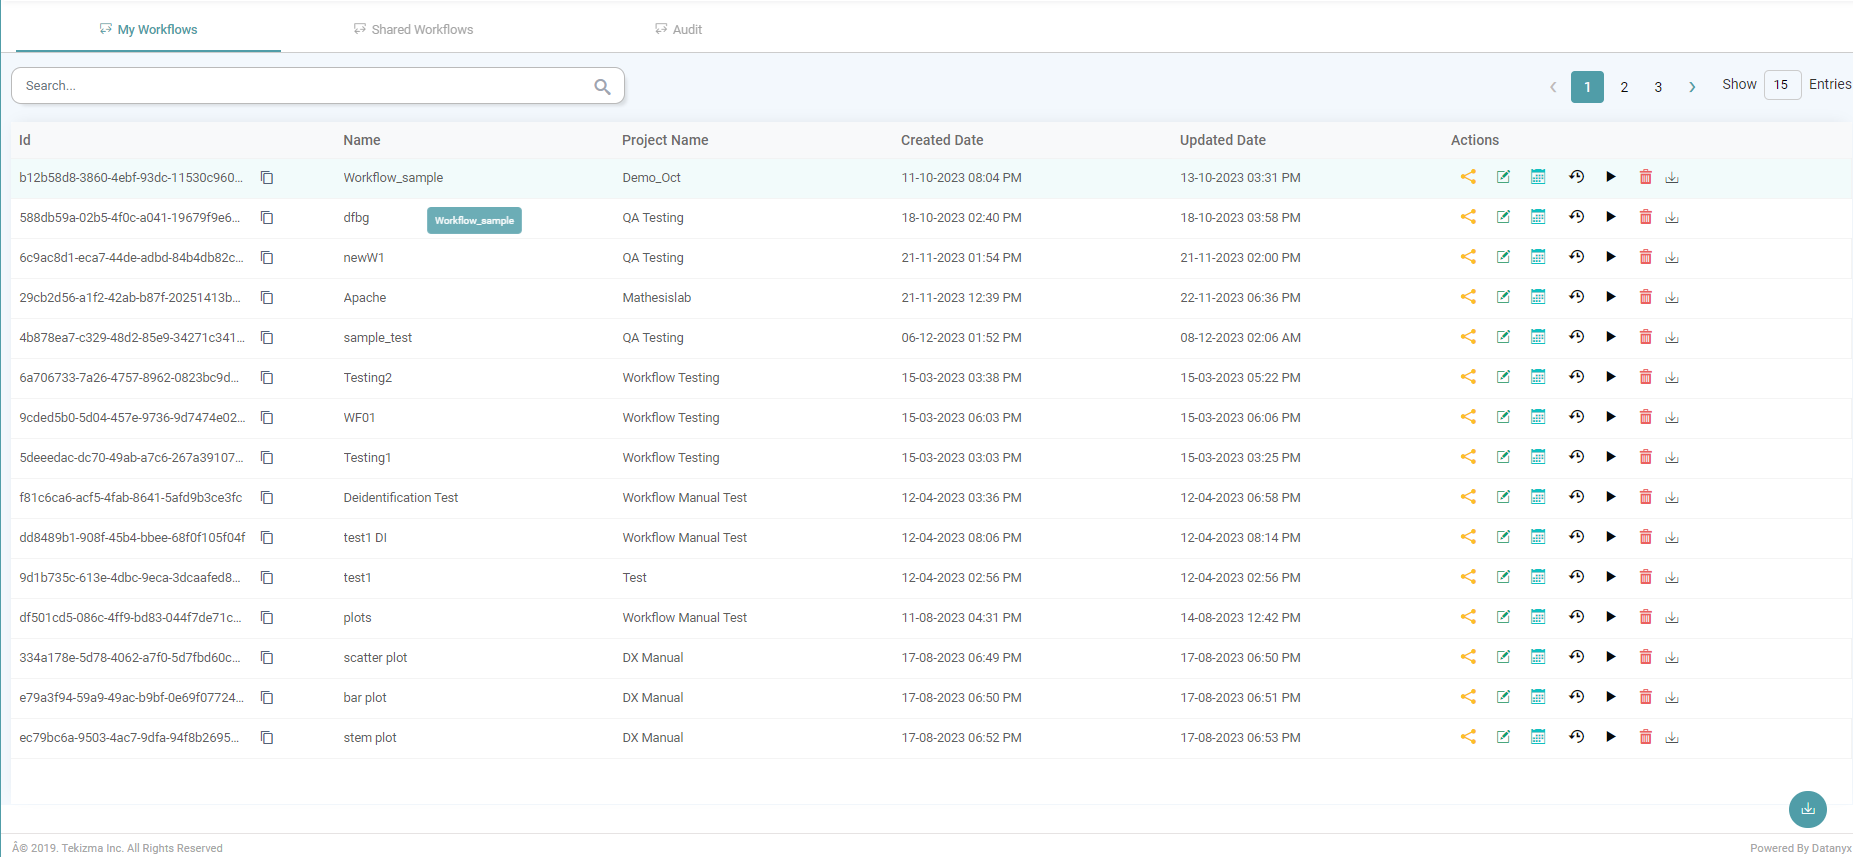


Actions under My workflow are as below:

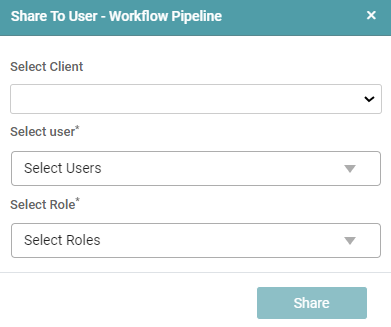
Share
Step 1: The share button helps in sharing the workflows that have been created with different users based on their roles. (Refer to the image below).

Step 2: Here, one needs to either select the client or the user with whom the workflows ought to be shared. Further, the role of the user needs to be selected.
Step 3: The user can then click on the share button such that the workflows can be shared with the users that have been selected. (Refer to the image below).
Edit
The edit button helps the user to make changes to the previously created workflows. (Refer to the image below).

Schedule
Step 1: This button aides the user in scheduling the workflow based upon the schedule fixed.
Step 2: A ‘Schedule’ pop-up appears once the user clicks on the schedule icon. (Refer to the images below).

Step 3: Now, the user is able to add title and schedule options. The user needs to select a category of display i.e., how the schedule is categorized. (Refer to the image below).
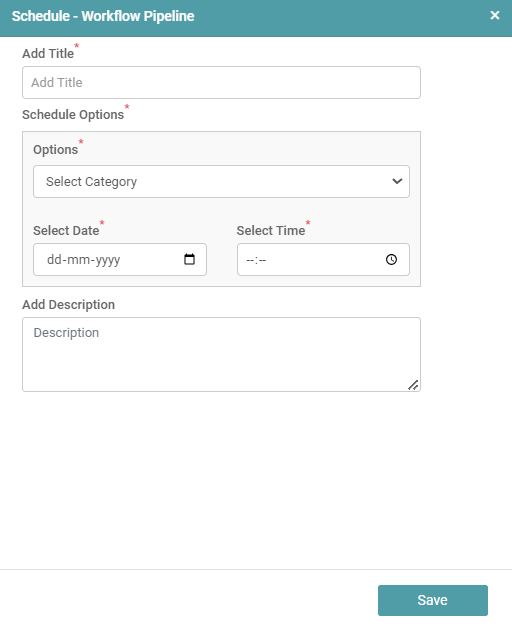
Step 4: Finally, a description for the workflow can be added by the user.
Step 5: Click on the save button.
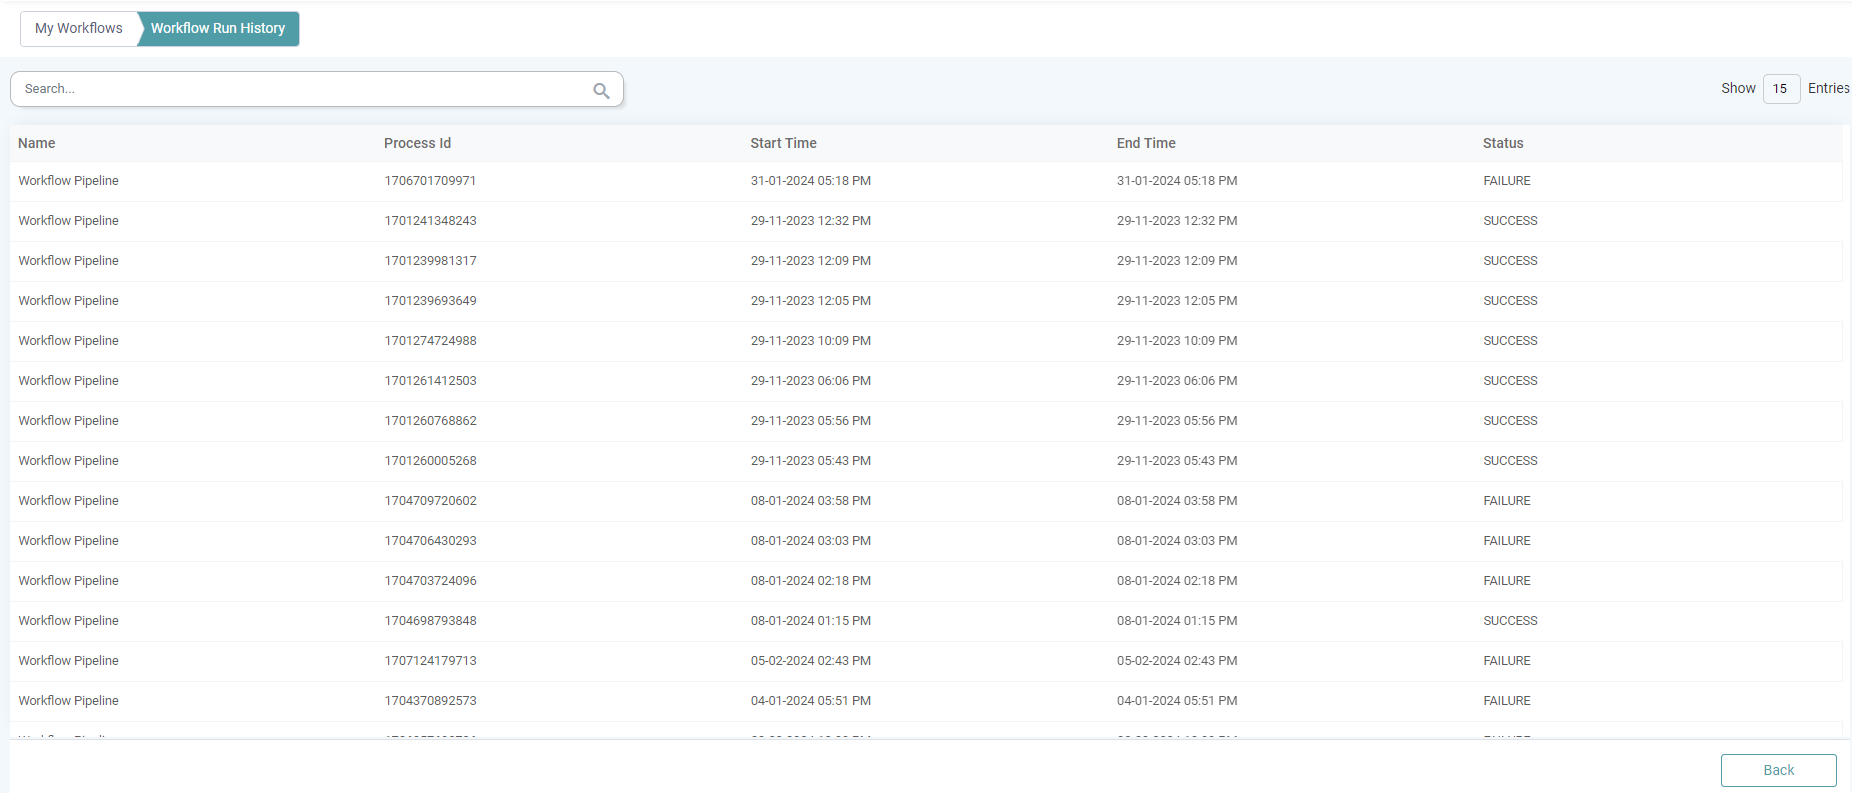
Workflow Run History
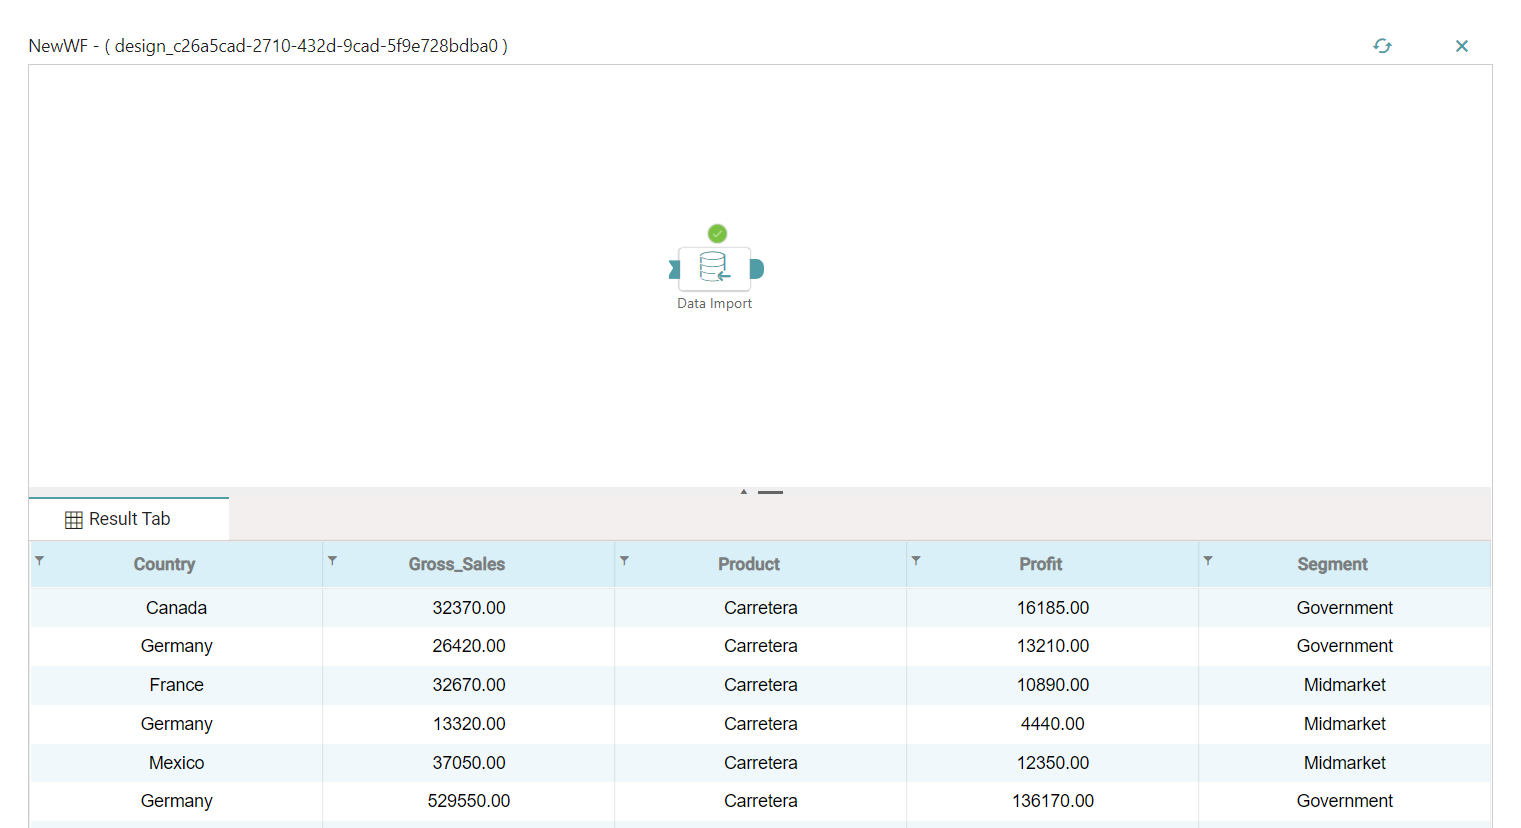
Step 1: This button helps the user get a birds eye view of the workflow run history. (Refer to the image below).

Step 2: The details regarding the Name, Process Id, Start Time, End Time and the run Status of the workflow is listed here. (Refer to the image below).
Run
Step 1: This button aides the user to run the workflow.
Step 2: A pop-up appears once the user clicks on the run icon. (Refer to the images below).

Delete
Step 1: Click on the delete icon to delete the workflow. (Refer to the image below).

Step 2: A warning pop-up appears.
Step 3: Click on “OK” to confirm the file deletion. (Refer to the image below).

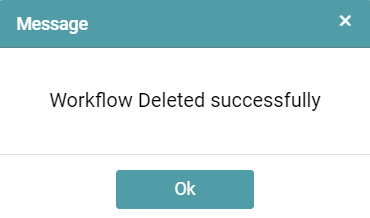
Step 4: The user is now able to see another pop-up that indicates that the workflow has been deleted successfully. Click on the ‘Ok’ button. (Refer to the image below).
Recover
The library allows access to the reports, charts and workflows created.
Step 1: On the main navigation bar, click on Library.
Step 2: The user can recover Reports/ Charts based on the date and time the respective reports and charts have been created.
Step 3: Click on the recovery icon under actions to recover the saved workflows. (Refer to the image below).

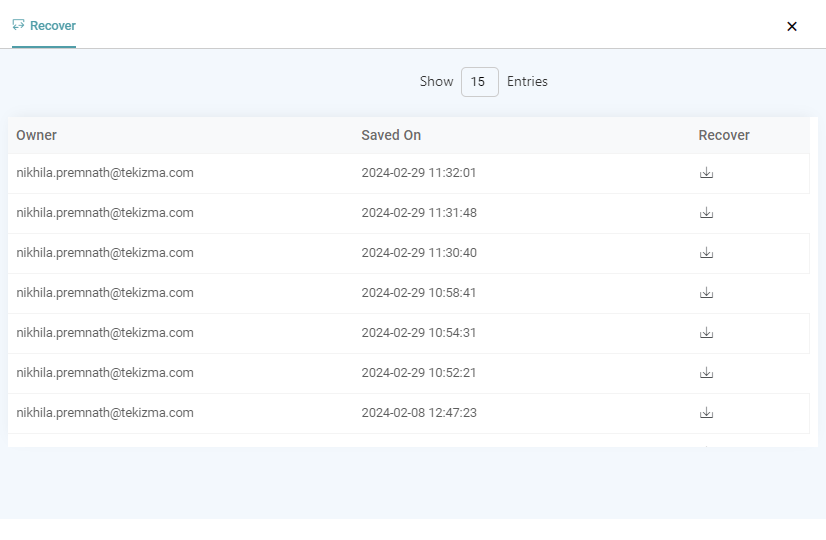
Step 4: The user will be able to see the entries of the workflows and will be able to see the date and time it has been saved on.
Step 5: Now, the user can recover and override the existing workflow with any of the logs in the list. (Refer to the image below).
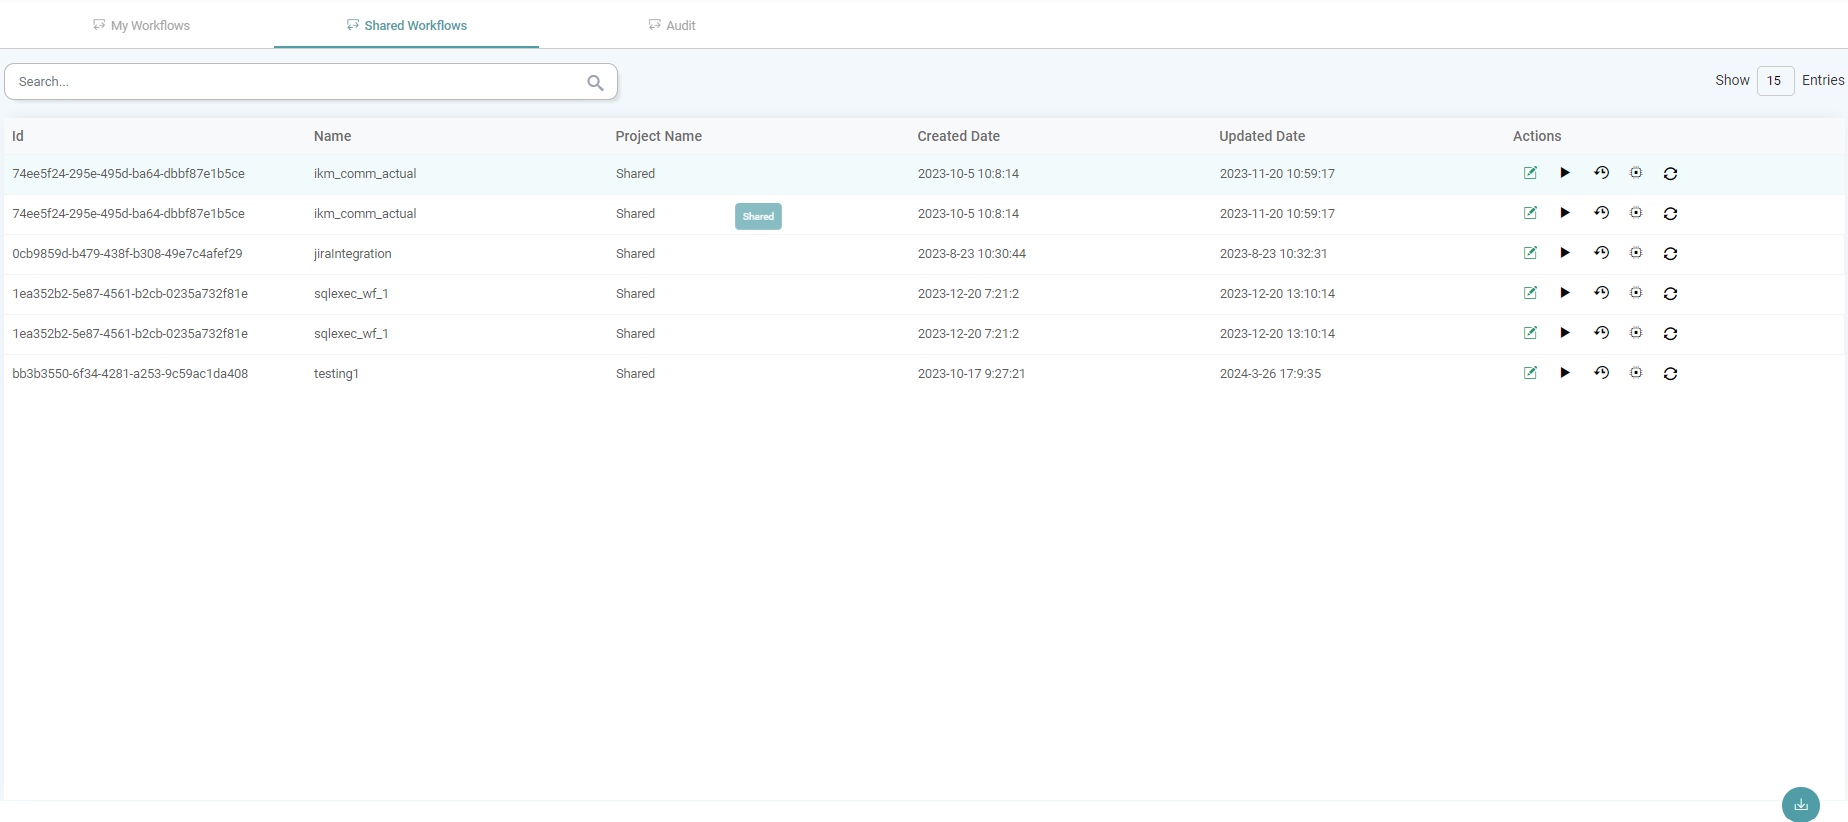
Shared Workflows
Under shared workflows, one can access the list of all the workflows that have been shared to you by the other users. It includes:
- Id
- Name
- Project Name
- Created Date
- Updated Date
- Actions
(Refer to the image below).
Note: Actions under Shared workflows are similar to that of My Workflows.
Audit
The two aspects included under ‘Audit’ are:
- Workflow ID
- Process ID
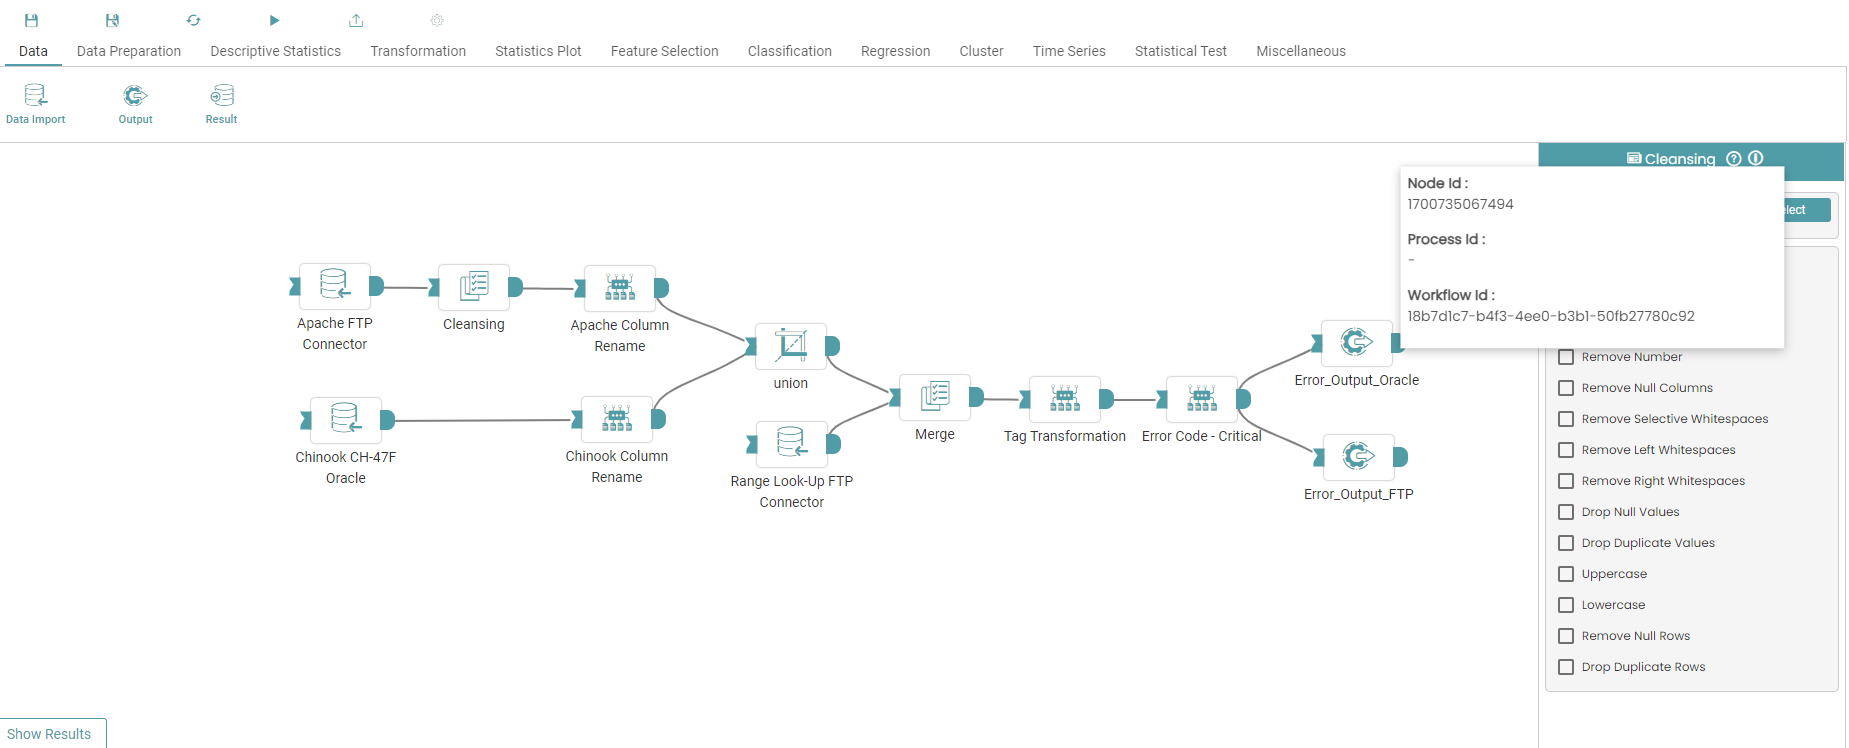
Workflow ID
The Workflow ID for the workflow that the user is working on can be gotten from hovering on the info icon in the workflow page. (Refer to the image below).
Process ID
Step 1: The Process ID for the workflow that the user is working on can be gotten by clicking on the run button under My workflows in the Library. (Refer to the image below).
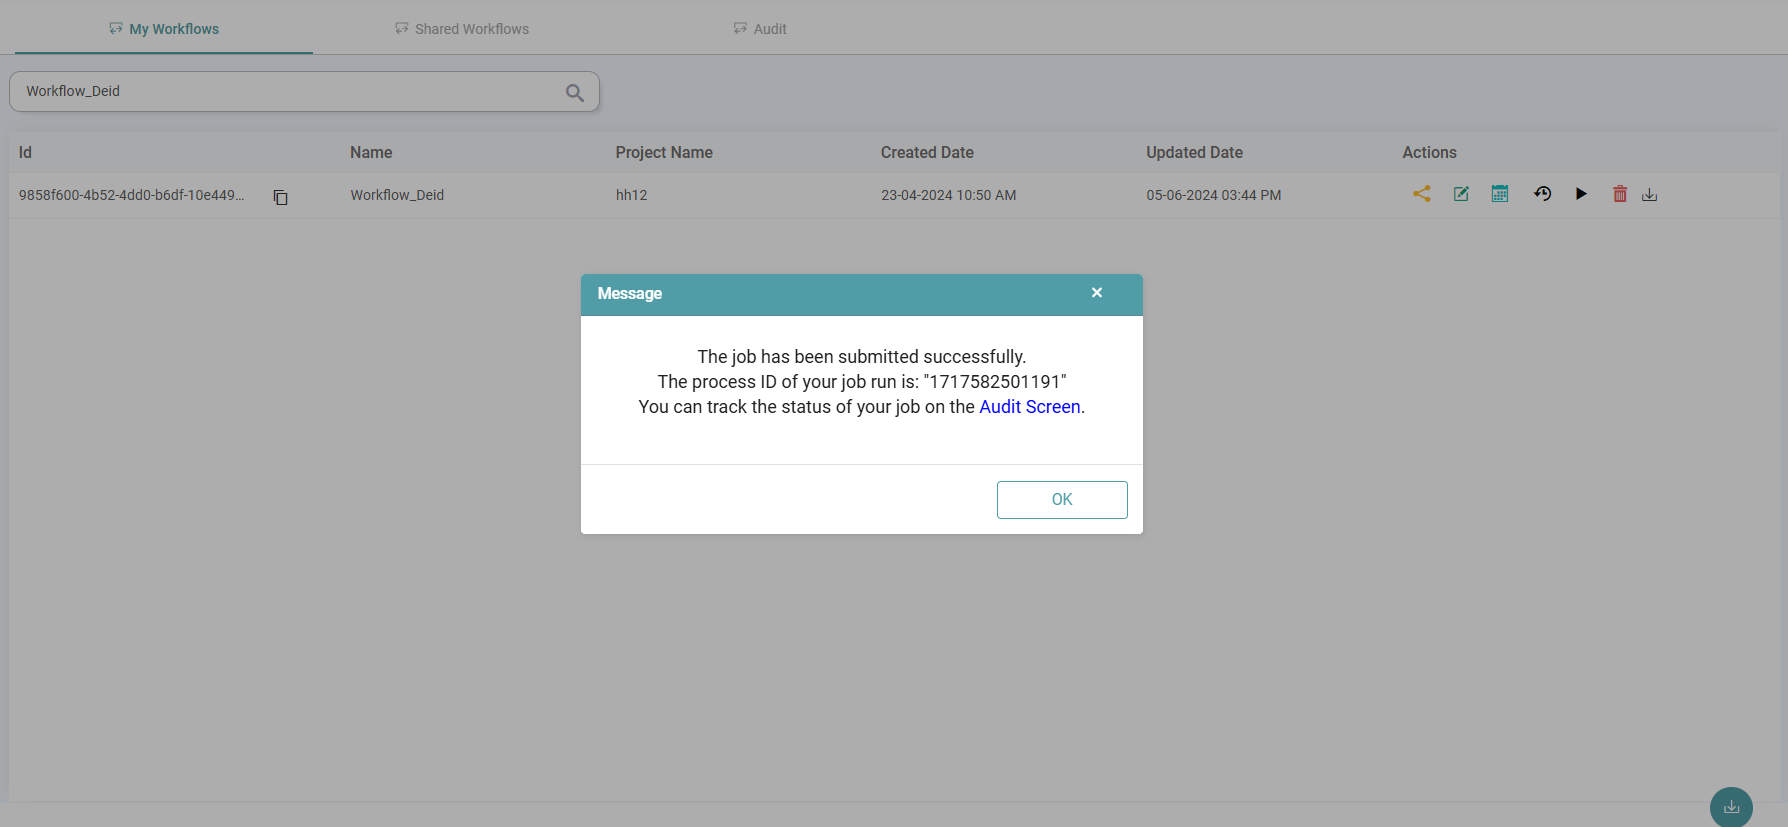
Step 2: Now, you can click on the Audit Screen link. You will be taken to the Audit tab where the ‘Process ID’ has been entered already.
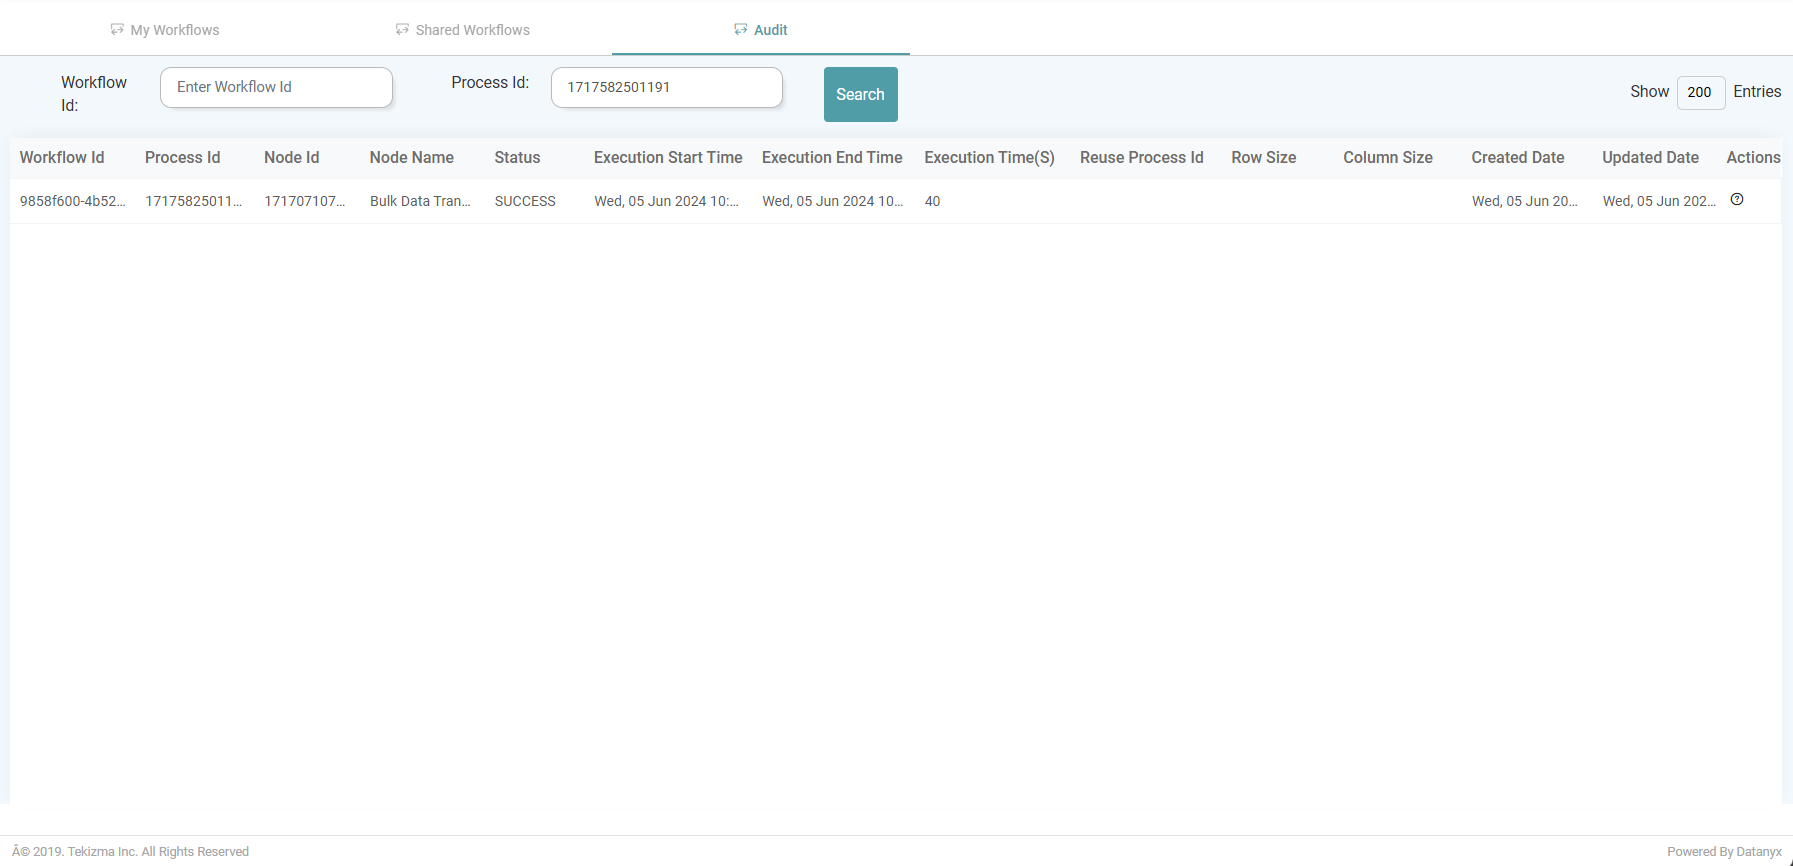
Step 3: Click on the search button.
Step 4: The workflow Id, Process Id, Node Id, Node Name, Status, Execution Start Time, Execution End Time, Execution Time(S), Reuse Process Id, Row Size, Column Size, Created Date, Updated Date and Actions are displayed. (Refer the image below).
Import
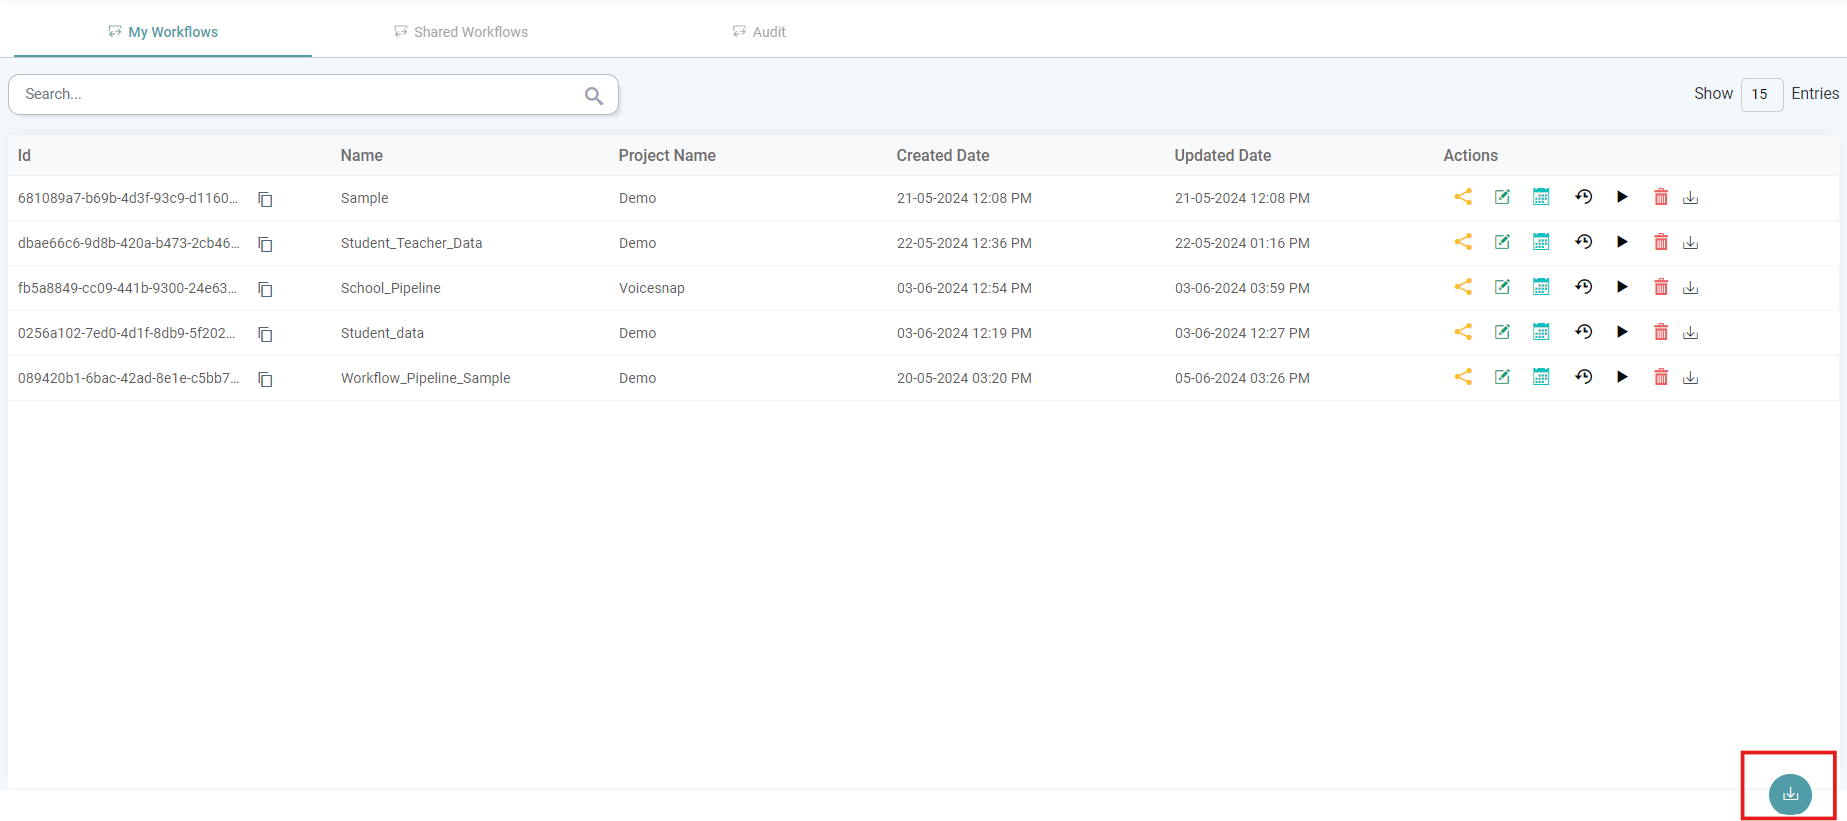
Step 1: On the main navigation bar, click on Library and Workflows.
Step 2: Under the My Workflows tab, click on the Import button located at the bottom right. (Refer to the image below).
Step 3: The Import Workflow poop-up appears. (Refer to the image below).
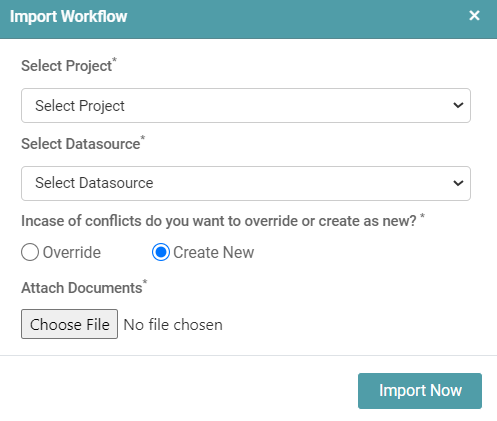
Step 4: You need to Select the following:
- Select Project: The Project/ Folder under which you want the Workflow to be stored.
- Select Datasource: The Datasource which was used for the Workflow creation.
- Override: If there is a Existing Workflow, you can choose to Override it with the new RPT.
- Create New: If you do not wish to Override the Workflow, you can Create a New Workflow.
- Attach Documents: The RPT that had been Exported from the Workflow Designer Page needs to be imported here.
Step 5: Click on the Import Now button. Your Workflow is now Imported, Click ok.